How to make partitions from aerated concrete blocks?
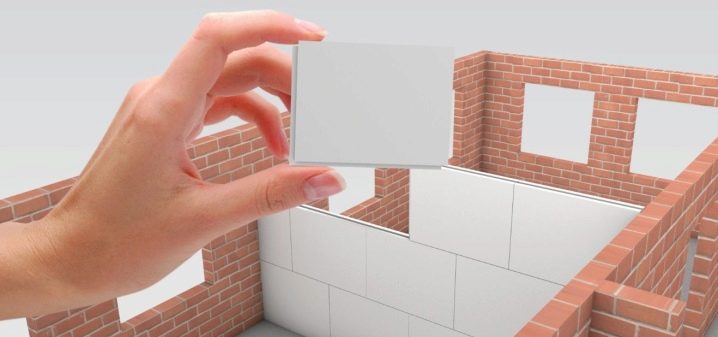
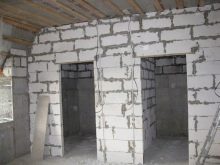
During the repair, it is often required to carry out zoning of the space. For this purpose, partitions made of aerated concrete are usually used. This material weighs less than brick, but is very durable, so it can become the basis for curtain wall structures. Installation is usually quick and hassle-free.
General rules
Partitions made of aerated concrete blocks have several important requirements for use. Firstly, they cannot be load-bearing - slabs or reinforced concrete monolith must still rely on the main walls. Secondly, the partitions themselves must rest on the foundation or the lower floor. Third, they should dock with at least one adjacent wall.
In addition, aerated concrete blocks must be able to withstand the weight of the hanging furniture. For example, each fastener can hold a cabinet or shelf weighing 25 kilograms and there should be no problem. Installation should be carried out so that the partition is tightly joined to the floor and adjacent structures. Both the low weight of the blocks themselves and the maximum sound insulation are important.
If aerated concrete blocks are planned to be placed between the living room, kitchen or other rooms with varying temperatures, then you should take care of thermal insulation. But at the same time, it is important to strive to ensure that the thickness does not increase much and allows you to save space. It is important to comply with fire safety conditions, because in the worst case, aerated concrete can prevent the spread of fire for no more than a quarter of an hour.
Finally, the material must be certified for quality and environmental friendliness.
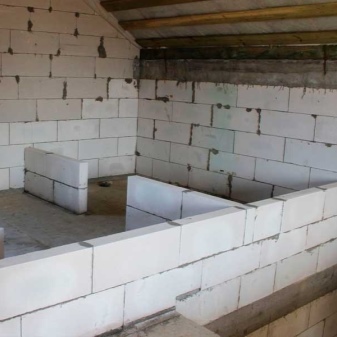
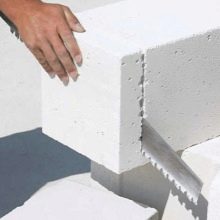
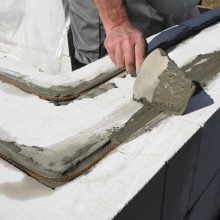
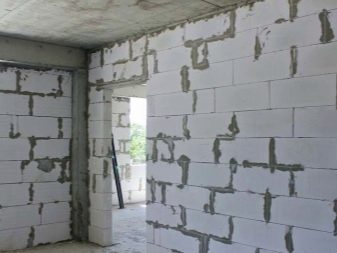
Experts highlight the impressive advantages of such designs. The material is easy to process, so you can give it the most convenient shape and size using an ordinary hacksaw. Observing the installation rules, you can get a neat partition with a perfectly flat surface and neat seams, the thickness of which ranges from 1 to 3 millimeters. All this is possible, since a special cement glue is used for the masonry. The porous structure results in a low weight and low thickness complemented by fairly decent sound and thermal insulation. In addition, the material is relatively inexpensive.
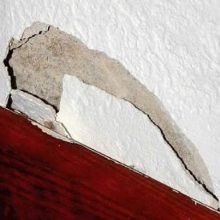
Aerated concrete blocks also have disadvantages. The design is not very durable and largely depends on the materials used. Aerated concrete absorbs water, which sometimes makes it difficult to carry out finishing work. It may well happen that a layer of the same plaster simply does not adhere to the surface. Finally, it is quite difficult to attach any fasteners to the gas block. Some of them simply refuse to stick, while others oxidize and rust.
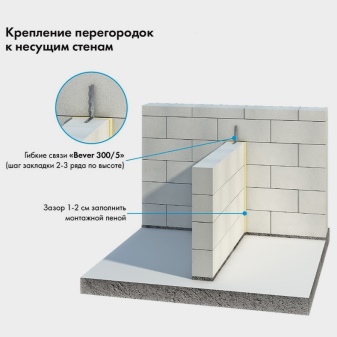
It is customary to erect aerated concrete partitions when the outer walls are already standing. If their length and width are too large, then the frame will have to be reinforced with reinforced concrete structures. At the joints of ceilings and partitions, an expansion joint filled with polyurethane foam or mineral wool is used. The joints of the edges are processed in the same way. It is also recommended to use reinforcing elements to connect the partition to the wall. In this case, all adjustments are made with an ordinary hacksaw.
Choosing a brand
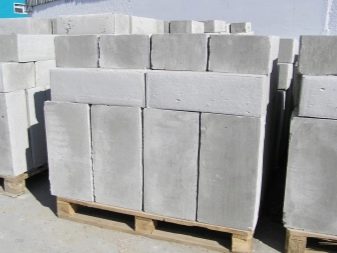
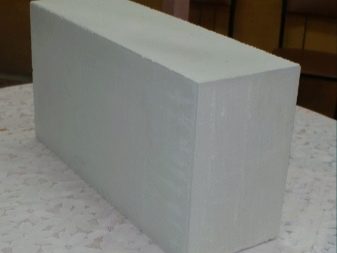
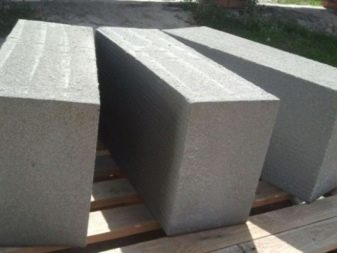
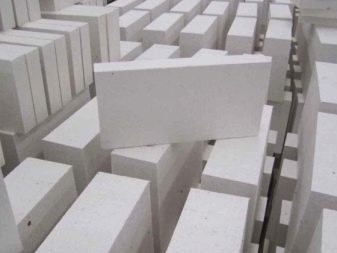
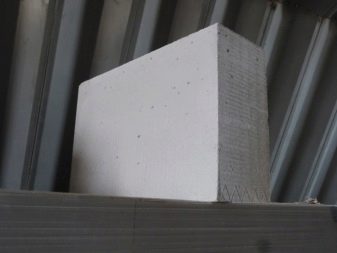
Which gas block will be chosen depends on the purpose for which it is purchased: whether furniture or other structures will be attached to it, whether it will simply act as a partition, between which rooms it will be located. Most often, preference is given to the D500 and D600 brands. The first is structural and heat-insulating, and the second is only structural. The dimensions of the blocks are as follows: the length is 625 millimeters, and the width varies from 75 to 200 millimeters.
Such structures are capable of withstanding up to 150 kilograms. In the event that it is not planned to hang anything on the partitions, then you can choose blocks of the D350 and D400 brands. The standard partition block is available in thicknesses from 100 mm to 150 mm. There are also non-standard indicators of 75 mm and 175 mm. If serious loads are planned (for example, sports equipment or very heavy furniture), then it would be good to increase the thickness to 200 millimeters.
Experts recommend that the block grade be at least D400. This indicator is the minimum density that can withstand partitions, the height of which reaches 3 meters. Ideally, you should take the D500 or D 600.
The latter brand, although it is more expensive, is able to withstand hanging objects without problems.
Calculations
The calculation of the necessary indicators for the construction of aerated concrete partitions is quite simple. To calculate the amount of material, the total wall area is divided by the side surface area of one block. To this number is added 4 or 5, used for trimming openings and corners. It is important not to forget to convert all data into the same units of measurement. The area of the wall itself is determined by multiplying the length and height minus the area of openings, that is, windows, doors or arches. If the wall has a rather complex shape, then it is better to divide it into several simple shapes.

How to build?
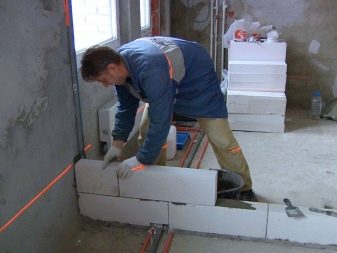
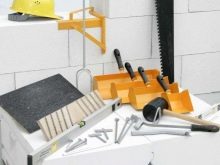
The construction of aerated concrete partitions in the house can be done both with your own hands and with the participation of specialists. At the first stage, the necessary materials are procured: blocks stacked on pallets, glue and tools (saw, corner, spatula and others). Usually, blocks packed in a special film are delivered on pallets. The coating will not only prevent the effects of precipitation, but also prevent the blocks from shifting during transport.
Sometimes the film remains only on top, and the open sides allow airing the building material. When unloading, do not use steel cables that could spoil its surface. Better to use soft slings or a forklift. The pallets themselves will need to be placed on a flat area so that the blocks are not warped and flooded. In addition, it is important to remember that the top film is removed at the last moment.
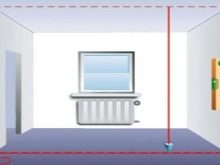
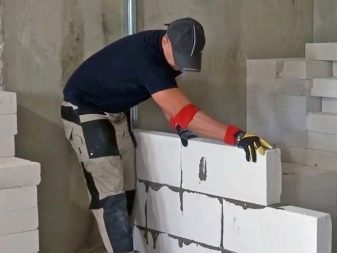
Next, the markup is carried out. The walls and floor of the room must first be cleaned of dirt. A cord covered with a dye is taken, it marks the place that the partition will take. Then the installation of temporary guides, usually wooden, takes place, on which you will have to mark the rows of masonry. In this case, the cord itself will determine the upper border of the first row. After that, the interior partitions begin to be mounted.

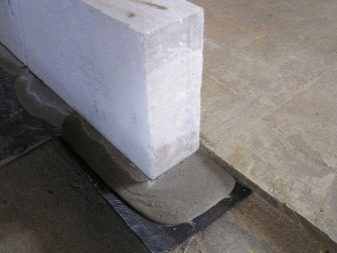
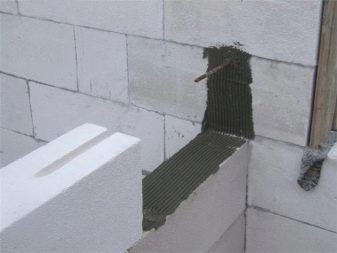
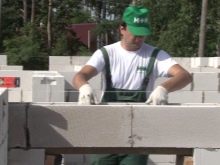
Blocks are laid out on roofing felt, hard mineral slabs or other similar roll material. It is possible to simply smear it with bituminous mastic. Such waterproofing will be able to dampen vibrations, and sound insulation will improve from it. If the floor is uneven, then a cement layer will have to be created on top, the height of which will fluctuate from 20 to 30 millimeters. Focusing on the line of the cord, the first block is laid out on cement or glue with a layer of 2 to 5 millimeters, and then the rest next to it.
An additional element, sawn out from a whole block, is cut off by measurement in place. It is greased with glue from both ends and mounted in the remaining gap. In this case, half a centimeter should remain before the beginning of the opening.Aligning with the cord and level and adjusting the position (by patting with your hand or with a rubber hammer), you need to clean the top surface of dust, check for drops and leave to dry for about 2 or 3 hours. Then the installation of the remaining rows begins.
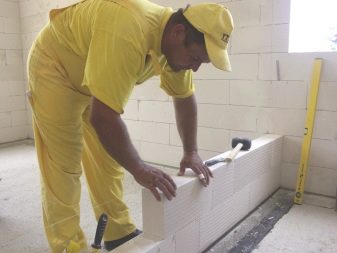
When laying masonry, it is important not to forget at each stage about alignment and offset of the end faces by half of the block. If necessary, reinforcement with metal rods using glue is carried out every three rows or more often. Finishing work can only be carried out after 2 months. First, the seams are checked and, if necessary, treated with glue. Next, the surface is rubbed, cleaned of dust and treated with an antiseptic. After that, the primer and plaster begin.
During installation, you will have to follow several important rules. First, the seam between blocks in one row cannot be above the seam of another row. A gap of 20 centimeters must be maintained between them. Secondly, approximately 2 centimeters should remain between the ceiling and the upper surface of the partition. This gap is filled with foam or soundproofing material. Its presence will protect the partition from cracking, which can occur due to the deflection of the floor. Thirdly, only special glue can be used. If the choice is made in favor of a solution of sand and cement, then additionally rough seams will have to be repaired. The masonry will become less even and neat, but you still won't be able to save money.
Finishing doorways
Aerated concrete partitions cannot be load-bearing, so they will not have to be afraid of excessive loads. This means that there is no need to lay a full-fledged lintel or reinforced concrete beams above the doorways. If the size of the arch fits into 0.8 meters, then blocks 60 centimeters long and 100 millimeters wide will do. They have no jumpers.
First, a temporary structure is mounted in the opening, where two blocks - "corner", will be installed, which will become the basis for the overlying elements. Their ends, smeared with glue, should be in the center. Then the rest of the rows are laid. If the length of the openings exceeds 0.8 meters, then you will have to use a variety of jumpers. The prefabricated structure also requires internal reinforcement and concrete casting.
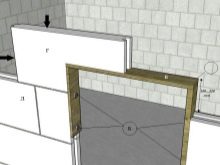
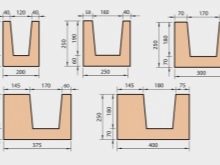
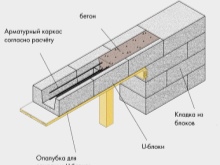
Often, a U-block is mounted above the doorway, which has a standard length of 50 centimeters and a width corresponding to the dimensions of the wall elements. Reinforcement is also laid in it, everything is poured with special concrete or a mixture of sand and cement. The weight of metal elements, as well as the composition of the fill, is determined depending on the size of the opening and the possible load.
First, the supports are mounted under the opening. Then the U-blocks are installed with glue applied to the vertical seams. The thick side wall should be on the outside of the partition. Inside the cavity, assembled from the modules, fittings are mounted, everything is filled with a special solution. If it is concrete, then it will have to be compacted with a bayonet.
At the last moment, the surface of the mortar is leveled to match the top of the masonry.
Advice
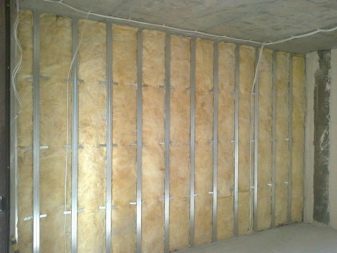
Aerated concrete partitions have a very mediocre ability to protect against noise, especially when the block is 100 millimeters thick. To bring it up to standard, you either have to use an additional layer of finishing, or sheathe the structure with mineral wool. Although the latter material is not a full-fledged sound insulator, it will reduce the penetration of noise by almost half. It will be possible to use special materials, but only those that have the required vapor-permeable characteristics. In the case when you want to achieve maximum silence, experts advise to mount two thin partitions, the gap between which will be filled with noise-absorbing material.
For information on how to make a partition from aerated concrete blocks, see the next video.


The comment was sent successfully.