How do I transfer pictures from my camera to my computer?
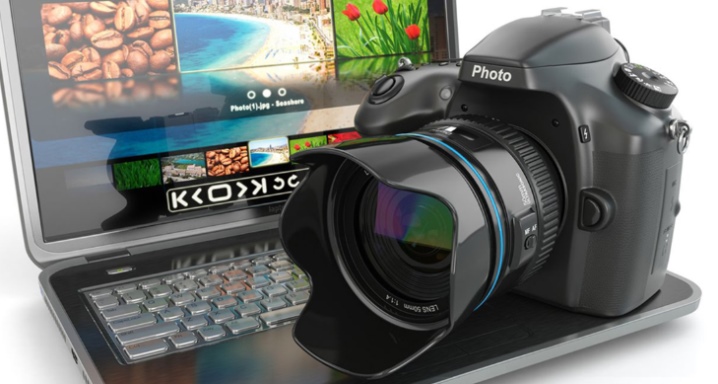
Today photography is an integral part of any person's life. Just one press of a button and you can capture the brightest and happiest moments of life. For some, a good camera on the phone is enough, and for people who are professionally engaged in photography, it is necessary to have a high-quality camera with wide functionality that allows not only capturing an image, but also making it as clear, bright and saturated as possible. However, the memory of any device, as the photos are saved, fills up, and the captured images must be transferred to a computer. There are several ways to do this. And each of them has certain advantages and disadvantages.
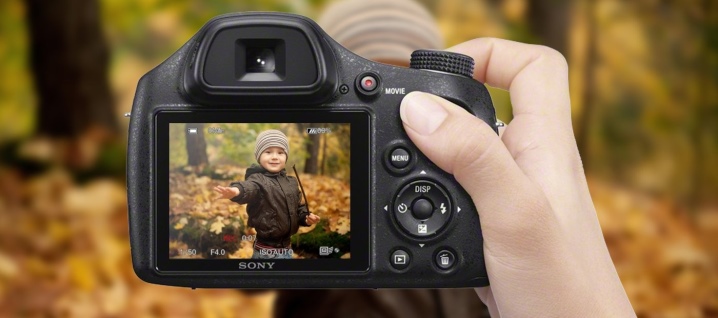
How to transfer through a cord?
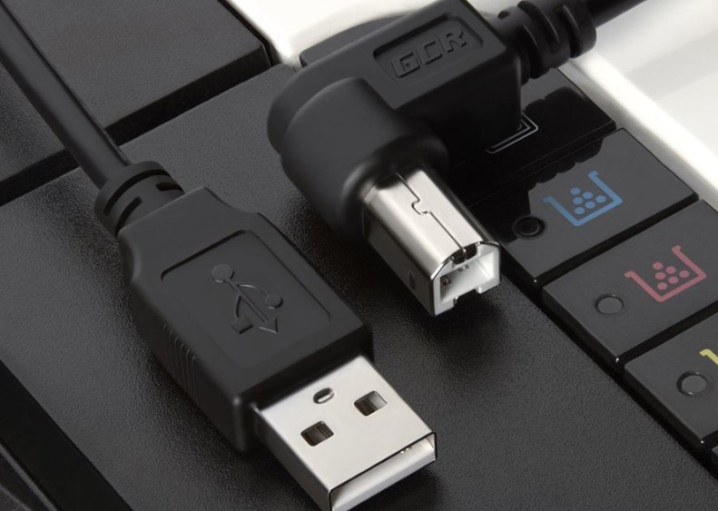
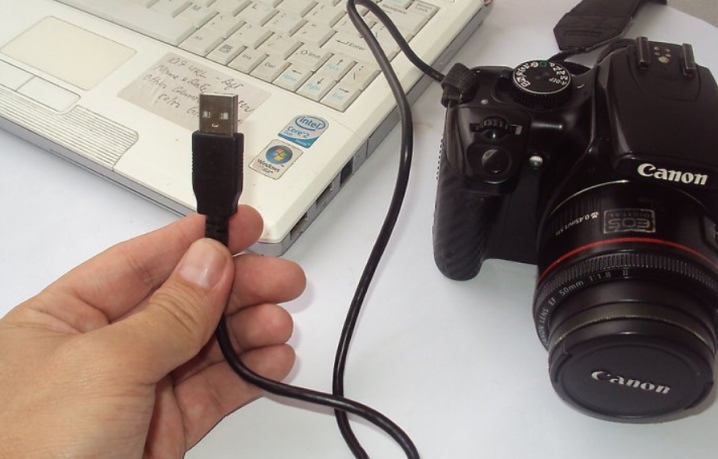
The first models of digital cameras were equipped with the function of transferring images by means of a wire. Today this method continues to be widely used. Most sets of modern digital devices are equipped with a native USB cable. However, there are models for which the cable must be purchased separately. Usually this device is connected to a PC via a usb connector. At the other end of the wire, there is a tip corresponding to the charging output.
If the USB cable has a non-standard connector, in no case should you lose it.
Of course, it is possible to find an analogue, but it is impossible to guarantee that it will have all the required properties.
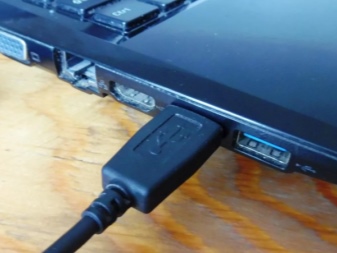
The procedure for connecting the camera to a personal computer is no different.
- You just need to plug the USB connector into the corresponding socket and connect the second end of the cord to the photo device itself. It is impossible to confuse the nests in this case, since they have different sizes and shapes.
- Then the camera must be turned on. If you do not activate the device, then it will be impossible to transfer data. In some cases, the computer's operating system may require Internet access to download the necessary drivers. Today, the necessary utilities on disk are rarely included in the camera kit. But if they are, then you will have to install the drivers manually.
- If after activating the camera, no windows are displayed on the working screen of the monitor, you should familiarize yourself with the settings of the camera, where the additional function of pairing with a PC is probably located.
- After the computer detects the connection of a new device, a new explorer window appears on the desktop showing what actions you can perform with the camera. Some models open “my computer”, where the icon of the camera with its name is displayed. Thus, there is access to images on the device, which can be transferred to the hard disk.
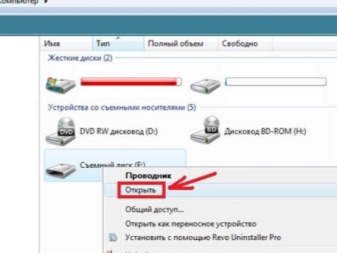
Further, it is proposed to get acquainted with the step-by-step instructions for transferring information from the camera to a computer or laptop.
- Connect the camera to the PC.
- Wait until the required drivers are installed. Otherwise, the device may not work properly or will not be active at all.
- In the "autoload" window that opens, select the "view files" item.
- Select the necessary information, copy it and paste it into the required folder on your hard drive.
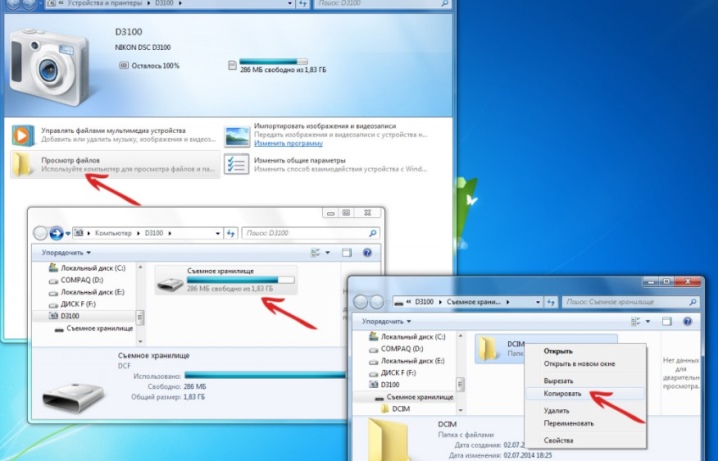
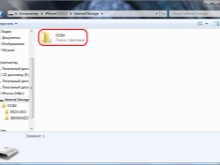
It should be noted that all photos and videos present on the camera are saved in the dcim folder.It is extremely rare that it has a different name.
Like this it is easy and simple to upload images from a digital camera to a computer or laptop. However, this method is gradually fading into the background, because new technologies are constantly moving forward and, for sure, in the near future, only voice notification is required to transfer information from cameras.
How to reset from memory card?
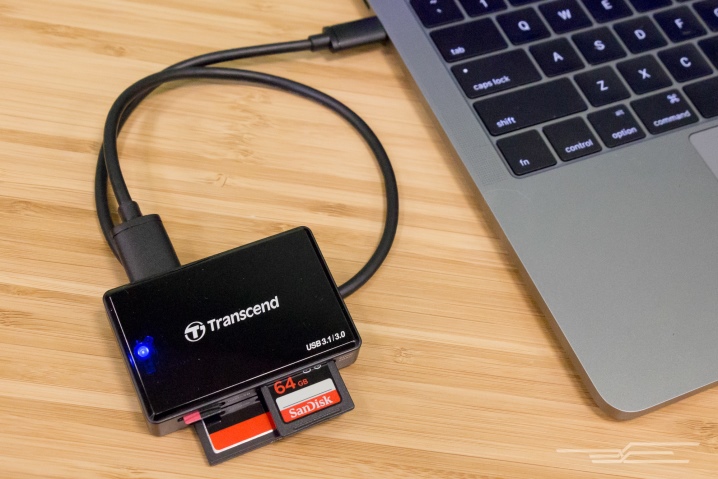
The fastest and most effective way to transfer images and video files from a camera is a card reader. In laptops, this device is built-in, but for a professional computer it must be purchased as an additional device. Outwardly, the card reader looks like a regular flash drive, which has many outputs with different sizes.
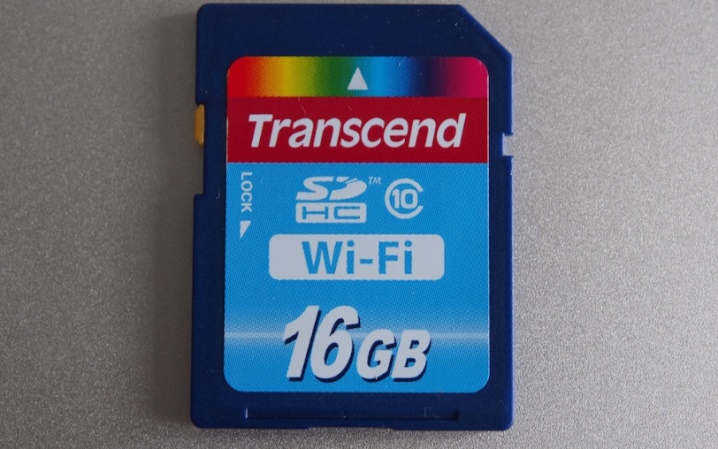
An important advantage of card readers is the speed of transferring files, as well as the availability of access to all documents present on the carrier, regardless of the camera model.
Removing the memory card from the camera is not difficult. The design of the device is equipped with a special connector where it is inserted. Miniature latches that hold the memory card in case of accidental opening of the case cover act as additional protection.
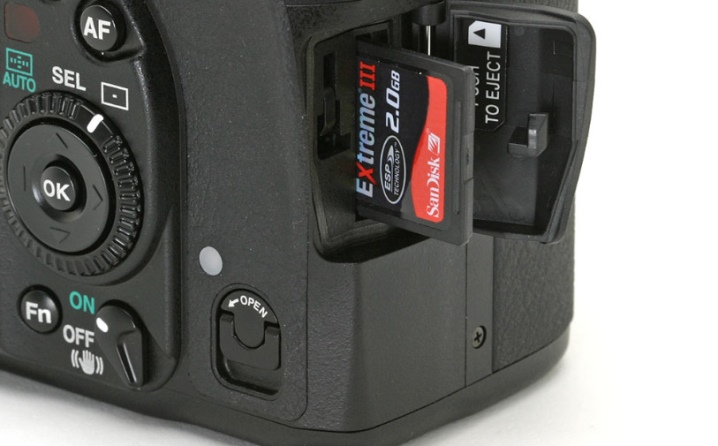
This transfer method is the most convenient for professional photographers. It's worth noting that they usually carry multiple memory cards with them. When one is full, another is installed, then a third, fourth and more. When connecting a memory card, no additional activations are required in the card reader - the device will independently display information from the flash drive on the desktop.
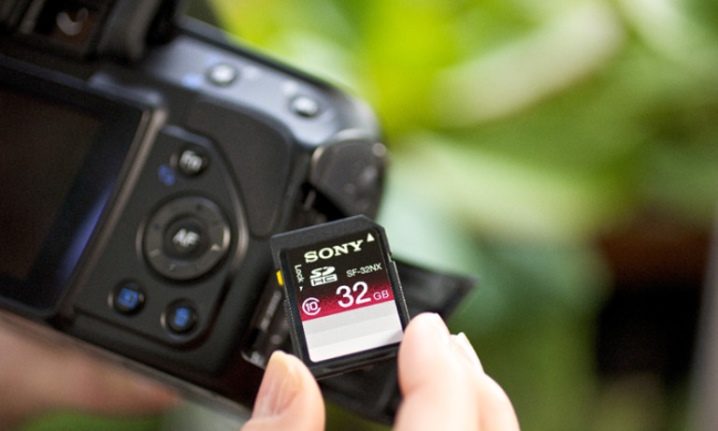
Further, it is proposed to get acquainted with the detailed instructions for transferring pictures from a camera using a card reader.
- It is necessary to remove the memory card from the photo device. For this, the housing cover is removed from the side, and the retaining clips are moved aside.
- Insert it into the card reader. It is important that the memory card is inserted with the correct side all the way, otherwise the card reader will not see it.
- A new window "autoload" will appear on the working screen, where you need to select the item "view files". If suddenly autorun does not appear, you need to go to "my computer" and click on the icon of the active removable disk.
- In the memory card menu, you need to find the dcim folder, where the photo and video information is located.
- Select the required files and copy them to your PC.
How to download with additional software?
Some models of cameras are equipped with special software, thanks to which the work with the data of the camera is simplified several times. Usually this software is contained on a separate disk.
If necessary, it can be downloaded from the manufacturer's official website.
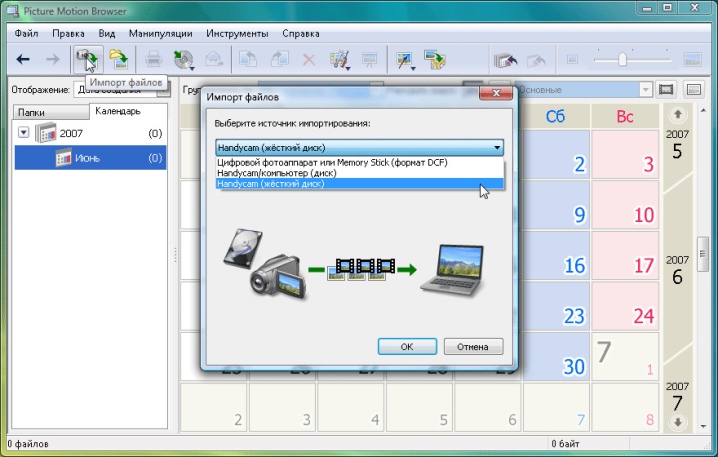
When using additional software, it is important that the camera is connected to the computer with a USB cable. Further steps to work with the program entirely depend on the model of the camera.
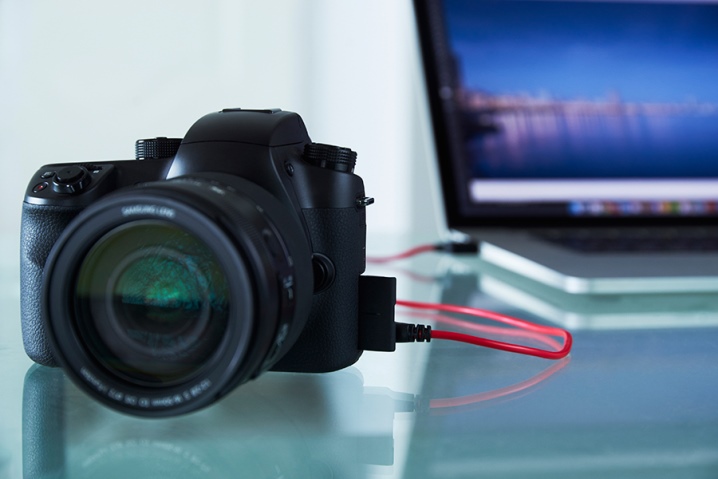
The most interesting thing is that it contains many useful tools that allow you to not only copy a photo, but also change its data.
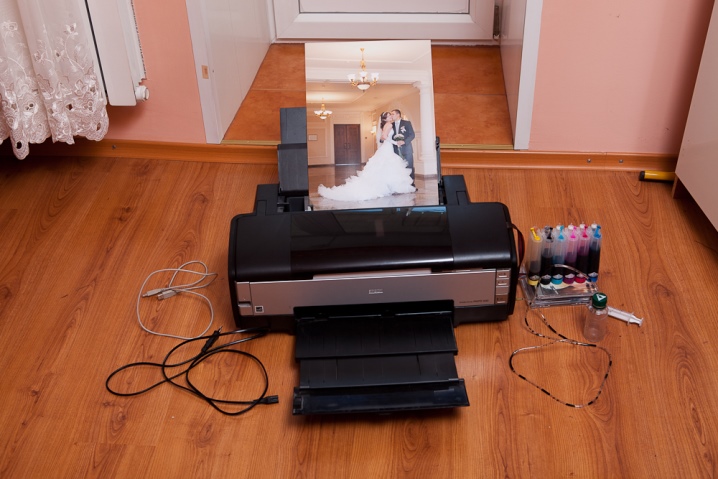
When the camera is connected to a computer via a USB cable, the photosoft window is activated on the desktop, where the necessary function is selected for work. This can be information transfer, deletion, reproduction and even editing. The function of output to the printer is required. Some software builds have a function that allows you to send images by e-mail in a compressed archive.
Additional software is a convenient way to work with information. However, its versions age over time, and updated versions are not always convenient to use, since new, but not always demanded features appear in their work.On the other hand, the main functions are being updated, allowing you to download, cut, and delete information from the device's memory.
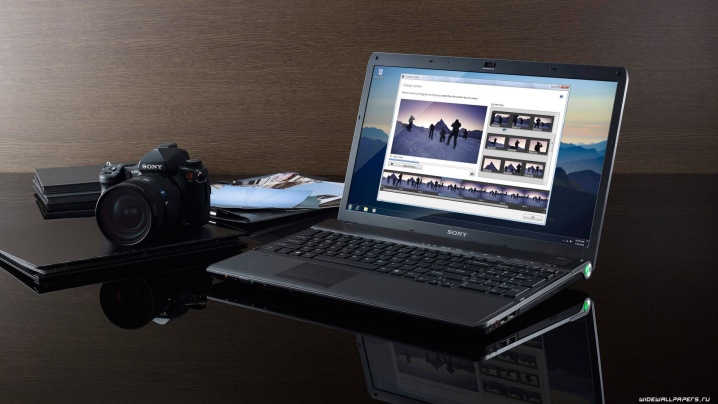
Recommendations
When transferring images from a digital camera to a computer, you can use some additional features.
- By importing photos, you can add additional tags.
- When transferring data, ordering is allowed. Thus, photos and videos will be transferred according to the desired requirements.
- Some cameras have a device stage function that starts automatically when the device is connected to a PC. Do not ignore it, as this function simplifies the ability to transfer data.
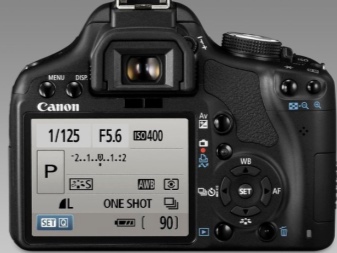
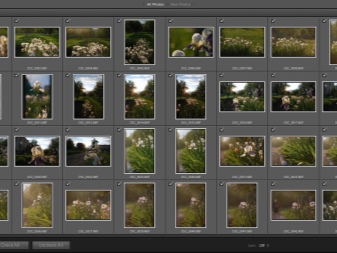
Unfortunately, When connecting the camera to a computer, some problems may occur. The most common of these is a memory card error. However, this does not mean that the information carrier itself is damaged. Chances are good that the connection port is faulty.
You can try to connect the media through a different connector, for example, on the back of the system unit or use a different cable.
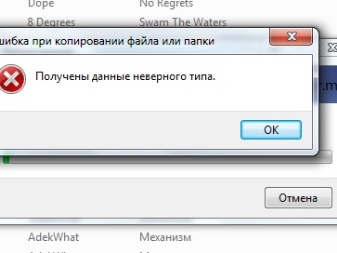
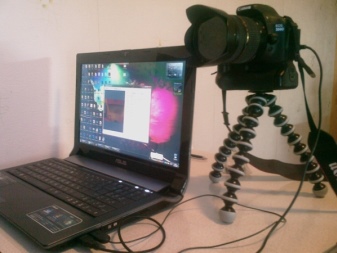
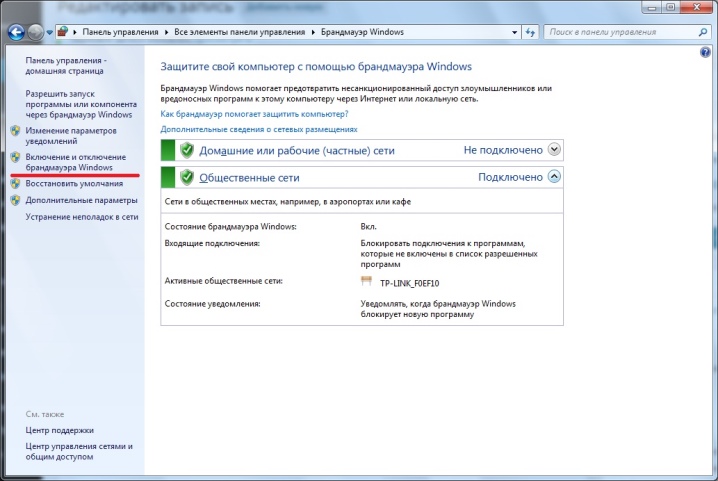
If the computer does not "see" the device itself, then the problem may lie in software locks., for example, in antivirus or built-in security of the operating system. To solve the problem, just turn off the "windows firewall" by going to the "computer security" section. The same must be done with the antivirus. However, it is disabled through individual software.
Another common problem is when the computer does not "see" the camera's flash drive. To do this, you need to remove the memory card and connect it via a card reader.
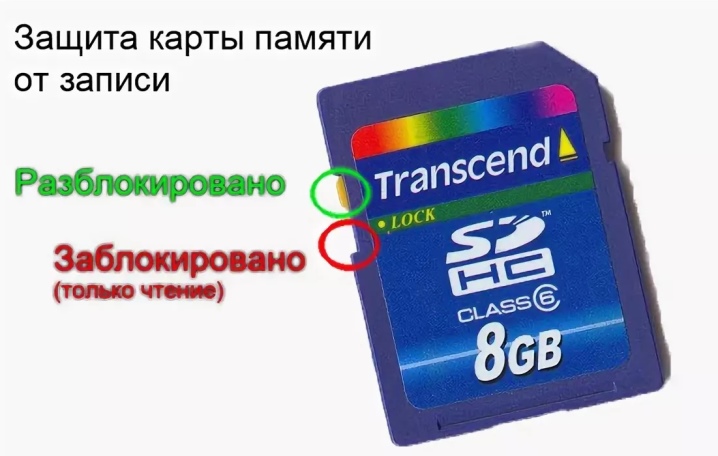
It should be noted that all flash cards have a lock, which, when turned on, does not allow you to cut, delete or copy information... It is a small, movable toggle switch located on the side. To disable the lock, the toggle switch must be turned in the other direction.
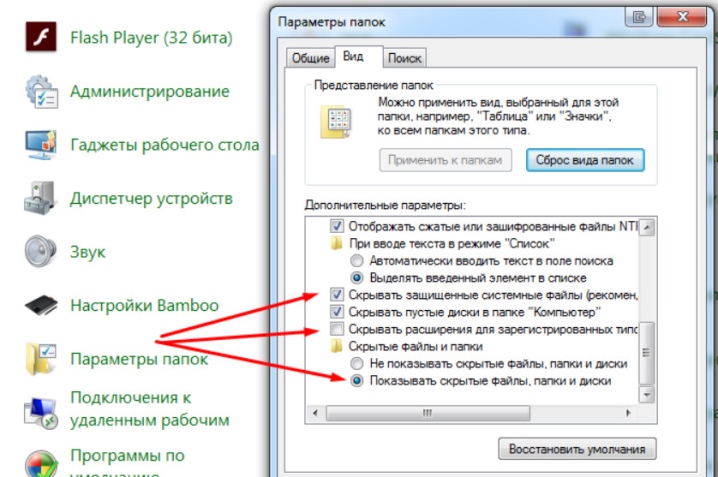
There is another nuisance, which is extremely rare, but very spoiling the nerves of camera owners. There is information on the memory card, but when the camera is connected to a PC, the folder with images does not open. In fact, it's okay, it's just that the information turned out to be hidden. It is enough to activate the display of hidden information on the computer.
The following video demonstrates the process of transferring photos to a computer from a camera.


The comment was sent successfully.