How to fix a plastic apron in the kitchen?
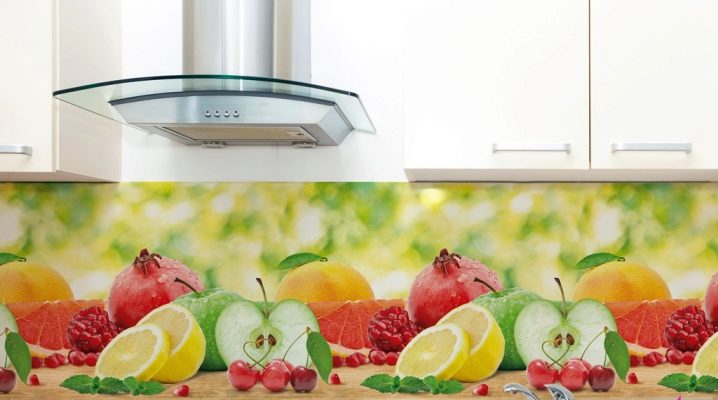
One of the most popular and demanded today are kitchen aprons made of plastic. Such finishing options are distinguished by the widest assortment. In stores, you can find panels in a variety of colors. Original copies with drawings and various patterns are also in great demand. Today we will take a closer look at how to properly attach plastic aprons so that they hold tightly and securely.


What are they?
The so-called apron is installed in the working area of the kitchen. It is on this site that the cutting table, stove and sink are located. In most cases, aprons are installed along one of the walls of the room. Since food is being prepared in that area, the wall there may lose its presentable appearance due to splashes and greasy stains. This is where an apron from a more practical material comes to the rescue, which can be easily washed from any dirt.

Advantages and disadvantages
Plastic aprons are among the most popular, since they have a number of important advantages over other options for such a finish.
- Plastic aprons are inexpensive. This feature is especially important when it comes to decorating a large kitchen, where a rather large apron is needed to close a spacious working area. If desired, such material can be replaced with a new one without serious financial losses. Such a finish with the installation of tiles can cost a tidy sum, and the installation work in this case will be much more complicated.
- When working with such material, there will be relative cleanliness around the master. There will be no dirt or clouds of construction dust. As a result, there will be almost no debris left.
- Installation of a plastic apron does not take much free time. This usually takes no more than one day, especially if you do everything correctly according to the instructions.
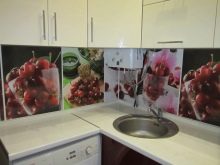
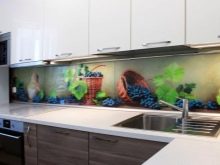
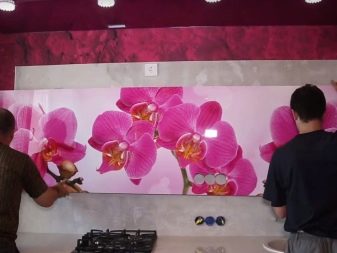
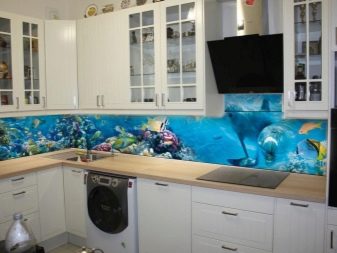
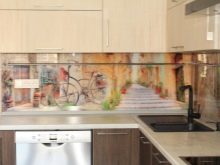
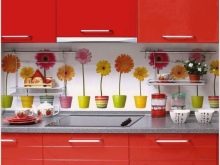
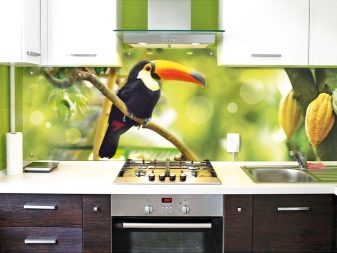
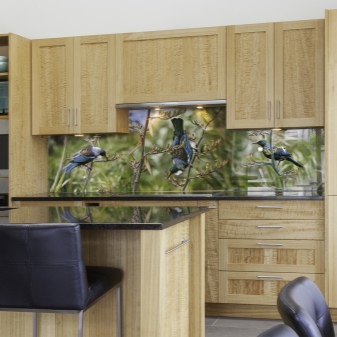
- This finish looks attractive. Moreover, in stores you can find aprons made of plastic, made in a variety of colors and shades. Copies with images are also popular. For example, it can be cute floral motifs, soothing landscapes, animals, or kitchen-themed drawings.
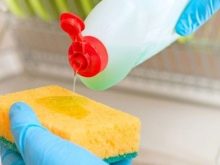
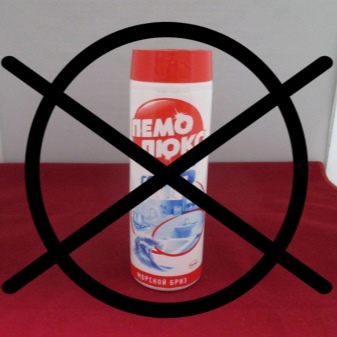
- A minimum of dirt and grease sticks to plastic aprons. If this happens, they can be easily washed without wasting a lot of time and effort. To do this, you need to stock up on an ordinary damp sponge. It is permissible to wash plastic bases using household chemicals. This will not affect the material in any way. Do not just go to abrasive products - they can scratch the plastic.



- A plastic apron does not have a lot of joints in which dirt, grease and dust accumulate. The seams in such variants are barely noticeable, and dirt in them is not clogged.
- The weight of the plastic apron is quite insignificant, which makes it easy to work with. And such a detail will not create serious loads on the wall.
- Plastic is not afraid of harsh operating conditions. This material cannot be damaged by high humidity or temperature extremes. When exposed to aggressive sunlight, the plastic apron will not lose color saturation.

- A high-quality plastic apron will not emit a pungent chemical odor, indicating its toxicity.
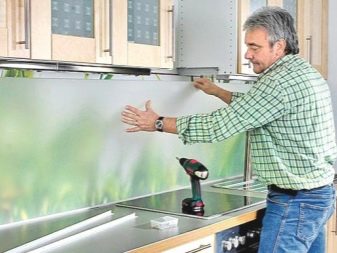
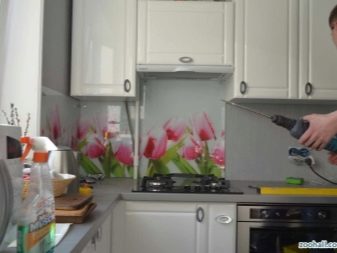
- Installation of such materials is not difficult.Even an inexperienced home craftsman can easily cope with such work.
- Properly installed plastic panels can be easily replaced as soon as you get bored and want something new.
However, the plastic apron is not perfect. And such finishing materials have their weaknesses, which must also be taken into account. Let's get acquainted with the cons of such instances.
- If the slab is placed too close to the plastic backsplash, it may deform. That is why professionals advise you to turn to such materials if the house has not a gas, but an electric or induction cooker.
- Plastic panels do not tolerate abrasive cleaning. Of course, they are more effective, but such an apron cannot be cleaned with their help. Otherwise, the finish will simply quickly lose its presentation. It will be impossible to correct the situation - you will have to change the apron to a new one.
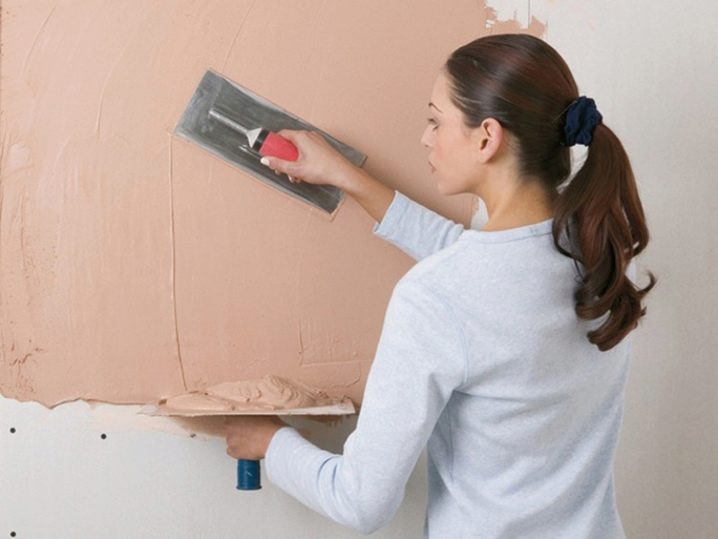
- In many cases, such a detail in the kitchen can be installed only if the wall surface is perfectly flat. Since in modern dwellings with the evenness of the walls, there are big problems, it is necessary to prepare in advance the bases for the installation of plastic panels. This can take a lot of time, effort and materials, especially if the walls are severely damaged.
How to mount on the wall?
It is quite possible to install a kitchen apron with your own hands. Let's get acquainted with several ways to fix such a finish.
On guides
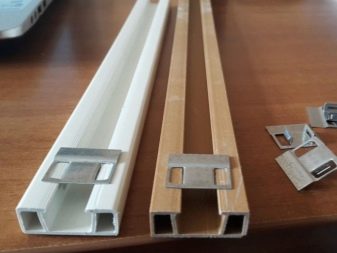
As mentioned above, a plastic kitchen apron is inexpensive. That is why such finishes are often replaced as soon as the old one gets bored. If you suppose that over time and you want to turn to the installation of new plastic parts, then it is worth installing them on the wall using rails, which are metal slats.
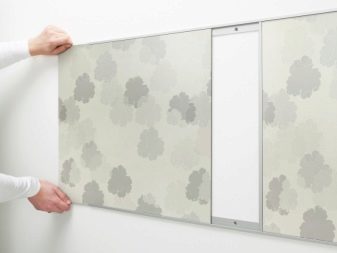
The guides must be attached to the walls using self-tapping screws. The plastic panels are simply attached to these rails like rails. If necessary, they can be nominated, and new elements can be installed.
Self-tapping screws
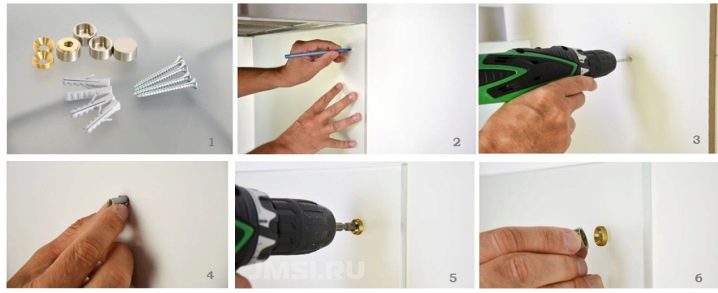
If you want to install a plastic kitchen apron thoroughly and are not going to replace it in the near future, then you should turn to fixing it to self-tapping screws. Plastic can be drilled through without problems. But it must be borne in mind that for this method of installation, you will need to prepare the walls - they must be perfectly flat, without potholes and drops. Do not be afraid of traces of self-tapping screws that appear on plastic decorative coatings. If desired, they can be easily and quickly closed using special color-coded plugs.
With this method of fastening, the plastic apron will not fit snugly against the wall base. There will be a small free space behind this part. Many craftsmen hide unattractive electrical wiring there, making the interior more aesthetic and neat. In addition, the self-tapping apron can also be easily removed as soon as you want it.
On the crate
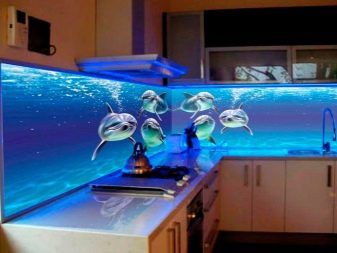
This is another popular way to install a plastic apron. It should only be consulted if the kitchen area is not too small. Many users prefer not to waste time by installing the apron directly on the rough base of the wall, but here you can encounter significant irregularities. In this case, the installation of the lathing can save the situation.
The lathing is a set of metal slats or wooden blocks that are attached to the wall base around the perimeter of the future kitchen apron. First, a kind of square is formed on the wall, which has the same dimensions as the plastic part. After that, vertical and horizontal strips are installed inside this square using self-tapping screws.These parts are needed to make the design more sturdy and reliable. A plastic panel is also attached to the resulting crate with self-tapping screws. At the same time, there will be a small free space between the apron and the wall, where it will be possible to place electrical wiring or build a beautiful backlight.

On glue
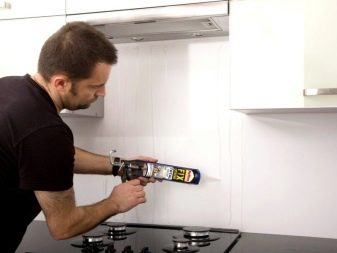
You can attach a plastic apron using high-quality adhesive. This installation method is rightfully recognized as the simplest and most understandable. Even a beginner can cope with its implementation.
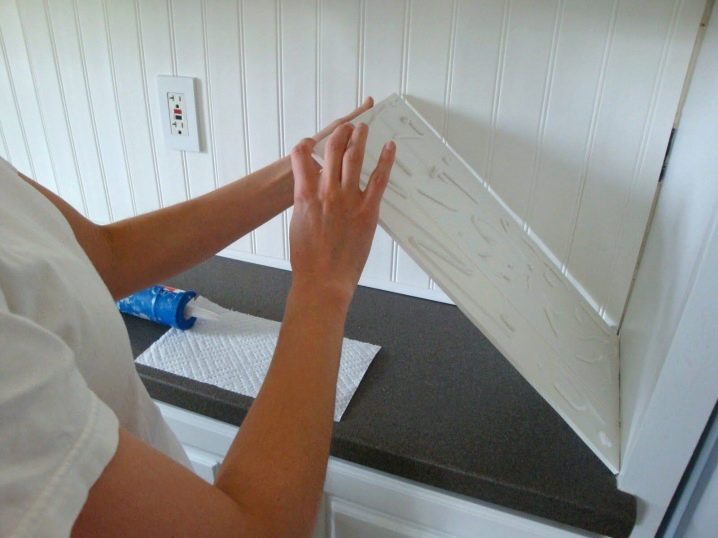
In this case, you can use special high-quality glue or good liquid nails for fixing. Of course, it is better to turn to the second option. The glue will need to be applied to the prepared wall base in thin stripes, maintaining a very small gap between them. After that, the selected plastic panel simply needs to be pressed against the applied adhesive.
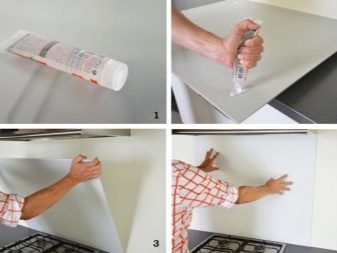
The main advantage of this installation method is its simplicity and speed of implementation. However, one must take into account that sticking a plastic apron will work well only in a well-prepared base. The wall should be perfectly flat and neat. There should be no marks from the old finish on it. Potholes, irregularities, chips and cracks are also unacceptable.
You will have to get rid of any defects if you want to glue the apron, and not build a crate specially for this. If you neglect this rule and are too lazy to prepare a wall that has irregularities, then you should not expect a long service life from the apron. Soon it will simply cease to hold on to such a foundation, even if you spend a lot of glue on it.
Beautiful examples
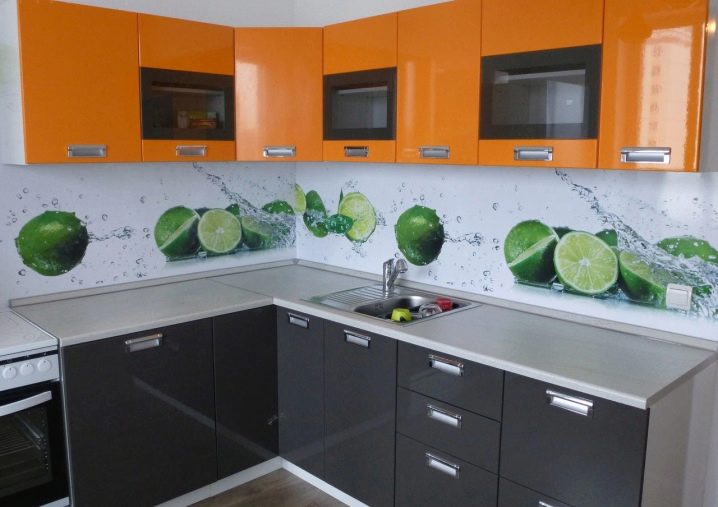
A snow-white plastic apron with expressive images of juicy fruits will look great in tandem with a set, in which the upper part is made in orange colors, and the lower pedestals are in black.
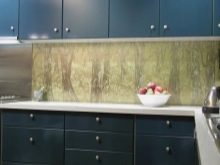
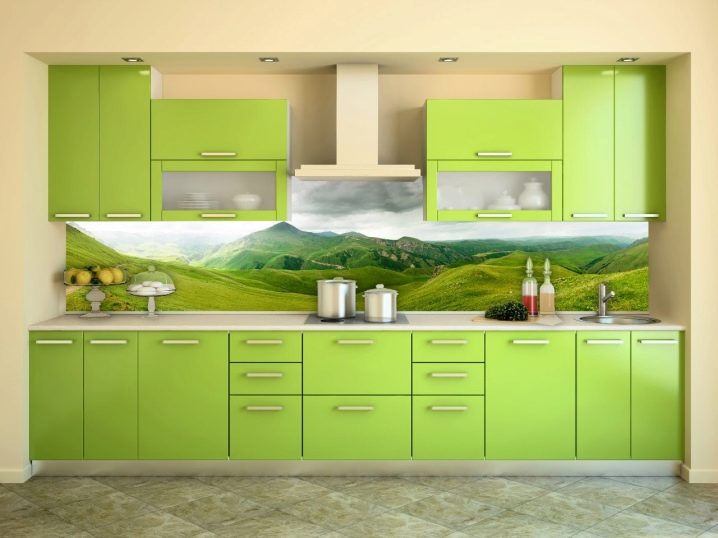
Images of lush green landscapes on a plastic apron will be a great addition to a glossy pale green headset with matte steel fittings.
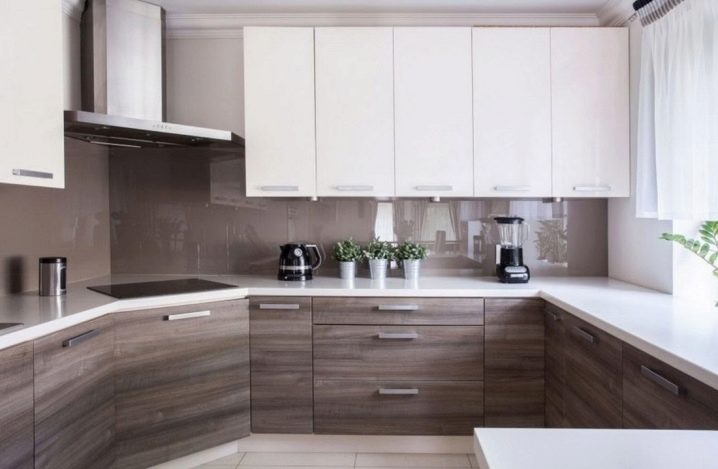
Against the background of the headset, in which the lower cabinets are made in a gray-brown shade of wood, and the upper cabinets are painted in white, monochromatic glossy PVC panels will look organic. Their color can be milky, beige or cream.
For information on how to attach a plastic kitchen apron, see the next video.


The comment was sent successfully.