How to make a door with your own hands?

Doors are one of the important elements of the interior, although they are not given as much attention as furniture. But with the help of the door, you can supplement and diversify the decor of the room, create coziness, an atmosphere of security and a zone of personal space, prevent the penetration of unpleasant odors, cold and moisture, and much more. More and more home and apartment owners prefer to make door designs with their own hands. They can be understood, because a hand-made product has a number of significant advantages over factory brethren.
Advantages and disadvantages
There can be many reasons why the owner of a living space has a desire to make interior doors with his own hands.
- Taking on work independently, a person can be absolutely sure of the quality of the materials used for the product.
- He becomes the owner of a unique interior or entrance door that fits perfectly into the decor of the room and the doorway itself.
- It significantly saves money, because most of the models in furniture showrooms and specialized stores go on sale with exorbitant markups from intermediaries.
But at the same time, despite all these positive aspects of handicrafts, it is important to understand that a lot of efforts must be made to ensure that the end result is a reliable, original and pleasing to the eye interior door that can serve its creator for many years. And for this, you first need to find out all the secret sides of making interior doors with your own hands.
Varieties
Various door designs can be divided into several groups, based on certain characteristics of the product.
According to the structure of the door, there are:
- Paneled, this type of door consists of several components (base or frame, panels);
- Shield, they include one element.
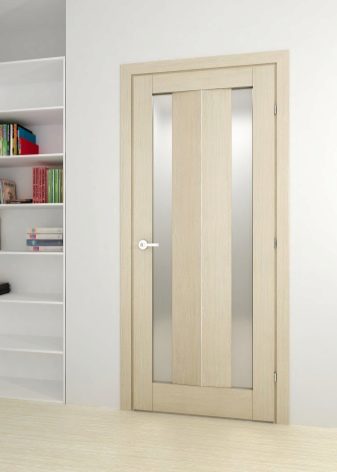
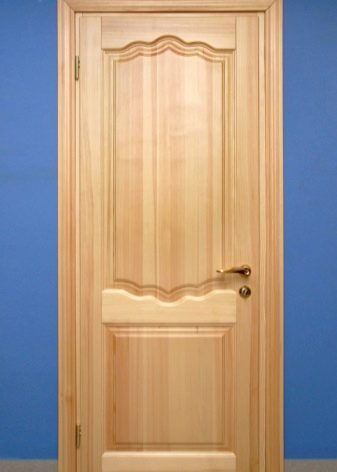
According to the material used for the manufacture:
- wooden;
- wood fiber;
- plastic;
- laminated;
- metal;
- glass.
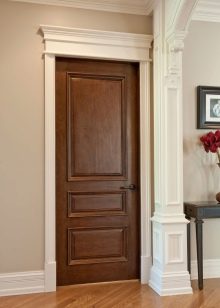
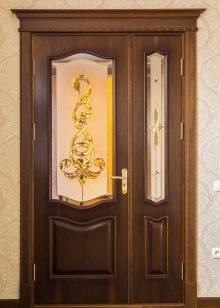
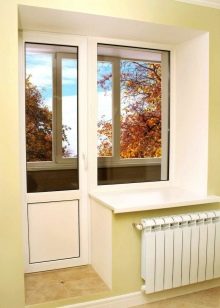
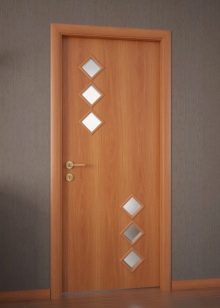

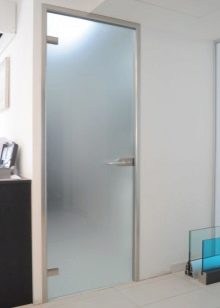
By opening method:
- swing;
- sliding;
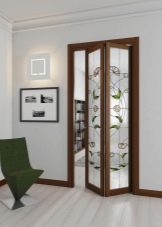
- folding;
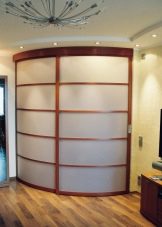
- radial.

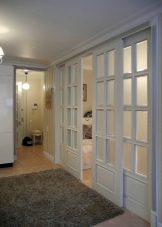
By type of castle:
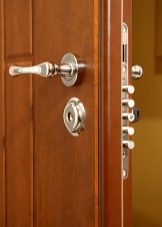
- rotary;
- levers;
- granary;
- smartlocks.
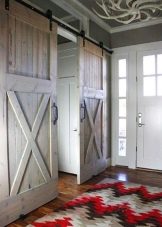

Choosing a material
In order to choose the right material, you must first decide on the type of product, as well as its purpose.
Mainly used for the manufacture of door structures:
- various tree species (pine, oak, alder, larch, beech, birch, ash and others);
- wood-fiber panels (chipboard, laminated chipboard, MDF);
- plastic;
- glass;
- metal;
- fittings from various materials: from wood to forged elements.

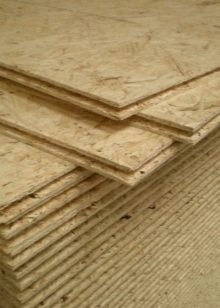

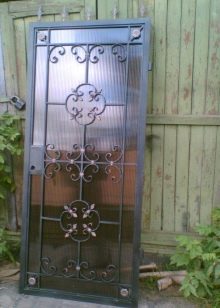
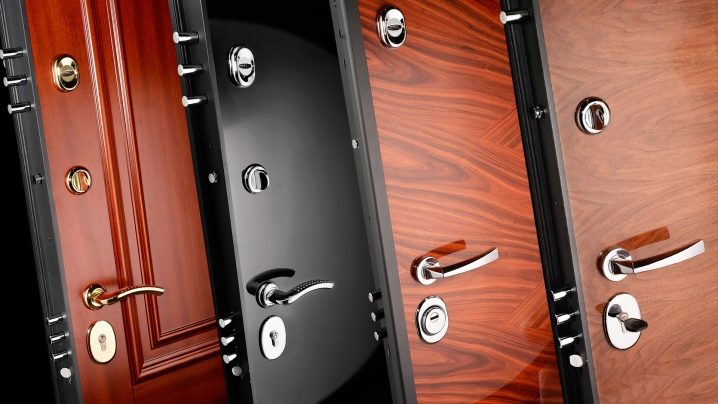
High-quality material, selected for the manufacture of doors, is a guarantee that the product will be of high quality and will last long enough and faithfully.
More than 50% of the door's reliability depends on the selected material, everything else consists of the manufacturer's ability to process this material and what tools he will use for this.
Step-by-step instruction
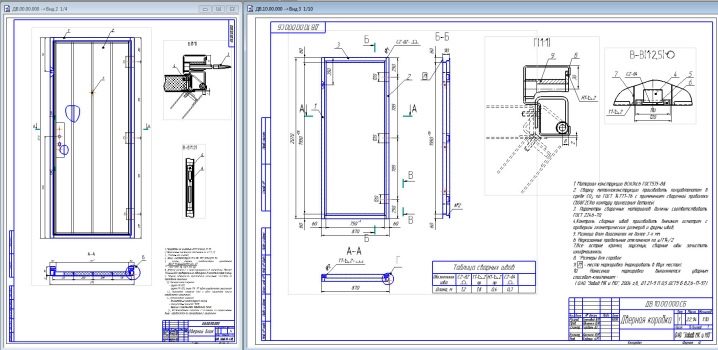
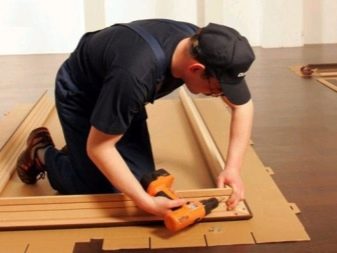
Before proceeding with the manufacture of the door, it is necessary to use up a lot of paper and, firstly, create a drawing with all dimensions, and, secondly, make a list of the necessary materials and tools.
Only after a well-planned sequence of actions can you start the work itself, otherwise there is a risk of missing something important or incorrectly calculating.
Of the tools you will definitely need:
- various cutters for a hand router and the machine itself;
- saw;
- Bulgarian;
- drill and screwdriver;
- measuring instruments;
- screwdrivers and chisels;
- hammer and more.

The work and manufacturing plan directly depends on what type of interior door was chosen.
It will consist of several steps:
- measuring the doorway;
- cutting out the necessary elements of the door structure;
- assembly of the door frame and door leaf;
- determination of the location of fittings and fasteners;
- processing and decoration;
- mounting;
- installation of additions and cashing.


How to mount an accordion door?
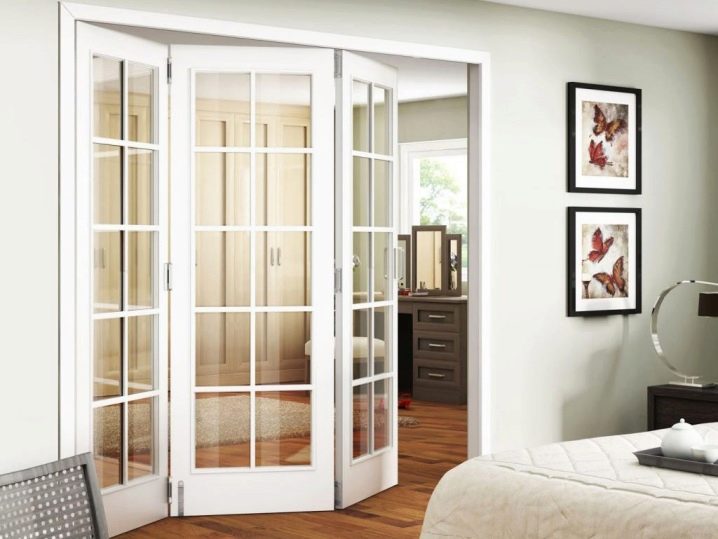
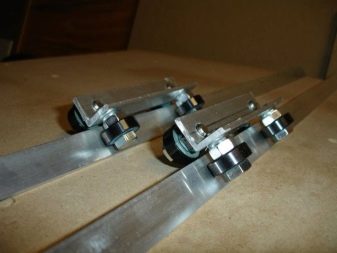
Folding doors are becoming more and more popular and preferred by homeowners. Many people doubt that it is possible to make hinged doors on rollers with their own hands. The seemingly non-standard and complex design is actually very simple in its design and manufacture. Accordions consist of several narrow door leaves, fastened together with hinges, and this structure moves along guide rails on rollers or carriages made of rubberized plastic.
The advantage of these products lies in the rational use of space, and the disadvantage is in poor sound insulation and the absence of a worthy barrier for extraneous odors.

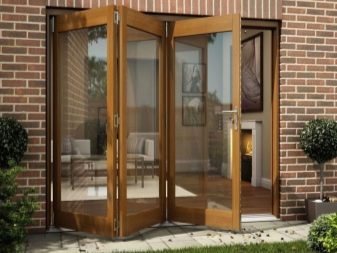
Let's move on to the most important thing - making a hanging folding door with our own hands. It is necessary to start the process by choosing the main material for the structure. The accordions are unpretentious in assembly, so almost any material is suitable for their manufacture, the main thing is that it is not heavy and not massive.
The large weight of the canvases can create additional difficulties in manufacturing, for example, it will be necessary to install additional guide rails both above and below.
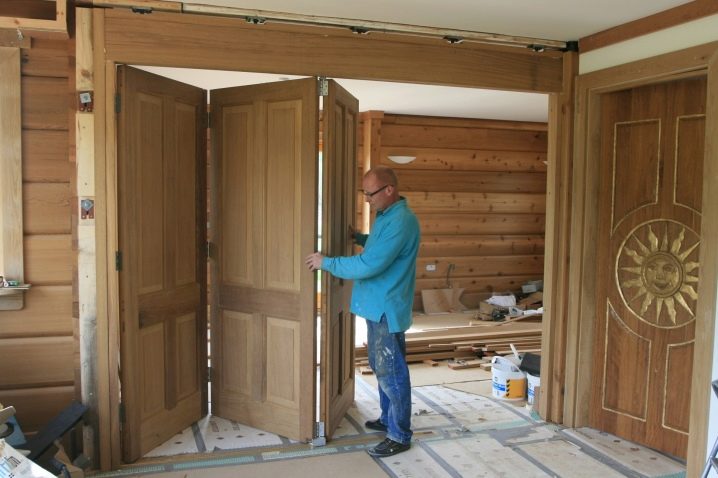
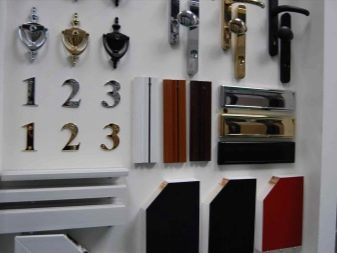
The most suitable materials for the manufacture of accordions are wood, chipboard or MDF panels, as well as plastic. As for the fasteners and fittings for folding doors, everything is quite simple here too - the necessary elements can be easily purchased in specialized stores. You will need guide rails, carriages or rollers, hinges or hinges, landing plates, as well as screws and bolts, the same goes for door handles and locks.
It is only worth considering that ordinary fittings are not suitable for folding products, locks must necessarily be designed for accordion doors, and handles should be lightweight and as close to the surface of the canvas as possible, so as not to impede the movement of the structure.
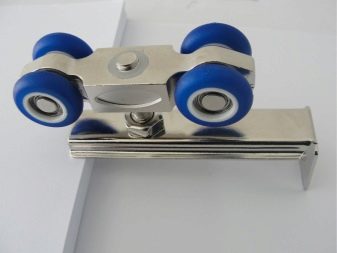
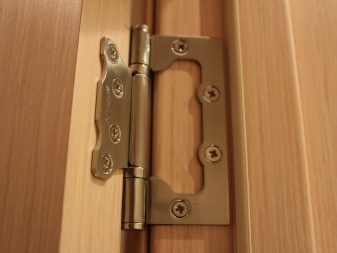
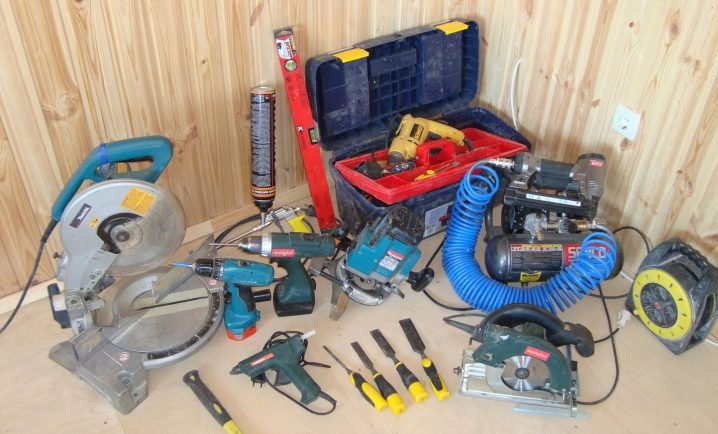
Of the tools you will need:
- jigsaw;
- drill with various attachments;
- construction glue;
- measuring instruments - tape measure, level and metal ruler;
- pencil.
The most important thing in the manufacture of an accordion is correct calculations and measurements in the project. Accordion doors, folding like a musical instrument of the same name, can consist of any number of canvases, and also have one, two or more leaves, depending on the doorway. And the canvases can move both from one edge to the other, and from the door frame to the central point of the opening.
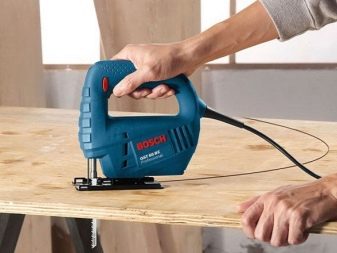
After making the calculations, you can start cutting the canvases for the door sashes. For aesthetics and safety, the sawn parts of the future door structure are treated with sandpaper, then wiped with a dry cloth and covered along the edges with protective edges made of PVC panels using construction glue.But this must be done if the product is made of wood or chipboard and MDF boards, glass and plastic canvases do not require this processing.
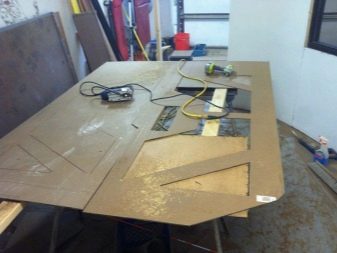
The next step is to mark the location of fasteners and fittings, as well as drill these holes. Each sash must have its own carriage or roller and at least three hinges or hinges; for more massive structures, this number should be increased.
It is necessary to assemble the door leaf only in a horizontal position, otherwise it may be deformed or displaced.
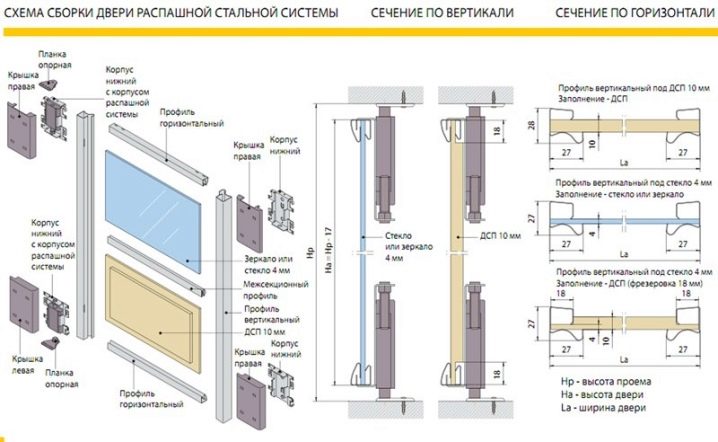
Folding doors are easy to manufacture - you just need to mount the guide rail in the ceiling or in the floor and ceiling to create additional safety and durability during the operation of the product. The outer belts of the accordion are not equipped with hinges, since on one side there will be a fastening system for the door jamb, and on the other there will be a handle or lock. The accordion is attached to the door jamb using axial pins, of which there must be at least two pieces: top and bottom. Sliding doors are inserted into them into special grooves that are located on the floor and ceiling.

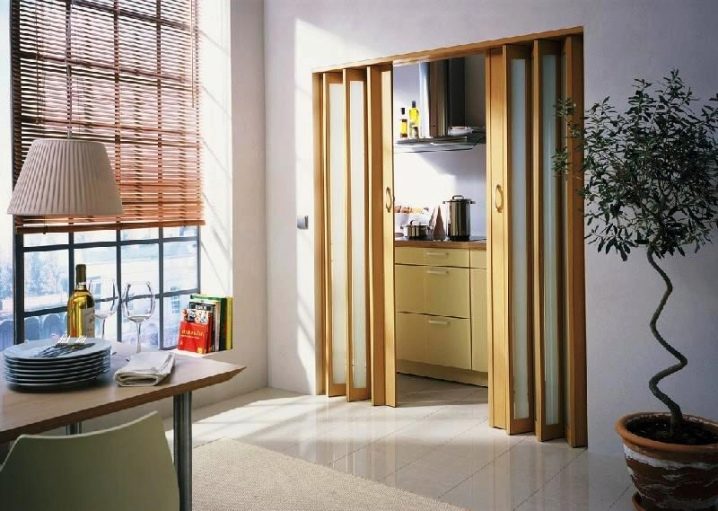
Do-it-yourself accordion doors are an excellent solution to save not only space, but also your own funds. Due to the simplicity of this design, a wide scope of thought and imagination opens up to create unusual models that can decorate any interior.
An accordion door can serve not only as an interior door, but also as a partition, a screen door, and if the walls are made of plasterboard, then it becomes possible to make a structure sliding into the wall during additional installation work.
Single leaf plywood products
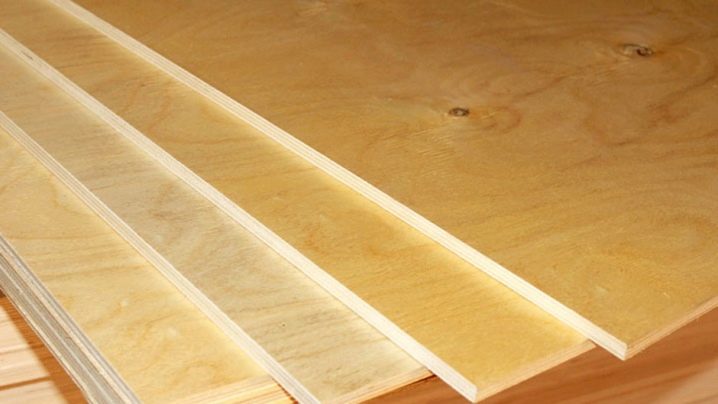
Another easy way to make a door yourself is to choose a material such as plywood for making it. This product can be of two types: structures consisting of one layer, and frame products from two layers of plywood. Both types have their own advantages and manufacturing characteristics. Let's consider them in more detail separately:
Single layer constructions
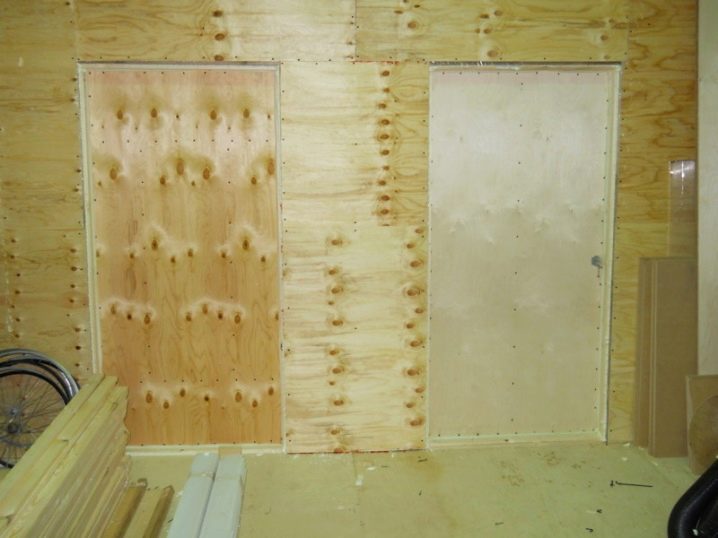
As the name implies, this type of construction consists of a sheet of plywood, which is necessarily reinforced with wood slats on both sides. The result is a fairly lightweight and easy-to-manufacture product that does not require special material and physical costs for its creation.
Frame doors
This type of construction, in turn, consists of two sheets of plywood, between which there are either stiffeners or insulation. Such a door allows you to make an additional level of sound insulation, and it also retains heat well in the room.
Making a frame door is a little more difficult than an ordinary single-layer door, but, nevertheless, any person can do it, even without experience, the main thing is to be patient and follow the instructions clearly.
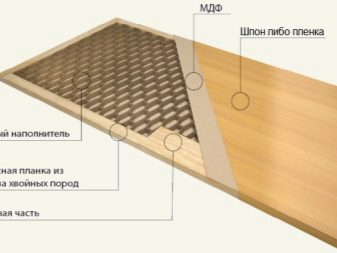
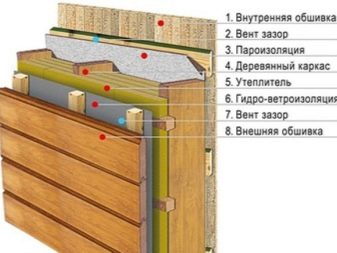
Having decided on the choice of the plywood door design, the owner can start creating a project and measuring the parameters of the doorway in order to draw up a drawing of the future door and calculate the required amount of materials. After all the manipulations with the measuring tape, tape measure and level are done, you can safely arm yourself with a shopping list and go to the hardware store.

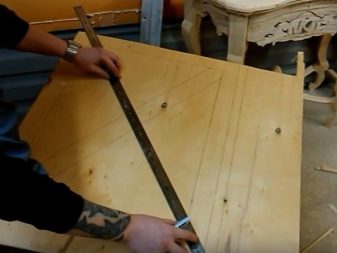
For a plywood door you will need:
- plywood sheet (s) of the first or second grade;
- wooden slats from 10 to 15 cm wide;
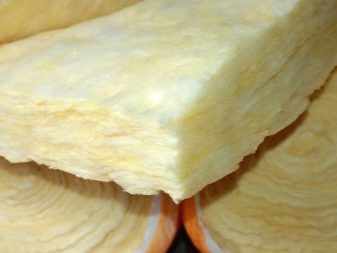
- insulation, for example, glass wool (required only for a frame door);
- set of accessories.
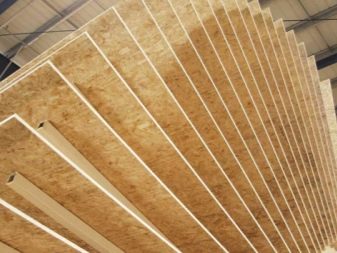

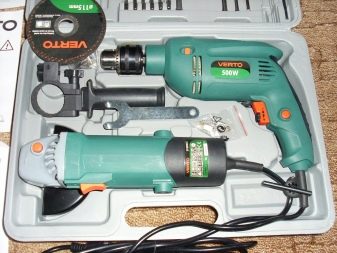
Crafting tools:
- drill;
- jigsaw;
- screwdriver;
- glue;
- sandpaper;
- screwdriver;
- measuring instruments and pencil.

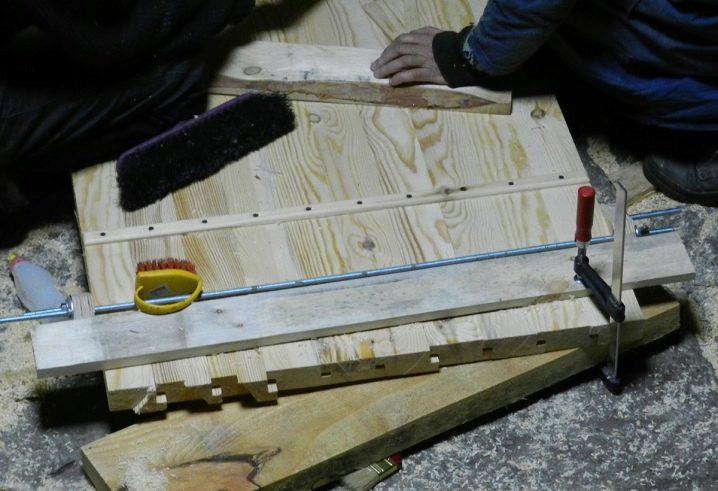
A single-layer door is made according to a simple scheme:
- the plywood sheet is cut according to the parameters of the doorway;
- wooden slats are attached with glue or with screws on both sides of the sheet;
- holes for fittings are cut;
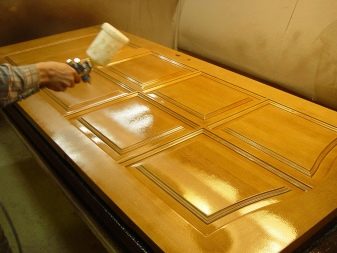
- the finished product is processed with sandpaper and covered with putty, then either painted or varnished;
- fittings are installed.
The process of creating frame doors is more complicated, but the result exceeds expectations in terms of quality and reliability of the structure.
The manufacturing scheme is as follows:
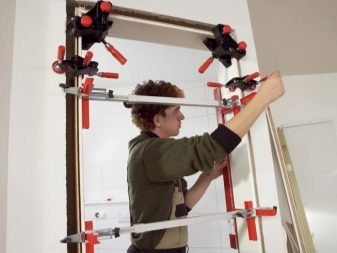
- the door frame is made of wooden slats or bars, they are fastened to each other either with glue or with screws;
- then, by analogy with a single-layer door, two sheets of plywood are cut out, one of which is attached to the frame immediately with the help of self-tapping screws;
- after the insulation is laid;
- the second plywood sheet is attached to the frame;
- the next step is marking and drilling holes for the fittings, at this stage the locking mechanism of the lock is installed if the door is entrance, not interior;
- the product is sanded, processed with putty, painted or varnished;
- fittings are installed.
We make from lining
It is more difficult to make a door from a lining on your own than from plywood, since working with drawings becomes much more complicated, and there are much more elements. Lining products are very popular in country houses and baths. Due to its properties, wood retains moisture well and retains heat, but only with proper processing.
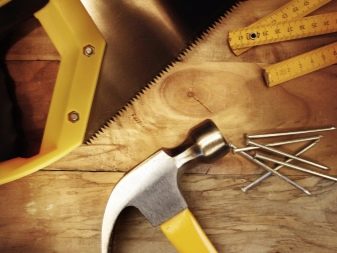
To make a door structure from a lining, you will need tools:
- electric drill;
- saw or jigsaw;
- measuring instruments - level, tape measure;
- primer;
- hammer.
Materials:
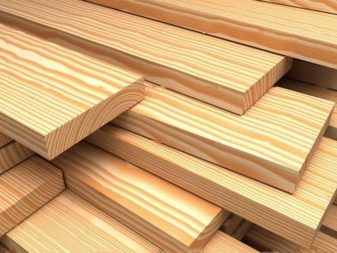
- wooden boards;
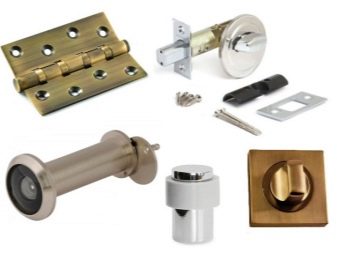
- fittings and fasteners.
Agree, the list is quite short and consists mainly of improvised means, and all its components can be easily found at home. As usual, door creation begins with the door frame and measurements of all quantities. Since wood is a fairly heavy material, the box must meet these parameters and be very strong. If the door frame is weak, then it is recommended to strengthen it with a wooden beam up to 10 cm thick. After creating the door frame, you can start making the door itself.
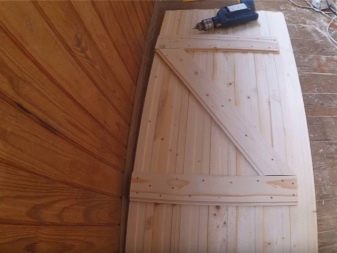
The existing boards are cut into two elements, which will have to become the end part of the door, their length should be the required height of the door structure, for example, 180 cm. Corresponding holes are cut on the boards for attaching other structural elements by analogy with the designer. Then you can start making horizontal structural elements, there may be several of them, but certainly not less than two. These parts are inserted into the grooves of the vertical elements and secured with nails.
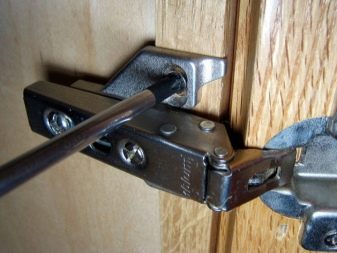
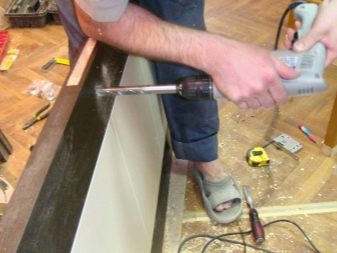
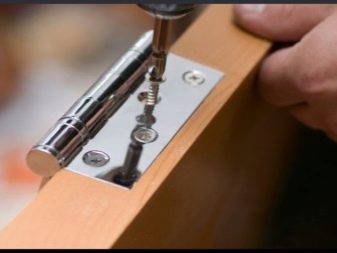
After the base of the structure is created, you can start filling it, for this at least 40 boards are cut, provided they are horizontal. These elements also need to be inserted into the grooves of the main structure and secured with nails. After that, a cut of holes for the fittings is made, if necessary, the door is covered with specialized compounds, for example, a primer, varnished, decorated and only after that all the fittings and fixing elements are attached, and the hinges are cut in.
In addition to the classic door structure from the lining, sliding doors can also be made, while a minimum of effort, skills and material costs are required. First, you need to create the basis of a sliding structure, for this, boards with a section of 10x2 cm are used, respectively, the size of the structure depends solely on the parameters of the doorway. After making the frame, the rest of the elements are prepared. For the door leaf, the lining is cut to the appropriate parameters and glued together, boards are also attached from below and from above, and it is recommended to attach a horizontal crossbar to the front side of the door, or arrange it diagonally, this will give the structure additional strength, and also serve as a decorative element.The whole structure is fixed with self-tapping screws, including fasteners, and is put on the main frame, equipped with guides and rollers, which allow the door leaf to move.
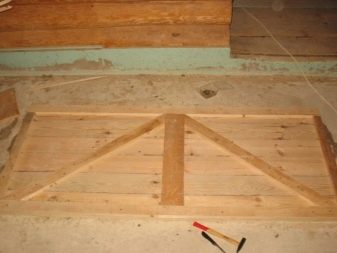
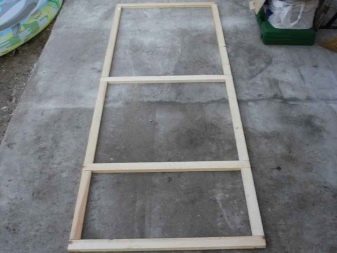
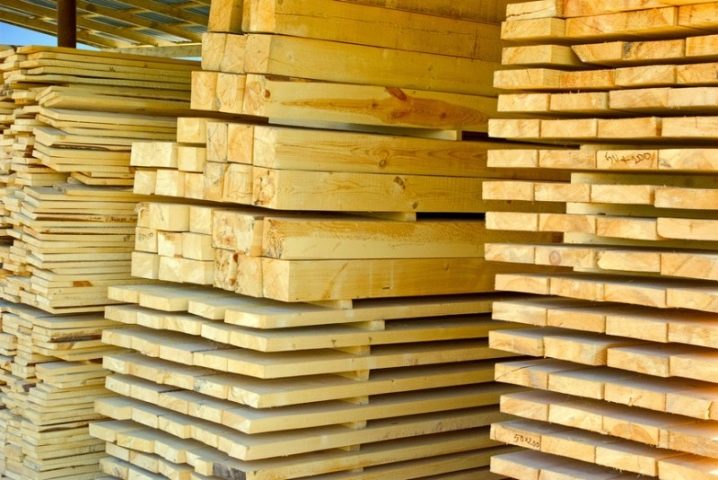
Important: before starting work with wood, it is necessary to dry it, otherwise the installation of these elements will lead to deformation of the main structure, as well as chips and cracks when trying to drill or cut it.
Before painting, the wood panel must be primed; painting can also be done only after drying.
Paneled mechanical models
Making a paneled door yourself is not as easy as it seems, but it is quite possible if you are guided by the tips of professionals and follow a clearly described plan.
You also need to stock up on the necessary tools and materials:
- jigsaw or hacksaw for cutting wood;
- chisel;
- measuring instruments and pencil;
- screwdriver;
- sandpaper of several types with different surfaces;
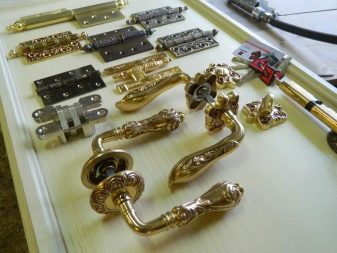
- fittings and fasteners;

- wood - beams from 5 cm wide;
- sheets of plywood, chipboard, chipboard or MDF;
- glass;
- glue and wood processing products.
For the manufacture of a door, it is better to choose wood with a high level of strength and moisture resistance, most often it is oak, pine or ash. Additional door elements - panels can be made from MDF or chipboard panels, but glass or stained-glass windows are also suitable.
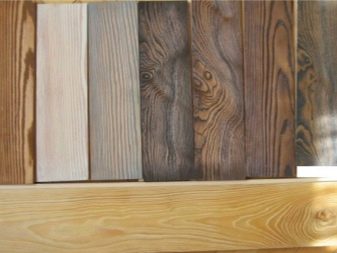
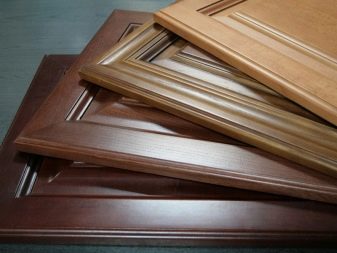
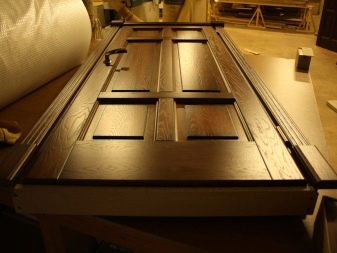
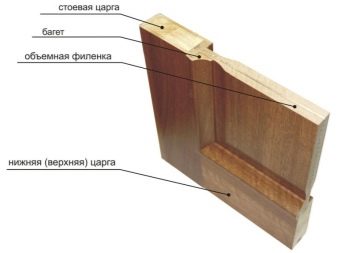
Work on a door structure begins with measurements and creating a sketch; for beginners in the manufacture of this type of product, it is better to start with a simplified door with five to six panels. Taking into account all the parameters and dimensions, and after creating the door frame, the base for the door is made - 2 vertical and 2 horizontal elements, as well as several panel dividers, which will also increase the strength of the product.
All elements are fastened using grooves, which can be additionally processed with glue for a higher level of fixation and strength of all elements.
Then you can start making panels, this is one of the simplest tasks, you just need to cut out a part of the required size from the material selected for the panel. Then they are attached to the main structure.
After the door is processed with special compounds, all joints are hidden with spars, then the product is decorated, after which it becomes ready for installation.
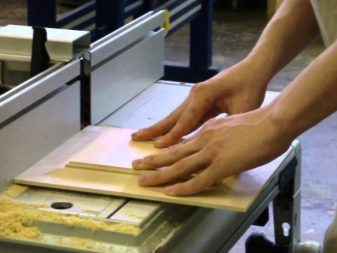
How to make a door frame yourself?
The door frame is the basis of the door structure, it is a guarantee of its quality and strength, long service life, as well as an attractive appearance. It is with the preparation of the doorway that all work on the manufacture of the door begins - this is the supporting sheet of the entire product, as well as the place for installing the lock plate. It is quite simple to make a door frame, but only with a responsible attitude to this stage of manufacturing can you eventually get a good result and a door that will fulfill its direct responsibilities. The manufacturing scheme does not contain anything complicated.
Most often, the same materials are used for the manufacture of the box as for the creation of the door leaf itself: wood, MDF or metal. The highest performance belongs, of course, to wood.
Any type of wood can be used for the box, but it is important to consider its properties.
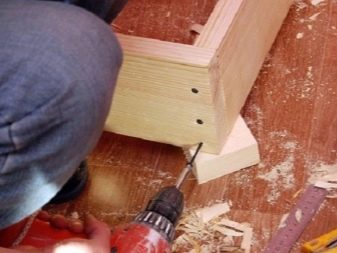
Let's look at an example. Most often pine is used for door frames. This is a material with a democratic cost, which corresponds to the quality, but pine is categorically unacceptable for entrance doors, since it has properties such as softness and elasticity: such a product will not be able to have a high level of strength, which means it will not be able to perform its direct functions. Oak is better suited for entrance doors, while pine is an excellent solution for interior designs.
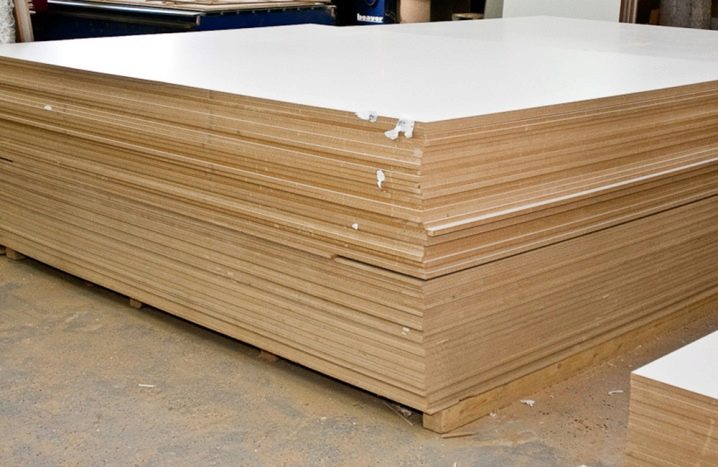
Important: as for MDF and metal, here it is worth considering a few facts.MDF is an attractive, inexpensive material, but its level of strength is very low.
Metal is a durable and high-quality alloy, which at the same time does not look very aesthetically pleasing.
Thus, MDF boards are the lot of interior doors, and metal is the entrance. But if it is easy to work with wood fiber, then metal structures require remarkable skills of a welder.
Traditionally, the manufacture of a door frame begins with careful measuring manipulations, which should be done after dismantling the old structure. It is necessary to measure the sides of the doorway, as well as the threshold and the upper part of the opening, then calculate the required amount of material. The width of the door frame is directly proportional to the width of the walls.
The next stage is cutting the material and joining the structure. It is extremely important to decide on the type of connection. Experts prefer the groove technique, it is considered the most reliable, but it is quite difficult to cut all the grooves on your own.
For beginners in this business, there is another way to connect the door frame - diagonal.
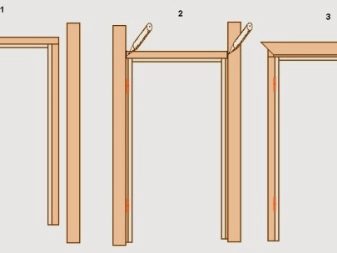
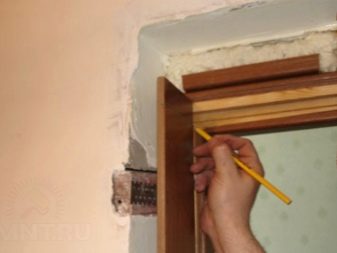
The upper edges of the vertical and horizontal elements are sawn off at an angle of 45 degrees, thereby forming the diagonal joints of the structure.
It is very important not to be mistaken with the angle by one degree, otherwise the structure will turn out to be unsafe in operation and deformed.
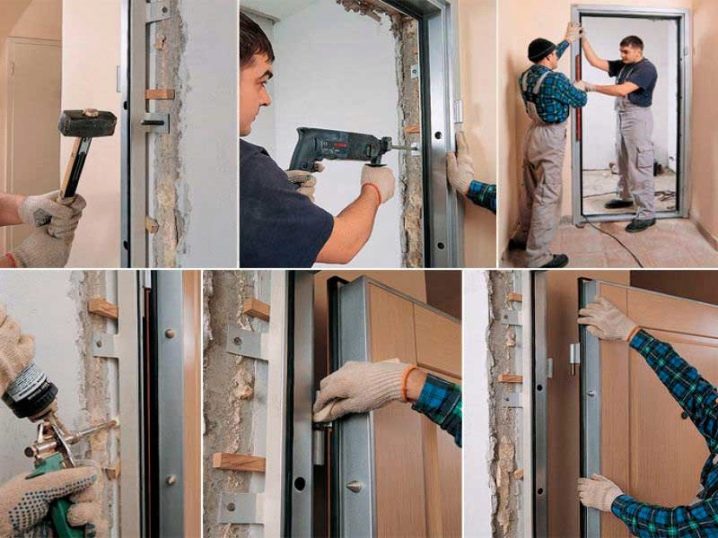
If all measurements are made correctly, then you can proceed to the assembly of the structure and its processing, and then to the installation. This process is quite simple, but in the final stages, some nuances may arise.
When installing the door frame, you must:
- make sure that the box matches the parameters of the door;
- mark all areas where hinges or other fasteners will be located;
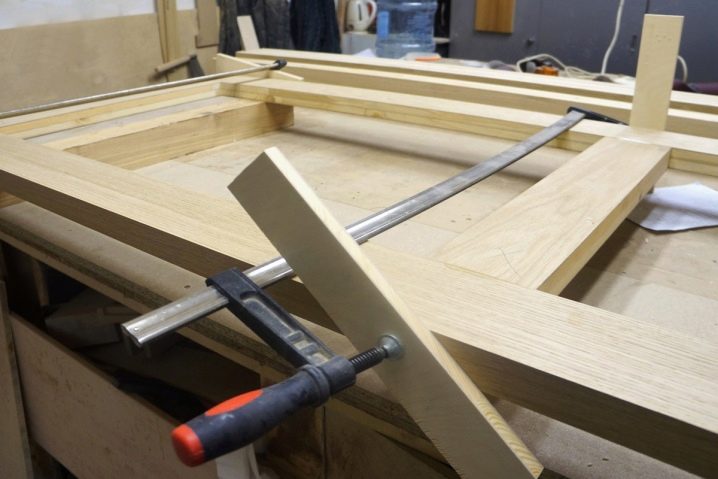
- mount the box in the doorway, adjusting all the values using a plumb line and level;
- fix the position of the door with pegs or strips;
- fasten the structure with bolts;
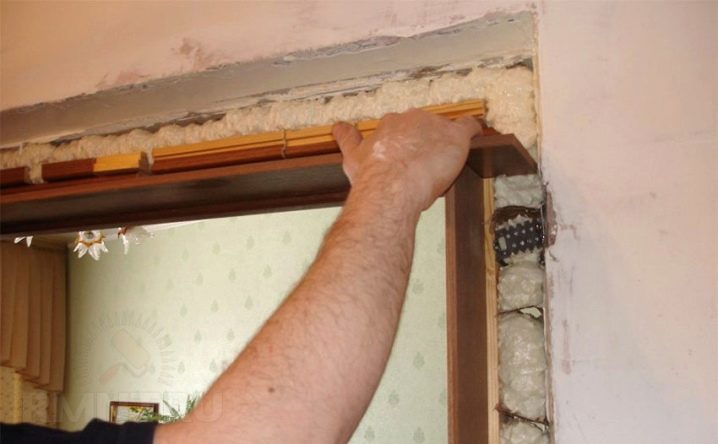
- fill the cracks with polyurethane foam.
In most cases, at this stage, the installation of the door frame ends, but this is the practical part, we must not forget about the aesthetics. It is also necessary to hide the joints between the doorway and the frame, as well as take care of closing empty spaces, which may well arise if the owner wanted to change the geometry of the doorway and reduce it.
How do I make deposits and withdrawals?
So, if there is such a nuance as a discrepancy between the parameters of the doorway and the box in width or height, then it is necessary to correct it. This can be done quite simply by installing the so-called add-ons, which are easily made independently from any materials with a minimum investment of time and effort.
In fact, add-ons are ordinary home-made strips that cover the open section of the wall, but also they are of several types:
- a strip that does not have a lined edge, which is later hidden with the help of cashing;
- lined plank;
- the combined complement, which has protrusions and grooves for joining with other elements of the doorway, is not so easy to manufacture.

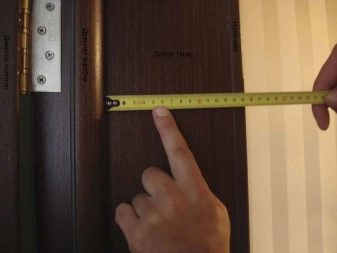
As already mentioned, any material can be suitable for completions, only its textured and color combination with the frame and the main door structure is important, otherwise the appearance of the door may be damaged.
The easiest way is to make do-it-yourself wood additions.
Let's consider the scheme of their creation:
- measuring areas to be hidden;
- selection of materials suitable for the parameters;
- adjustment of the slats to the required values;
- wood polishing;
- stained in the color of the door frame, varnished to protect against moisture in two layers;
- installation of the add-on.
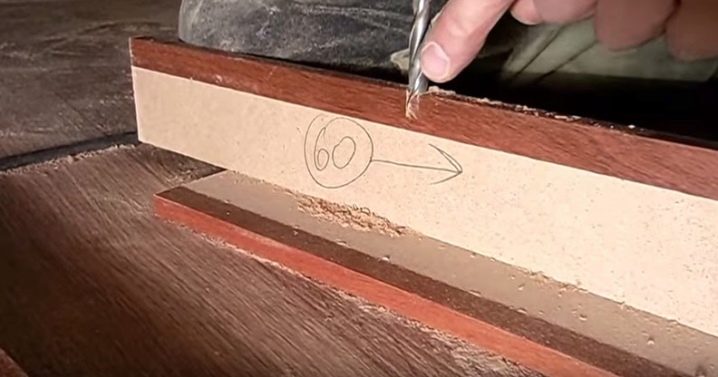
It is necessary to start the installation of the strips from the upper horizontal element, then the remaining elements of the extension are adjusted and fastened.Liquid nails or self-tapping screws, or special grooves of combined extensions can act as fasteners.
But to give a full and complete look to the door structure, it may be necessary to install decorative cashing, it hides all the joints and flaws in the doorway and the door itself, and also increases the level of insulation.
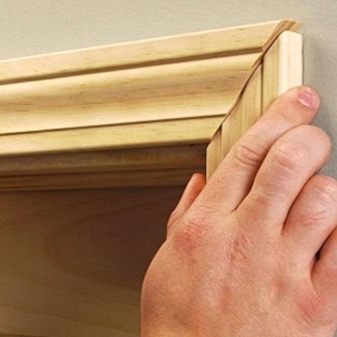
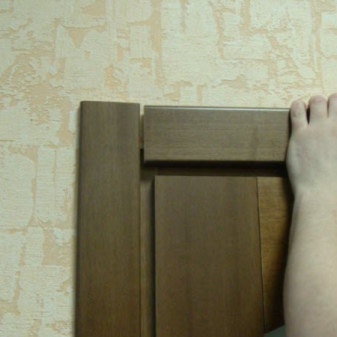
You can independently make cash elements and awnings from wood, following the same rules as in the manufacture of add-ons - a combination of colors and textures.
To make a cash withdrawal with your own hands, you need:
- make measurements;
- cut elements according to the parameters of the door structure;
- polish materials;
- treat wood with a protective compound;
- assembly and installation.
The cashing is fastened in the same way as the addons, with the help of self-tapping screws or liquid nails.
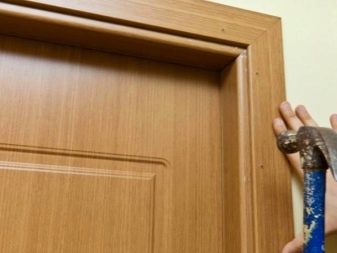
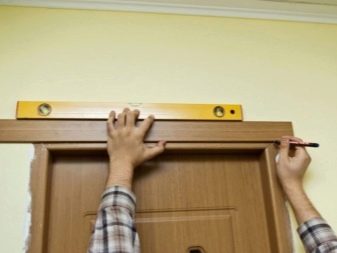
How to weld a door yourself?
The process of making steel doors is much more laborious and complex than the process of making wood products.
Firstly, this will require other tools, which are not always so easy to find, and, secondly, working with wood is much easier than with metal.
Also, steel doors can rarely be found as interior doors, except in industrial premises, most often metal doors are installed as entrance doors, and therefore they should be distinguished by special strength and reliability of the structure, and the owner will need to take care of a reliable lock.
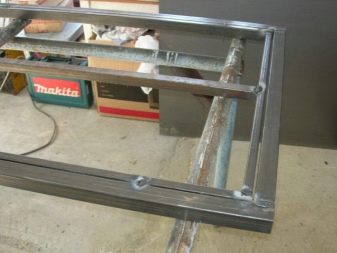

Of the tools for making a steel door you will need:
- welding machine;
- welding table;
- grinder, necessarily angular and with a nozzle for working with metal;
- screwdrivers;
- screwdriver and electric drill with various attachments;
- open-end keys.

Materials required:
- corners from a metal profile for a door frame or a square tube;
- metal sheet for the facade of the door with a thickness of 2 mm;
- loops;
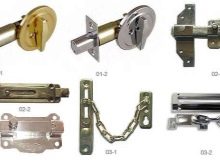
- fittings, including fasteners;
- if necessary - finishing material in the form of MDF panels, veneer and more.


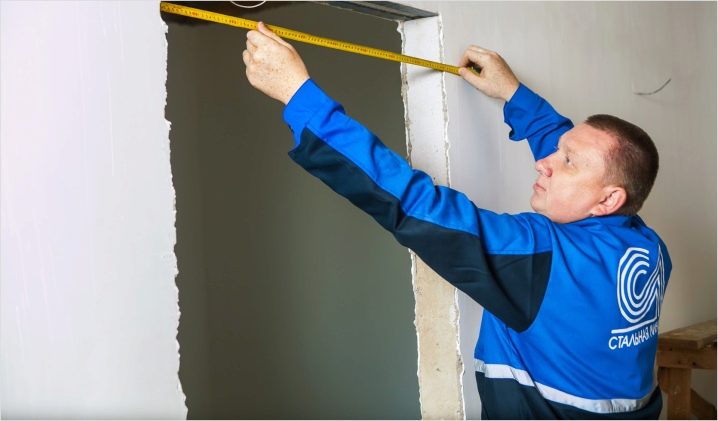
After everything you need is ready, you need to measure the doorway, it is important to count the dimensions precisely on a solid basis, for example, a brick wall, but not from plastering, which can crumble at any time during installation.
Also, when measuring the width and height, there may be a difference in values, in which case you need to select the very minimum indicators.
After all measurements have been made, you need to subtract 2 cm on each side in order to be able to adjust the position of the box and the door structure itself during installation.
We now turn to the most important stage - the manufacture of the box and door structure. First of all, work begins on the box for the doorway, for this, a profile is laid out on the welding table and cut off according to previously made measurements. Then the received parts of the box are again applied to each other on the welding table and the measurements are checked, as well as the degree of the angles formed, they must all be straight.
Only after repeated verification of all measurements, you can start welding the door frame.
At this stage, you can cut holes for the bolt mechanism using a grinder.
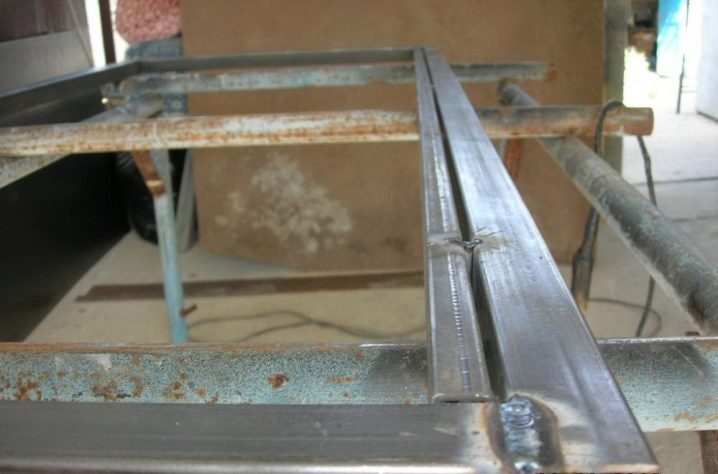
The next step is the door leaf. It is quite simple to measure it - you need to subtract 0.5 cm from each size of the door frame, this gap will allow the door to open and close freely. After that, you can start welding the frame from metal corners, not forgetting about additional stiffeners by making lattice welding of metal pipes.
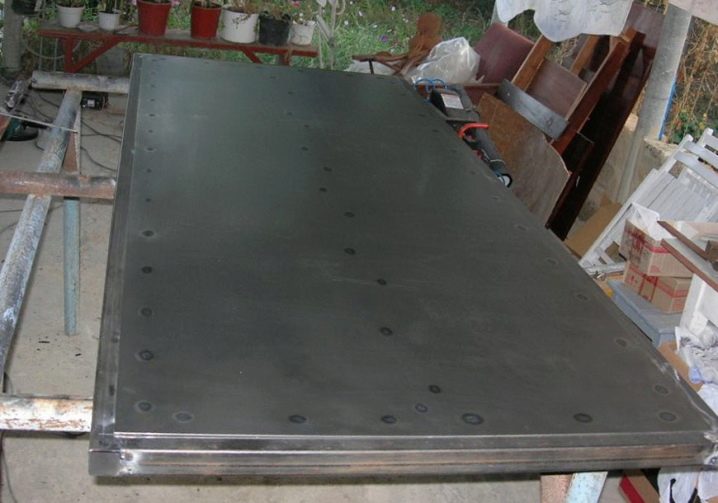
One of the final stages is the installation of the door leaf. Everything here is quite simple and identical to the previous stages. Measurements are made with a permissible increase in dimensions by 1 cm from all sides, except for the one where the door hinges are located, where the permissible value is 0.5 cm.Then the sheet must be welded securely and evenly to the door frame and sanded with a grinder.
The finishing touches are the work on the slots for the lock, eyelet and handles, as well as the installation of fittings and cladding. And, of course, the welding of the door hinges.
How to insulate?
If the owner was able to make repairs in the apartment with his own hands and assemble the door structure, then insulating it would be a matter of a couple of minutes. Basically, only the entrance doors or those products that go out to the balcony are required to be insulated.
With the help of additional insulation, it is possible to increase the structure's ability to retain heat, protect it from drafts and cold, as well as unwanted sounds and odors (important for kitchen doors).
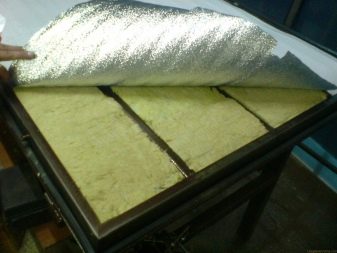
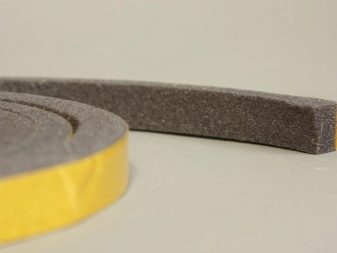
Warming, although the process is simple, contains several stages:
- installation of insulation materials around the perimeter of the door frame;
- covering up the gaps between the frame and the door leaf itself;
- if necessary, sealing fittings, locks and other elements;
- insulation of the door structure, including the door leaf.

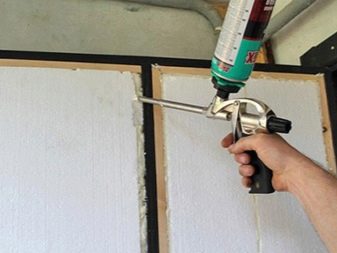
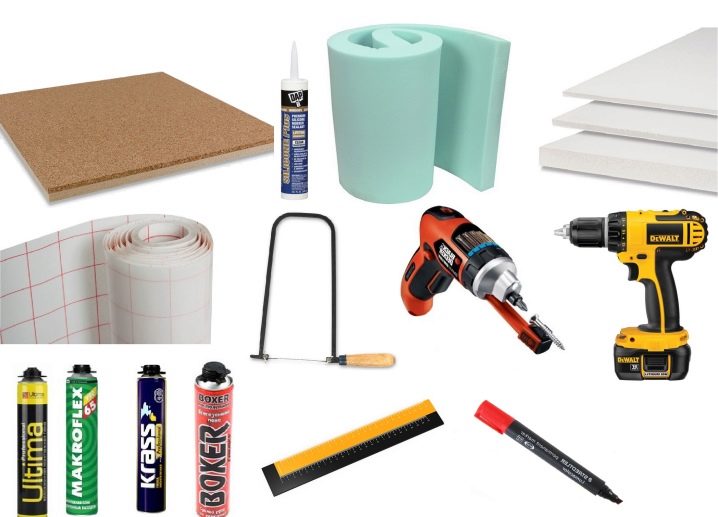
For insulation you will need:
- insulation material (foam rubber, synthetic winterizer and others);
- sealing / sealing material;
- upholstery material for the door leaf (eco-leather or polycarbonate, wood panels);
- screwdriver;
- polyurethane foam;
- measuring instruments and scissors;
- construction stapler.
Before starting work, it is necessary to decide on the materials for insulation and sealing and their quantity, therefore, the door structure must first be examined in detail for the presence of gaps, and the leaf of the sashes for the upholstery material must be measured. Only after that you can proceed with the installation of the seal. It is attached either to adhesive tape or to staples, and the second option is much more reliable. The next step is the upholstery of the door leaf, this can be done both from the front side of the door and from the back. The owner determines the color and type of fastening on his own.
It is only important to carefully cut out all the holes for the fittings, lock and door peephole.
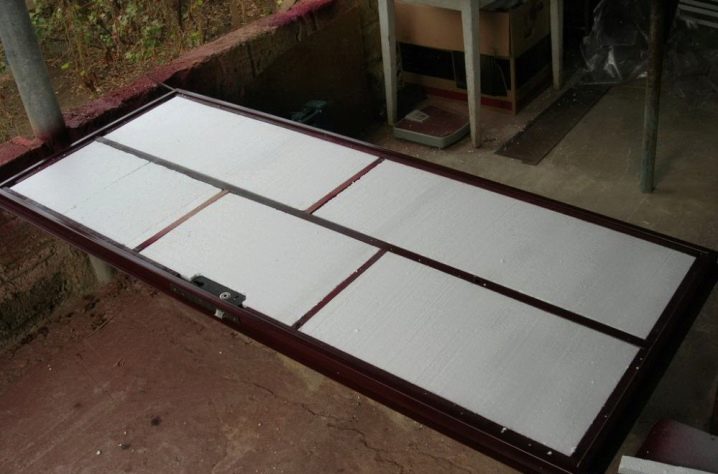
If we are talking about insulating a metal door, then the course of work here will be slightly different. Such doors can be easily insulated from the inside using expanded polystyrene and other synthetic materials. The canvas is fastened in any way between the partitions of the main frame, then the metal base is welded back and a warm entrance door with additional noise and heat insulation is obtained.
Decor and finishes
There are a large number of ways to decorate and finish doorways and structures that can give the product a unique and stylish appearance that perfectly matches the interior of the room.
Consider the main ways to create decor for interior and exterior doors:
- painting;
- varnishing;
- pasting with wallpaper, photowall-paper or cloth;
- applying liquid wallpaper;
- inlaying with mirror surfaces (glass, mirror, acrylic and others);

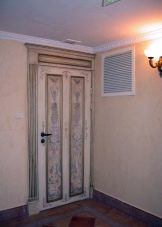
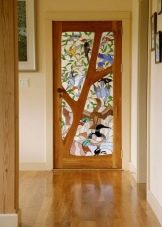

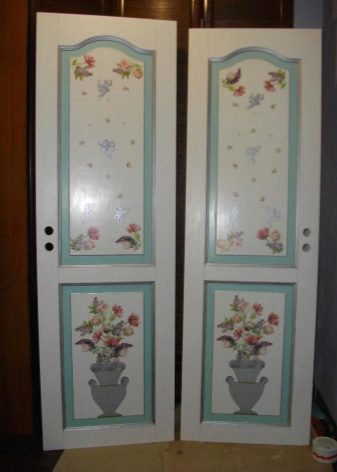
- age or make a vintage decoupage;
- application of frescoes, patterns and various decorative elements.
You can also glue the door leaf with beads, make the interior decoration with flooring laminate, and so on.
Unusual interior design ideas
An example of how you can decorate a front door in a country or loft style.
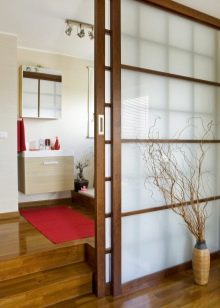
A variation on how to create a Japanese-style door decoration.
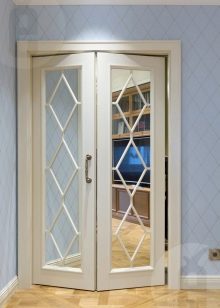
Folding door - an accordion, consisting of two panels of fiberboard.
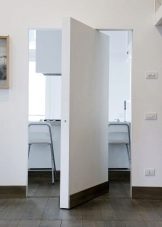
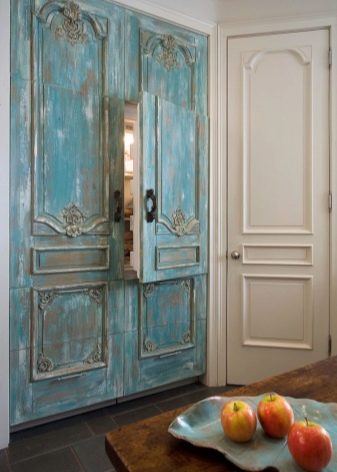
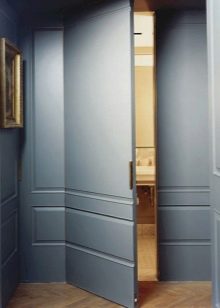
A very interesting design solution is an invisible door, these are hidden pencil cases disguised as the decoration of walls or furniture.
How to make a simple interior door with your own hands in just one day, see the video.


The comment was sent successfully.