Features of the installation of extensions on the door
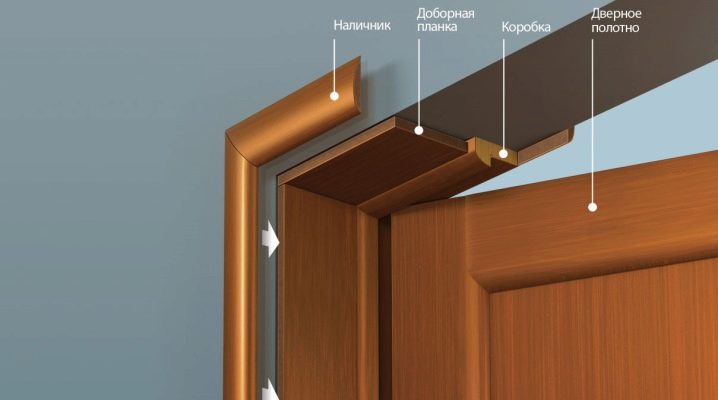
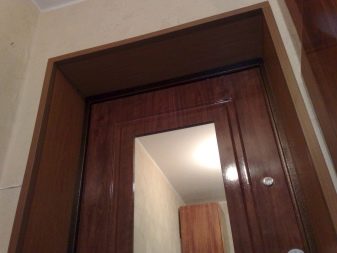
Installation of a door leaf often involves the design of slopes in order to decorate and level them. The optimal solution to this problem is the extensions that are installed on the wall near the box. These designs are small slats made of wood or plastic. Before you mount such products, you should find out the features of installing accessories on the door. This will simplify and speed up all assembly operations.
The need for extras: pros and cons
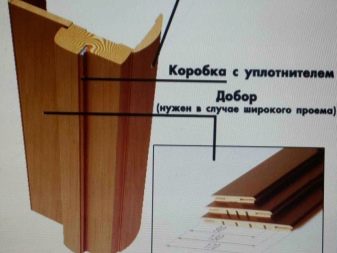
Dobors are small planks or planks that are attached to the slopes. They are used only on openings that have a significant width, and the box itself is not able to close them. Technically, these elements are not required attributes of an entrance or interior door. You can do without them perfectly, but at the same time you will need to form a wide slope, which is not always convenient and practical.
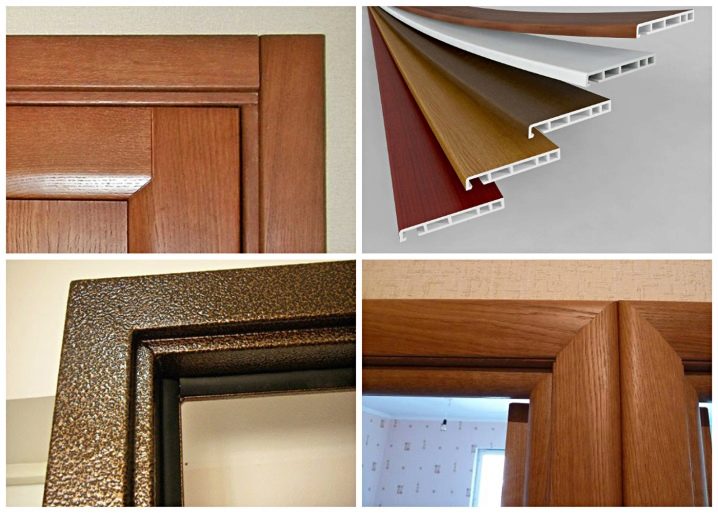
Door fittings have several advantages over other finishing methods:
- Can be installed on uneven surfaces. Therefore, addons exclude additional wall finishing, which reduces the cost of materials.
- High quality protection against contamination.
- High mechanical strength. This is especially true for products made of natural wood, from which extras are most often made.
- Planks installed on the slopes additionally strengthen the door frame, preventing it from loosening or warping.
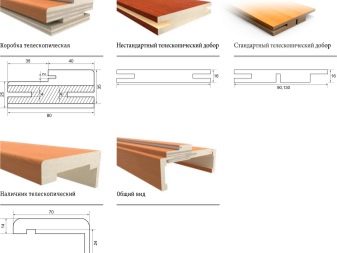
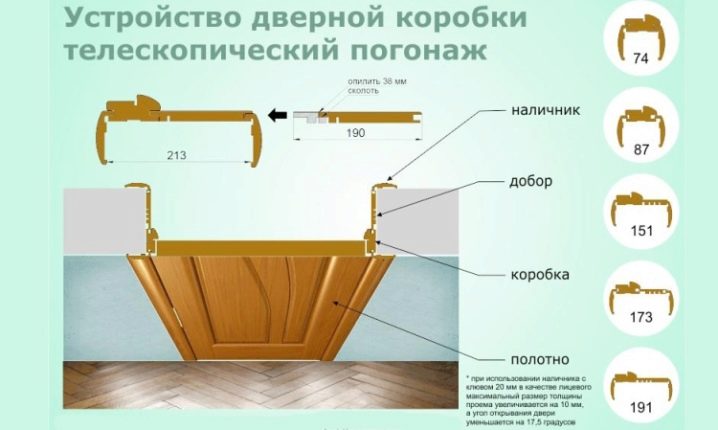
- Versatility. Dobors today are produced in various thicknesses and widths, which allows them to be used for finishing almost any type of slope. This is especially true of telescopic models that can be stitched together like a wooden lining.
- Variety of designs. Structures are made of various materials, which are designed for certain style directions.
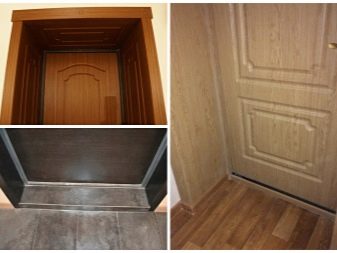
Mounting methods
Installation of door accessories involves fixing them to the wall. This process is relatively straightforward and can be done in several main ways:
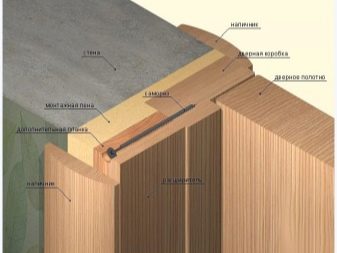
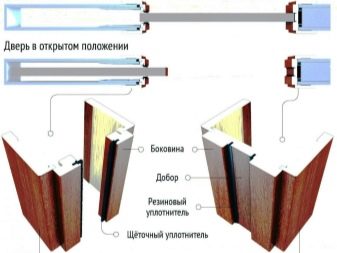
- Fastening directly when installing the door frame. In this case, the additional board is attached directly to the door frame. For this, various methods can be used. The easiest option is to knock them together using an inner board that attaches to the dock and box. It is important when performing installation to align the planes of both elements in order to obtain a flat surface. But if the slopes have significant differences, then without certain skills it will be difficult to fit the elements very evenly with minimal damage.
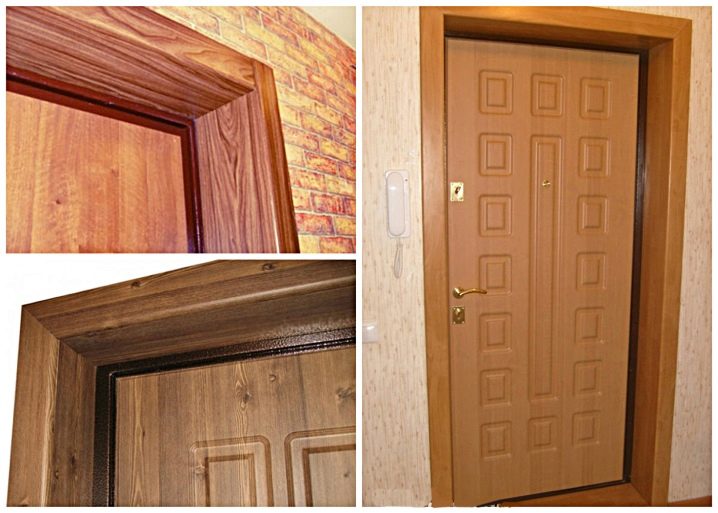
- Installation after fixing the door leaf. The main difficulty here is the measurement process. You need to get the exact parameters of the board, which is then attached to the wall itself using various options.
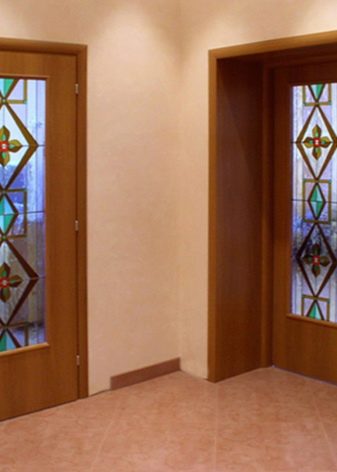
To hide the joint between the box and the add-on, a thorn-groove connection is cut out at their ends. In this case, the board goes inside the door frame, which hides it underneath. This option is more common, as it allows you to get a beautiful and decorative surface.
Similar grooves today are complemented by the extensions themselves on each of the ends. This allows them to be combined into a more aesthetic system. But for metal doors, it is impossible to make such a connection after installing the box.This is due to the fact that it is technically unrealistic to form a groove in the metal using a router.
How to do it yourself?
Dobors are ordinary planks or planks that perform a decorative function. Therefore, you can make them yourself from various materials. Often they are formed from natural boards of small thickness or sheet products (chipboard, plywood, etc.).
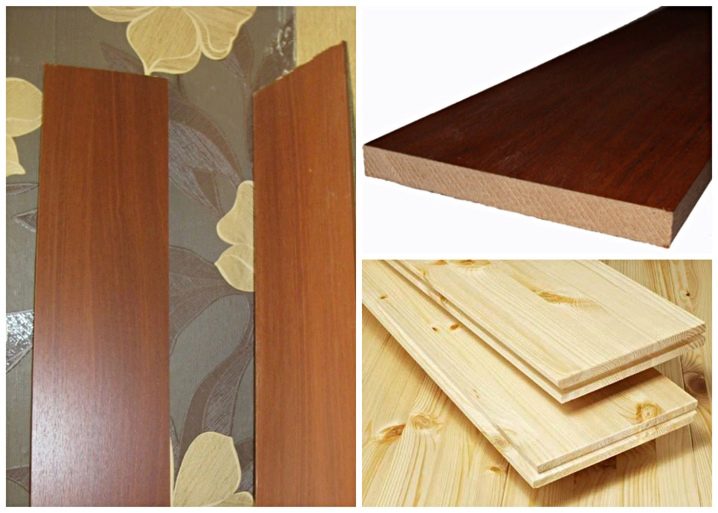
The process of making an addon at home can be broken down into several sequential stages:
- Initially, measurements are taken of the opening. It is important to measure slopes in various places in order to eliminate inaccuracies in dimensions. This procedure must be carried out for each side of the slope separately.
- Based on the data obtained, a blank should be made. For this, the dimensions of the future addition are applied to the board. Please note that it is best to provide a small margin so that after installation no gaps form at the joints. When the markup is ready, the board is cut into doboks. It is better to perform such operations with a circular saw, as it will provide a smoother and better cut.
- The procedure ends with the fitting and finishing of the finishing. If the board is slightly larger, then the ends should be leveled with an electric plane. To give the complement a unique design, the wood must be sanded and painted with wood stain or varnish. If laminated chipboard is used, then you need to take care of closing the ends with special tapes. They are glued to the material using an iron or a special hair dryer.
Manufacturing of accessories allows not only saving money, but also obtaining a durable system that will be adapted to specific operating conditions.
How to install correctly?
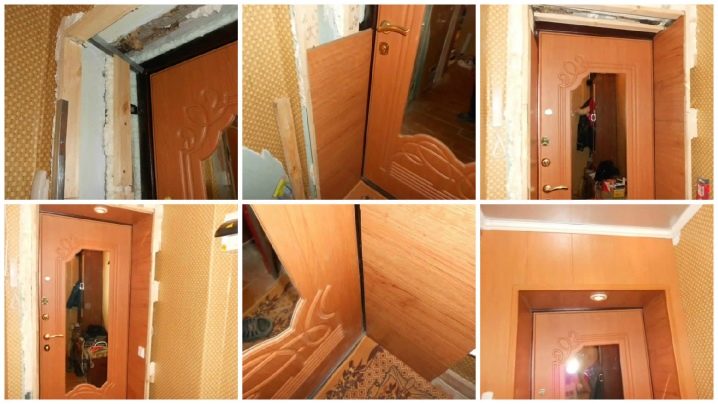
Installation of door accessories is a simple operation that, if desired, can be performed independently. But before installing such elements, it is advisable to read the instructions for their fastening. This will allow you to deliver them much faster and better.
Required tools
Installation of additional elements is an operation that requires a minimum amount of skills. But to get a quality result, you should use an auxiliary tool, including:
- Hand or circular saw. The best option would be a grinder with a special circle for wood or a jigsaw. It is advisable to use saws with small teeth in order to get an even joint without burrs.
- Milling machine. With its help, grooves are formed for joining the box and the board. Please note that installation can be carried out without this operation. But getting accurate and inconspicuous ends is impossible without it.
- Clamps. These mechanisms are used to fix the grinder to the chair. This will create a mini circular saw that will make it easier to trim the extensions to the desired location.
- Pencil and a long ruler.
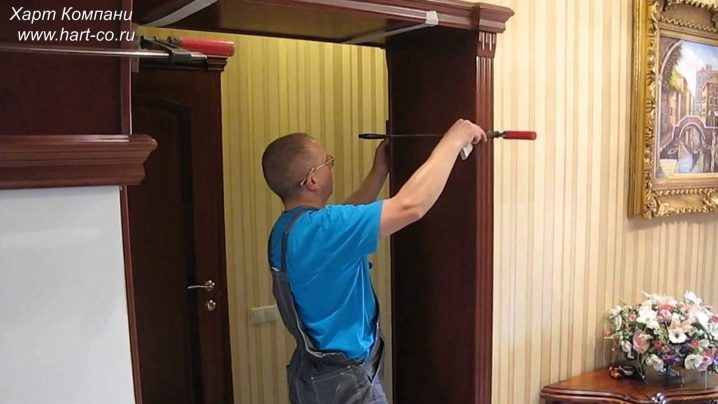
To optimize your work, you will also need a long table or several stools. They are used as supports on which boards are laid during processing.
How to calculate?
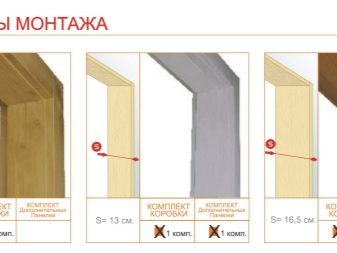
Installation of extensions always begins with measuring the thickness of the wall. The choice of type and quantity of consumables depends on this parameter.
You can calculate extras using such a simple algorithm:
- Initially, you need to get the width of the free space on the wall near the box. Measurements are carried out using a ruler or angle. The latter option is more accurate, since it is necessary to take into account the angle between the door frame and the board. It is advisable to know the width around the entire perimeter of the opening.
- The next step is to measure the thickness of the door frame. This is necessary in order to select the appropriate complement, under which you will need to put the minimum number of supporting elements.
- The procedure ends with the calculation of the number of additions. This takes into account not only the width of the board and the opening, but also their height. It is advisable to take these parameters with a small margin, so that you can then adjust the canvas to the dimensions of the opening.Please note that all add-ons on the market are standard sizes. Therefore, when choosing, you should focus on them.
What can be used instead of addons?
Dobory is a factory-type product that is manufactured with certain technical parameters. But no one bothers to replace finished products with improvised materials that every owner can find:
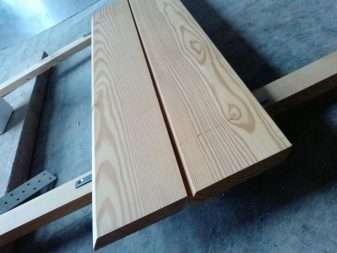
- Solid wood board. The best option for the manufacture of additional equipment. The material perfectly withstands high loads, and is also strong and durable. In this case, it is possible to use various types of wood for the manufacture of a structure. This will allow you to adapt the final product to the style of the frame and door leaf.
- MDF. Products from wood shavings used for the manufacture of doors. Sheets of this material are also great for add-ons. But the substance is very poorly resistant to moisture, so such elements can only be installed indoors with minimal humidity.
- Particleboard and fiberboard. Wood waste sheets that can be adapted to fittings. It is quite easy to work with them, but at the same time they are also afraid of moisture, which limits their use.
- Plywood. There are several types of such a substance that is moisture resistant. Plywood is the best option for making extrusions, as it has an optimal price-quality ratio.
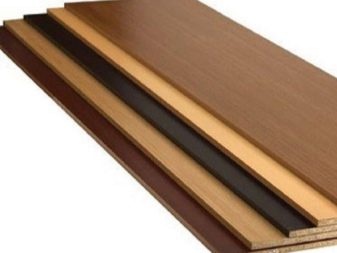
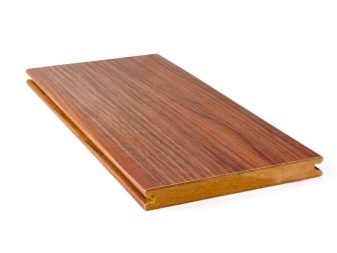
If you do not have these materials, you can make an add-on from scraps of plastic lining. Although it is not so strong, it is very easy to cut and is not afraid of moisture.
How to build up?
There are situations when the width of one standard extension is not enough to close the doorway. The solution to this problem is only to build up the canvas.
This process consists of several sequential steps:
- Initially, additional boards are installed near the box itself. It is important to fix them qualitatively and evenly.
- After that, a second row of material is applied to them, which will already protrude slightly beyond the edge of the wall. This will allow you to line up the full length of the board. An alternative option is to measure the uncovered piece of the slope and then transfer the dimensions to a new workpiece.
- When the markup is done, you need to saw off the complement. Please note that cutting is only done on the side that does not meet the previous board. This is important when telescopic types of coverings are used for extension, since they are equipped with groove joints initially.
When direct extensions are used, the side of their trimming does not matter. The main thing is that when joining, they form a minimum gap.
Mounting
The algorithm for installing extras consists of the following sequential actions:
- Initially, all measurements are carried out and the dimensions of all elements are adjusted. It is important that the joints of the boards have minimal gaps, as this will not only not be beautiful, but will also lead to the formation of drafts.
- At this stage, the board is fitted to the wall. This process involves aligning it in the same plane with the door frame. If the slope is uneven, then for this, wooden planks of various thicknesses are placed under the finish. They should be attached to the wall using self-tapping screws and dowels.
When the slopes are at an angle, then it is advisable not to align them parallel to the box, but to form them with a slight slope. In this case, the angle must be the same on both sides of the opening.
- The procedure ends with the installation and finishing of the add-ons. To close the ends, platbands are placed on the outside, which are also made of the same material.
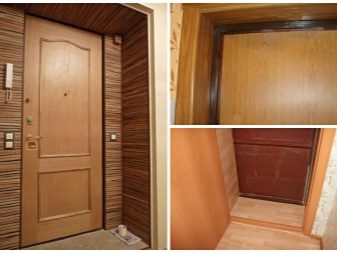
How to fix the board?
Fastening of add-ons is one of the important stages of the entire installation process. This procedure is performed in several main ways:
- Fastenerless. This approach involves the use of polyurethane foam as a web retainer.To do this, the additional board is leveled along the entire slope, and then foam is poured into the gap between it and the wall. It adheres well to almost any substance and forms a durable bond. This approach is one of the simplest and is used by many specialists.
- Fastening. The board is fixed with nails or self-tapping screws. If the wall is made of brick or other dense material, before inserting the extension, you need to form holes for the dowels. After screwing in the screws, it is advisable to decorate these places with special inserts. If the extensions were made from improvised material, then they can be additionally sheathed with special films or decorative strips.
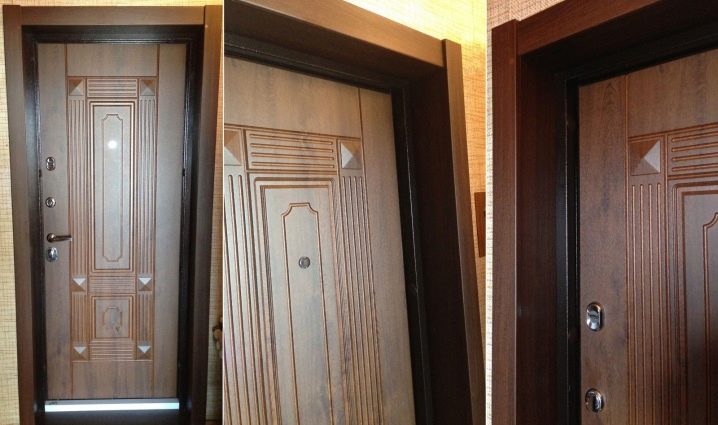
Interior decoration ideas
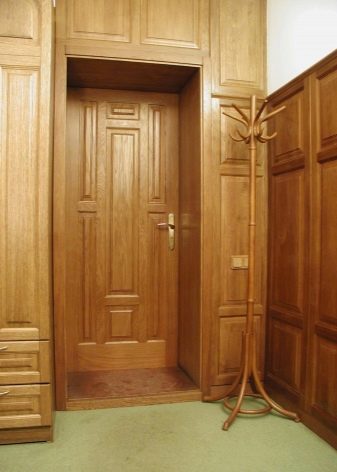
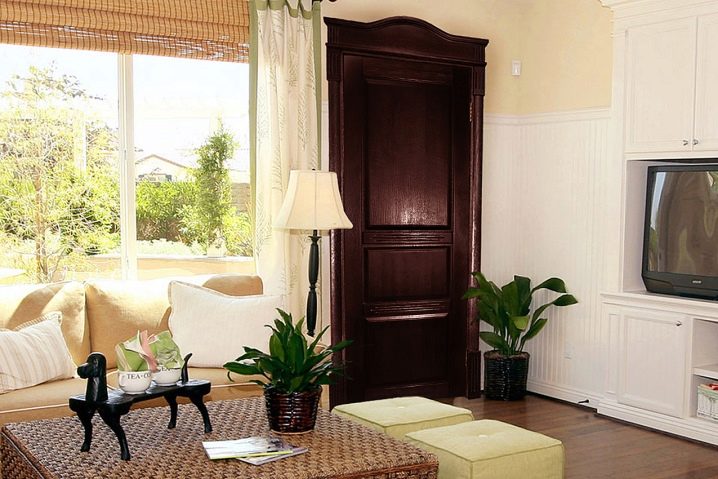
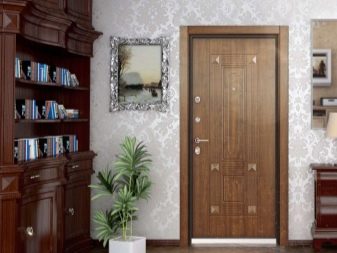
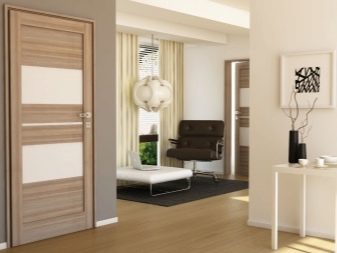
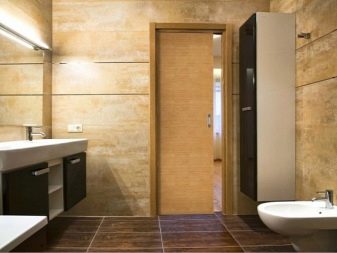
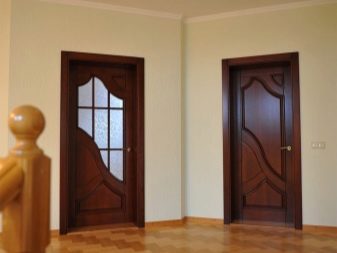
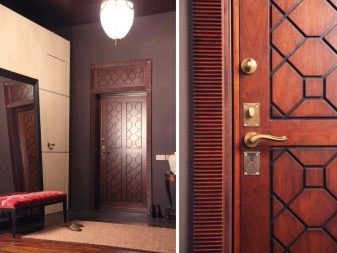
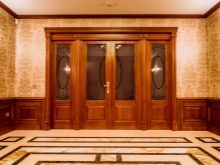
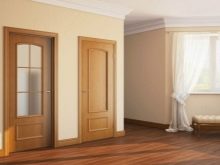
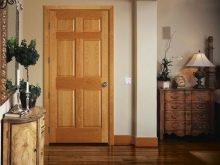
Dobors can complement doors, as well as be interior decoration, for example, as in these examples.
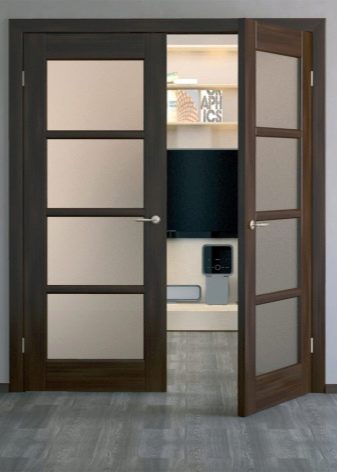
The large double-leaf solid wood door with glass inserts looks great thanks to the wooden fittings and panels. Everything is done in the same style and looks very solid.
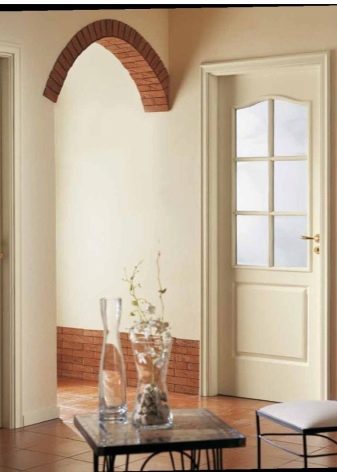
And here everything is ordinary, standard - both add-ons and doors. However, they play the role of a single "ensemble" in the interior, and the walls, ceiling and floor help them in this.
Another version of the door is made of dark solid wood, but this time the addons play the role of decorating the vestibule. The doorway turned out to be quite strict, but very beautiful, especially since a small sculpture is successfully placed next to it.
From the video below you can find out how to install the door extensions yourself.


The comment was sent successfully.