Do-it-yourself clay tandoor
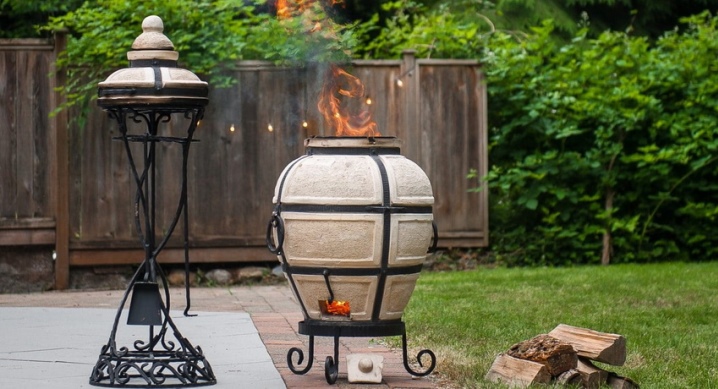
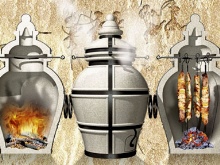
Tandoor is a welcome purchase for a summer residence, which will help to make Asian dishes as often as the owner desires. You can mold it with your own hands. If someone thinks this is impossible and daunting, everything is not so dramatic. The main thing is to choose the right clay, stock up on a set of the necessary tools and follow the manufacturing scheme exactly.
What kind of clay do you need?
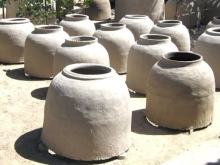
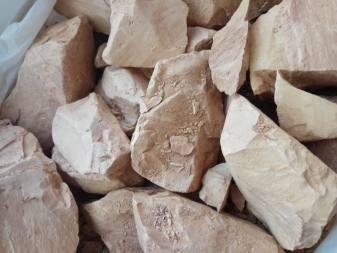
Asian peoples use local clay, they are well versed in it, they know its qualities and capabilities. People living in other areas can use light gray or light yellow kaolin clay. This is a fireclay option with good thermal conductivity and thermal insulation, just what is needed for a clay tandoor.
To form chamotte clay, light kaolin is fired and then brought to a powdery state: in its crushed form, clay, you can buy in the store. Clay powder is diluted with water, sand and plant fibers are added there. Various impurities may be present in the powder. To get rid of them, it should be sifted through a fine strainer, and then filled with water. Particles, which are lighter, will float up, they are removed by draining the liquid.
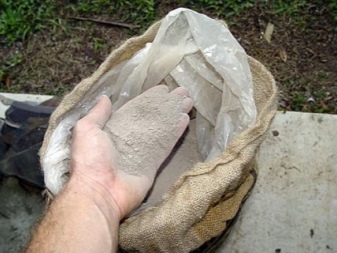
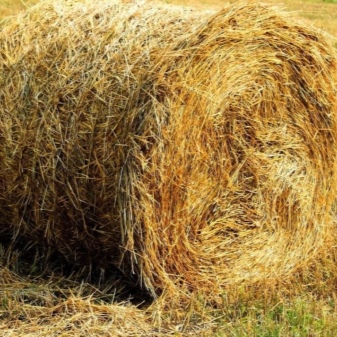
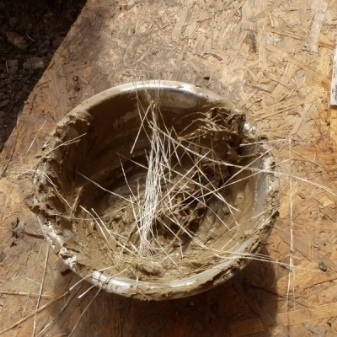
After that, the clay can be kneaded. Once it was done right with your feet, today they use a special construction mixer. The clay solution remains in a shady place for 2-3 days, it is regularly stirred. And the water accumulated on the surface (if any) is drained. Then river sand and straw are sent to the composition, they will give the clay the necessary viscosity. During the firing process, the fibers will burn, that is, the product will be relatively light.
Important! The proportion of the composition for tandoor is as follows: 1 part of fireclay clay, 2 parts of sand, 1 part of plant substance. However, plant fibers can be replaced with wool (sheep, camel). If not available, sawdust and straw can be used.
As a result, we have a substance that is somewhat reminiscent of plasticine. And now you can work with it and make a future tandoor out of it.
Required tools
You will need different tools in your work: some are probably on the farm, some will have to be looked for. Together with the materials, the list will be quite large.
You need to prepare:
- fireclay brick;
- sand;
- fiber (vegetable or animal);
- suitable size reinforcing mesh;
- concrete;
- fireclay clay;
- thick cardboard with waterproof characteristics;
- container for diluting the solution;
- construction mixer;
- pencil;
- grinder (it would be good to replace it with a brick-cutting machine, if possible).
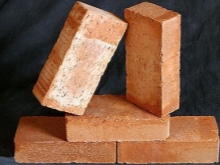

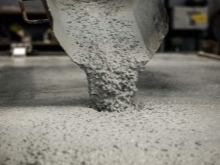
This list is universal, but each specific design may require other auxiliary tools. For the manufacture of a simple tandoor from fireclay clay, this list is also suitable.
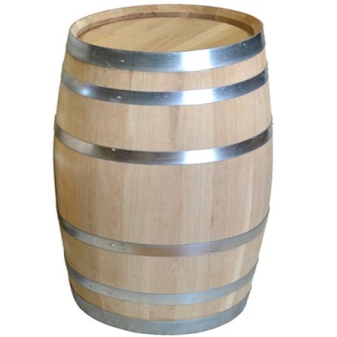
Very often you can find the option of forming a tandoor on the basis of a barrel. Well, for a summer residence this is a good idea, moreover, it is not difficult to execute. You do not need any special drawings, it is enough to competently follow the step-by-step instructions.
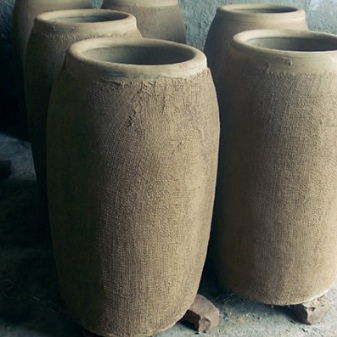
Manufacturing scheme
If it is decided to make such a heat-resistant bowl on the basis of a barrel, the barrel itself should be filled with water and left full for a day. It should be well saturated with water and swell. After that (or better in parallel), you can begin to knead the solution, that is, mix the kaolin with sand and wool (or a vegetable ingredient). The mixture should be infused for about a week.
Then the water from the barrel is drained and the barrel is dried naturally. Then the container is well lubricated with vegetable oil and soaked in it for about 20 minutes. Finally, you can stick the clay mixture on the walls of the barrel, a layer of clay - 6 cm. At the end of the work, the mass is leveled by hand. The neck of the tandoor narrows upwards, which means that the clay layer thickens. A place is planned where the blower will be equipped.
The harvest should be spent at least 3 weeks in a dark, always dry place with good ventilation. As it dries, the wooden components will move away from the clay, after a month they, as well as the metal rings, can be carefully removed.
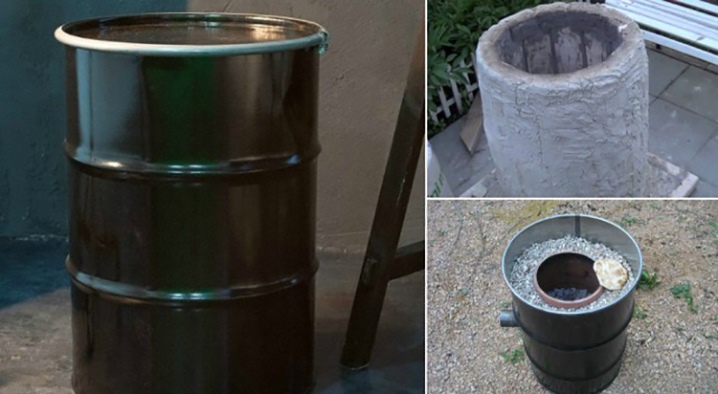
If you decide to do without the barrel, the instructions will be different.
Foundation
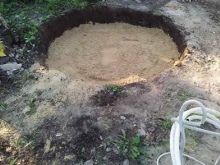
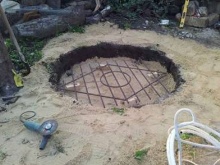
For this part, you need to dig a hole, the depth of which is about 20-25 cm. A bowl-shaped hole is either round or square. The pit parameters should be 15-20 cm larger than the base of the stove. If it is planned to make it with a meter in diameter, then the size of the pit should be 120-130 cm. Half the hole should be covered with sand, and a compulsory crushed stone layer should be laid on top.
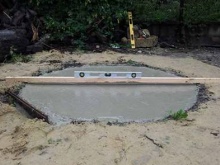
After that, the formwork is installed so that the foundation is above ground level. You can lay reinforcing mesh and finally pour concrete. Those who have ever participated in construction work with concrete are unlikely to be mistaken at this stage.
In any case, a solid foundation is needed, because the tandoor is not a thing for one season, but a wonderful device that will delight the owners for many years.
Base
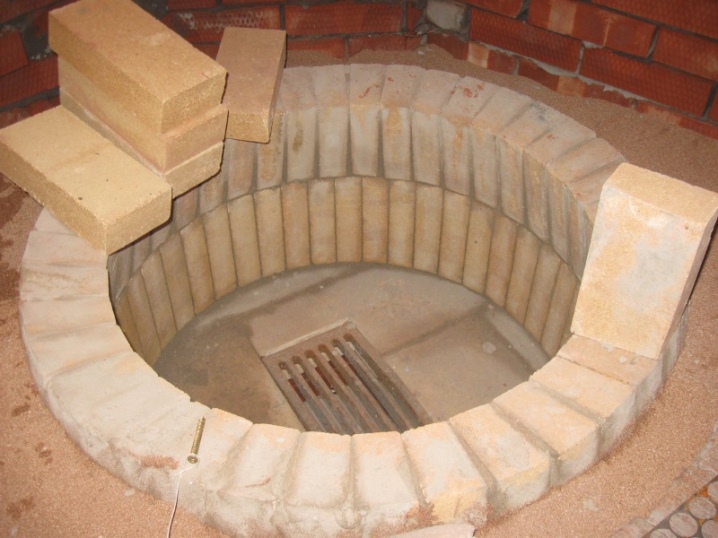
It is imperative to make a markup, mark exactly where the tandoor will be located. The shape of the base of such a brazier is a circle, which means that it will be convenient to mark out with a string or rail, one tip of which is fixed in the center. Fireclay bricks must be laid in such a circle. It would be nice to lay them out without mortar, and then adjust if necessary.
When the laying of bricks is already solid, the seams between them are filled with fireclay clay made earlier. Some people use a special mortar for laying stoves, which is also acceptable in principle.
Forming cone
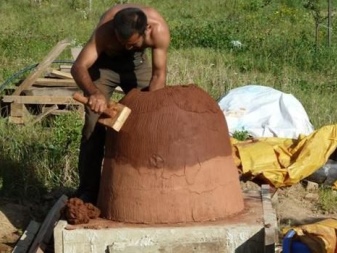
For the convenience of sculpting the walls of the tandoor, a template is installed. It is made, as a rule, from a moisture-resistant type of cardboard. And inside, so that the structure is stable, sand is poured.
The pre-cut strips can be laid around the tapered template. The butt zones are necessarily smoothed out. The surface of the resulting walls must be brought to homogeneity, no gaps should remain. When the walls of the tandoor are finally flush with the cardboard template, you can make a hemisphere for the top of the brazier. You will need some more sand.
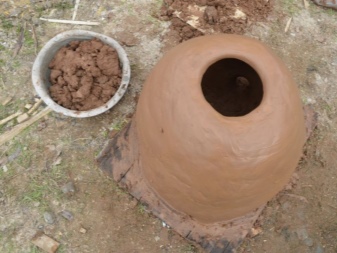
The surface is lined with newspapers soaked in water. These wet newspapers are covered with a layer of clay exactly as thick as the walls. Then the stove dries (more on that below), and the lid can be simply cut off. For fitting, you can take the desired size bucket.
Newspapers, as well as cardboard with sand can be taken out - they have fulfilled their mission. A special hole for blowing is cut out at the base, its dimensions are on average 10 by 10 cm, a little more is possible.
Drying
The clay structure must withstand a week, or even two, until it is completely dry. If the climate in the region is damp, it may take longer to dry. After the walls are ready for further processing, they should certainly be smeared with vegetable oil from the inside. Ideally, this is cottonseed oil. This will allow the walls to become smooth, that is, those cakes that will soon be cooked in the Uzbek tandoor (or other version of the stove) will not stick to its walls.
Having missed, you can proceed to the primary firing. How to do it: light a flame inside the tandoor. Heating, like cooling, should be smooth, no sudden temperature jumps are allowed. The more slowly this goes, the fewer cracks will appear in the walls of the stove.
So, first a fire is made - wood chips and brushwood go into it.The fire should not be extinguished for several hours, then firewood is already put there. The complete process can be long, firing can take a day. During this time, the material will be properly warmed up.
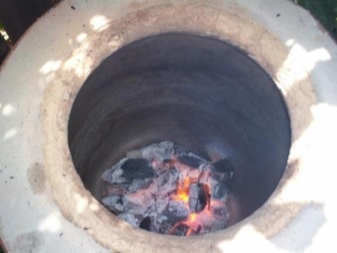
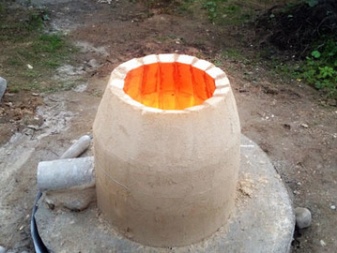
During firing, the inner walls of the tandoor will be covered with soot, but at the end it will burn out, and the walls will be cleaned as if by themselves.
Finishing
Then the structure must cool down, it is not necessary to specially cool it, only in a natural way. If you notice that cracks have formed in the walls of the tandoor, they are covered with sand and clay. And they burn again.
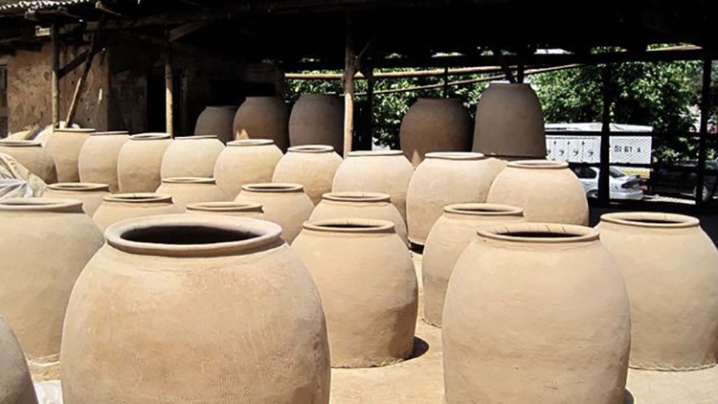
Warming and finishing
The clay bowl is not everything, and the final look of the tandoor is not at all like that. The second layer, brick, is being laid out. Between the two layers of walls, insulation should be laid, or rather, a suitable heat-absorbing material. It can be regular sand. And what is important is that the thicker the walls are, the longer they will retain heat - this rule also works in the case of the tandoor.
And, finally, for many, the most favorite moment in the entire work process is decorating the tandoor. You can lay out its surface with beautiful tiles (with oriental and Asian patterns, for example). The surface can be beautifully plastered, or used for finishing with natural stone, painting, mosaic technique - whatever.
The brazier stove, decorated with small mosaic tiles, looks especially beautiful. Only not chaotically decorated, but using some kind of pattern or other artistic logic of laying tiles.
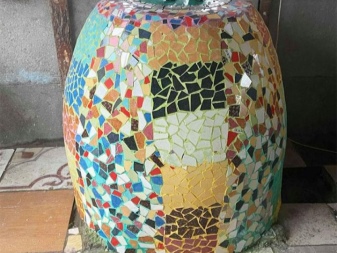
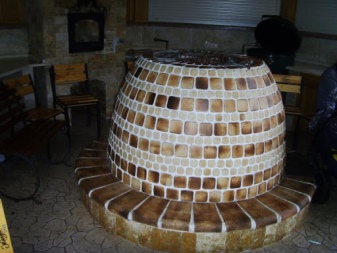
Of course, you need to take into account the harmony of the tandoor with the area on which it will stand. This is especially important in terms of color choice.
Elimination of possible problems
The main mistake of those who are in a great hurry to make a tandoor is to refuse the cover that protects the stove during drying. If it rains, water will get inside the not yet completely dried tandoor, and this can destroy all the efforts of the master. A temporary cover, a waterproof canopy over the tandoor are prerequisites for a slow manufacturing stage.
But what rules you need to know in order to avoid mistakes during use.
- In winter, it is important to increase the temperature inside the stove gradually, otherwise there is a risk of cracking the walls. In the summer, such caution is unlikely to be required.
- The tandoor should be two-thirds full with fuel. With less filling, there is a risk that it will not completely heat up. You can put more fuel, but this is irrational from the point of view of keeping heat.
- If there is a good, safe shelter over the tandoor, you can use the stove in any weather.
- It is also imperative to clean the tandoor, and do it regularly. Burnt wood and ash are removed after each use. If the walls of the stove are stained with fat, or even food debris, you do not need to wash them - later everything will burn out.
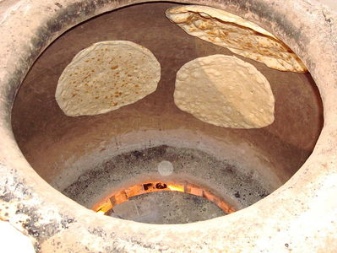
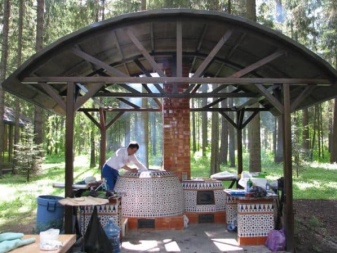
The question often arises as to which tandoor is better - clay or ceramic. But both types of stove are good, just making a ceramic one with your own hands will be very difficult. Although there is a trick here too: you can take a store-made ceramic flower pot by converting it into a tandoor. But if you want authenticity, then the optimal material is clay, and nothing else.
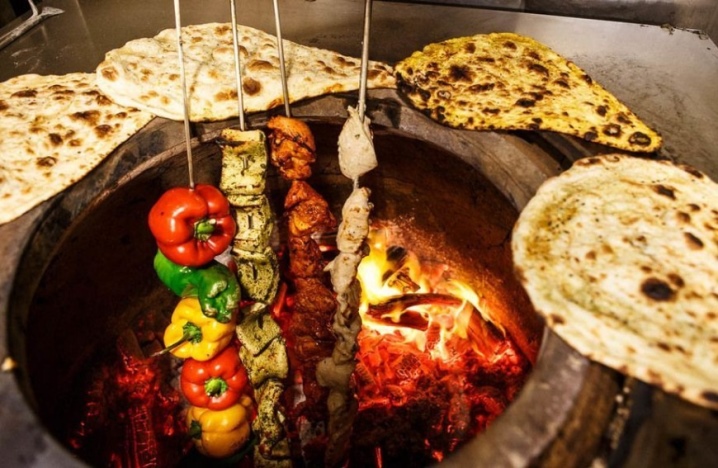
Tandoor is not only juicy cakes, but also vegetable dishes with meat, and samsa, and baked fish, and shashlik, and wings. On your site, in your own hand-made tandoor, all these dishes will be even tastier, and this has been proven!
How to make a clay tandoor with your own hands, see the next video.


The comment was sent successfully.