Rules for arranging extensions to frame houses
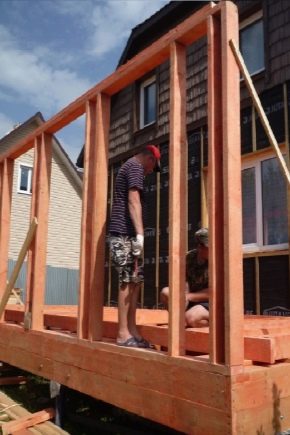
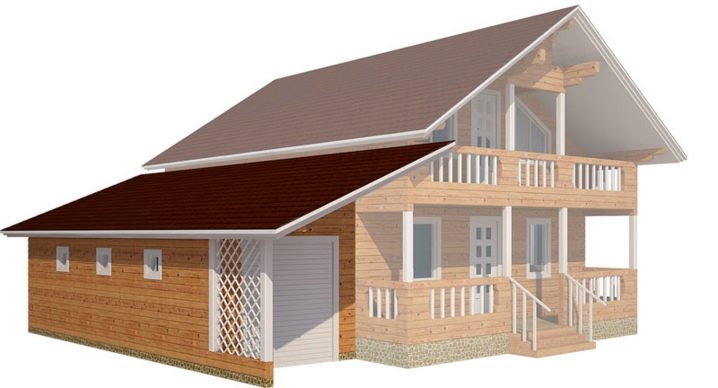
An extension to a house is the most economical option in terms of technology, when it becomes necessary to expand the area of a private house. Additional space may be needed to equip a terrace, summer kitchen, storage room or boiler room.
Such an extension can be built independently, it is only important to know some technical nuances. During construction, several options for extensions can be noted: frame, brick, foam blocks or timber.
In this article, we will take a step-by-step look at the construction of an extension from a frame.
Peculiarities
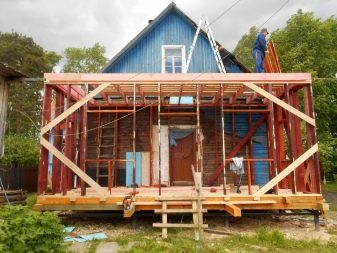
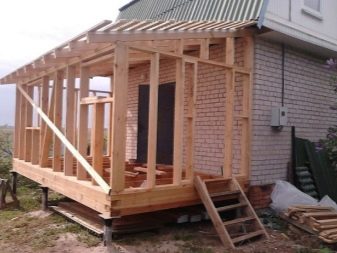
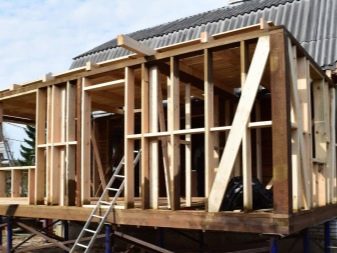
From the name it is already clear that the basis of the structure is a frame made of edged timber. Corner posts and harness are made of the same material. The installation process of the frame extension is so easy that you can do without outside help. This type is not inferior to brick or concrete structures in terms of quality and thermal insulation. Wooden frame extensions are especially relevant for the construction of the second floor due to their low weight.
The main advantage of the frame extension is the possibility of its high conjugation with the house, regardless of what material it is made of, whether it is brick, timber or log.
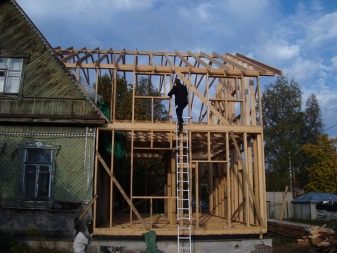
Advantages of the frame extension:
- low material costs;
- ease of installation;
- the possibility of building with your own hands;
- low weight of the structure;
- it does not take much time to warm up the room with proper insulation.
Decide on the purpose of the extension, since, for example, for a living room or a hallway, additional sound and heat insulation will be needed, where it is not recommended to save on waterproofing, as well as insulation of the foundation.
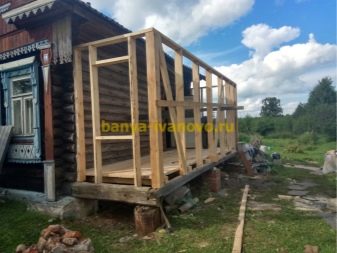
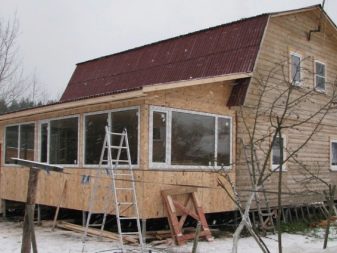
An extension for a living room should be thought out to the smallest detail in view of the fact that reliable insulation and high-quality sound and heat insulation are to be expected. The foundation must be solid and durable to protect the room from mold.
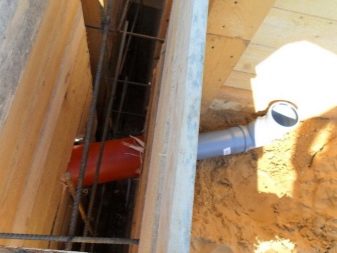
If additional space is needed to equip a kitchen or bathroom, you should think in advance about carrying out communications and sewer pipes. All pipes will need to be properly insulated.
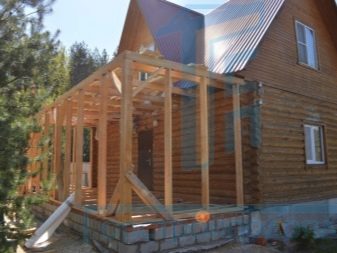
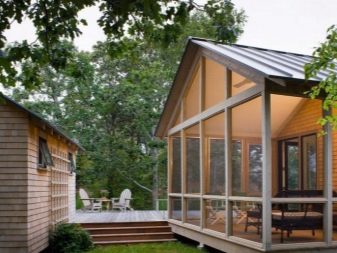
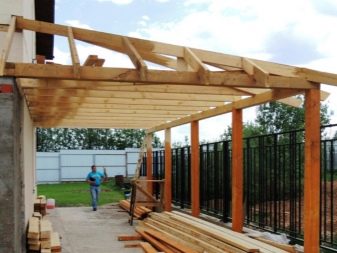
The simplest design is a veranda that does not require insulation, consisting of walls, flooring and a roof on supports. Veranda is a room where doors and windows are not always required. The structure looks like a frame with a flooring, where posts are placed around the perimeter, on which the roof is attached.
The foundation must necessarily be well waterproofed, which will help to avoid dampness.

Attaching a garage to the house is also a great option, which does not "steal" the usable area, but allows you to save on the construction of one wall of the room.
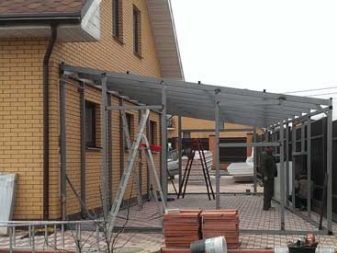
But it is also important to know that it is necessary to legalize the extension project, without this construction will be considered as an illegal increase in the area. To avoid problems in the future, obtain permission from the administration of the architectural department, where the construction plan will be checked for compliance with SNiP. If the project does not contain errors and is approved, then you will receive an instruction document that will help you with the arrangement of the extension.
It is better to think about legalization before the start of construction work, since the process of legalizing the finished extension is complicated, and this will have to be done through the courts. And in the end, the result may not be in favor of the plaintiff, and then everything built will have to be demolished.
Foundation
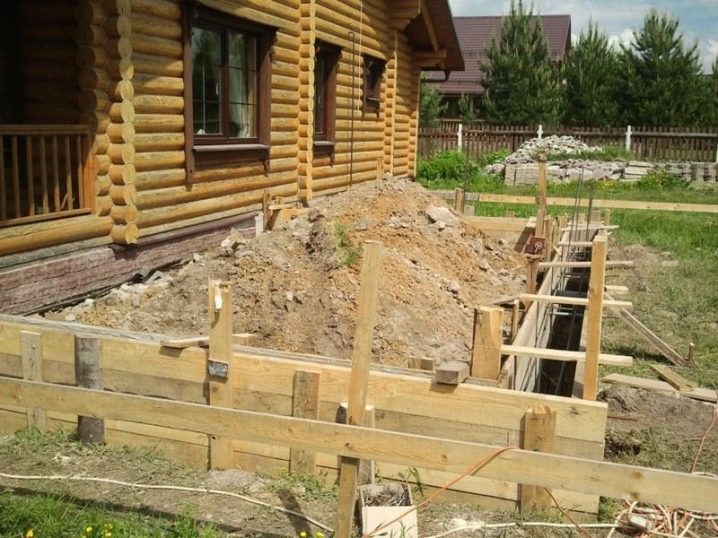
In view of the fact that the frame extension is not a cumbersome and heavy structure, it makes no sense to erect a monolithic foundation. For the reliability of the building being erected, it is necessary that the foundation of the house and the annexes are either one whole or independent of each other. The best option would be a strip or columnar foundation.
Tape
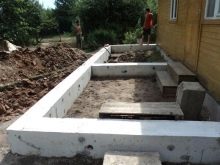
The strip foundation can be made by hand.
- On the ground along the perimeter of the proposed extension, markings are applied that outline the boundaries. A trench is dug along the marking lines under the foundation, as deep as at the base of the house itself, and about 15 cm wider than the future walls of the extension.
- Next, you need to protect the foundation from groundwater: for this, sand and crushed stone are poured into trenches 15-25 cm, followed by a small amount of water, then covered with roofing material.
- The next stage is the arrangement of the formwork, the height of which is equal to the height of its future foundation. Fittings are installed in the trenches to give reliability.
- And in the end, everything is filled with concrete. Concrete can be made by yourself by mixing sand, crushed stone and cement. At high temperatures, the foundation must be moistened with water in order to avoid cracking.
Columnar
An inexpensive and durable type of foundation that is suitable for lightweight structures: baths, frame extensions, and others.
After a careful calculation, small holes (20 cm) are drilled in the ground - the bases for the lower parts of the pillars, which are reinforced with a fine mesh and covered with a mixture of sand and concrete. Pipes with a diameter of 10 cm are installed in the pits, into which reinforcing bars are inserted, and then everything is poured with sand concrete.
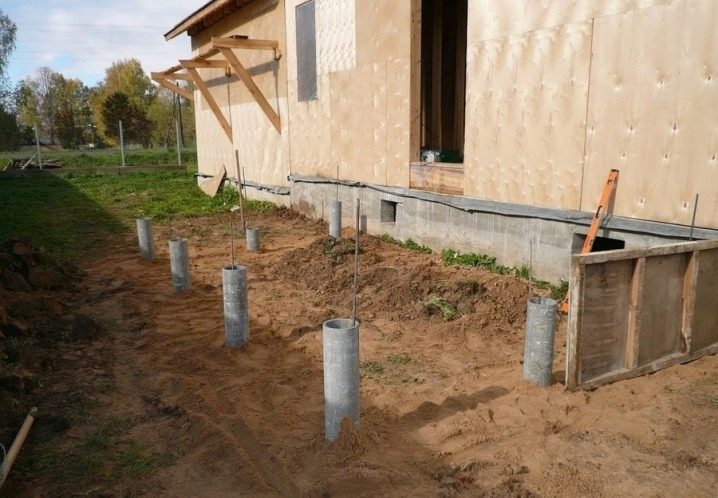
After 3-5 days, when the concrete has completely hardened, new openings are drilled, where the pillars obtained from the pipes are subsequently inserted. You need to insert very carefully so that the post does not crumble.
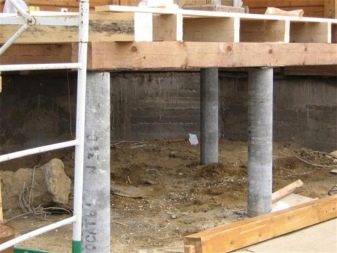
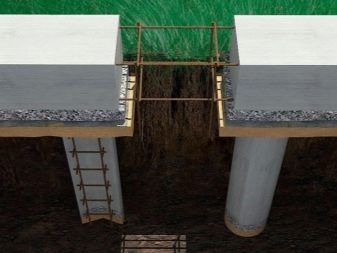
The grillage for a columnar foundation is made of metal or concrete.
The main advantage of this type of foundation is its versatility: it is suitable for all types of structures with low weight, it lasts a long time, even if the house is in a swamp.
When choosing the type of foundation, take into account the winter heaving of the soil, the relief and the properties of the soil.
Pile-screw
The main advantage of using screw piles for the construction of the foundation is the ability to perform work at any time of the year. In this case, the entire installation will be completed in 1-3 days. After its completion, you can immediately start building the extension. The pile-screw foundation is the simplest and cheapest option for lightweight buildings, which can also be done by hand. The only drawback is susceptibility to corrosion, but this can be avoided when treated with anti-corrosion agents.
If the extension is made as a separate room, then the foundation must be designed as a separate element and have an expansion joint.
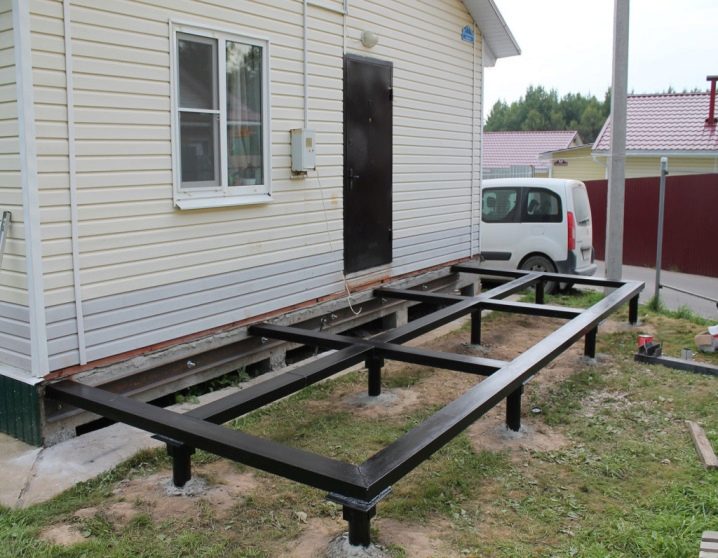
The pile-screw foundation consists of metal pipes, the cavities of which are intended to be filled with concrete.
To begin with, the required space is calculated, markings are made. Pegs are driven in the corners of the markings of the future foundation, then a construction cord is pulled along the perimeter.
Next, holes are dug manually or with a drill in the places where the piles will be installed. After that, the piles are screwed in; doing this on your own is quite problematic. When screwing is complete, the supports are cut at one level and the pile cavities are filled with concrete or soil.
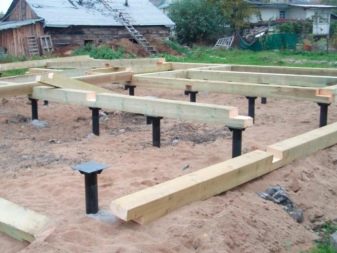
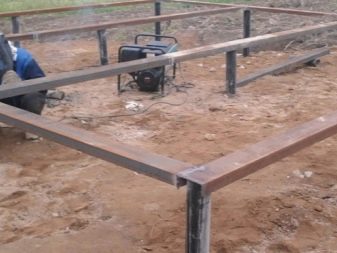
In the next video, you will see how to quickly and cheaply make a foundation for a house or an extension.
Walls
For the construction of a frame building, as a rule, a tree is used. You will need a 15x15 timber and 10x15 floor logs, their number depends on the size of the intended structure. But also consumables are needed, such as fire-fighting mortars, bolts and screws, sealants and so on.
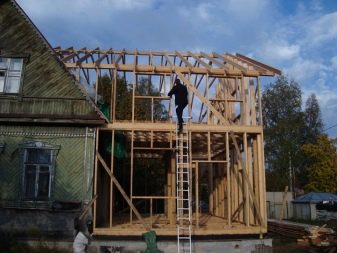
To begin with, when erecting walls, the lower strapping is carried out. A beam is laid along the wall of the building, then the rest of the beams are placed along the perimeter of the foundation, which are attached to the base of the house with the help of anchor bolts, and are connected to each other with knots and iron corners. For future vertical posts, cuts and notches are made in the harness at a distance of 50 cm. The supports are installed in prepared grooves, fastened with self-tapping screws and, for greater reliability, are fixed with brackets.
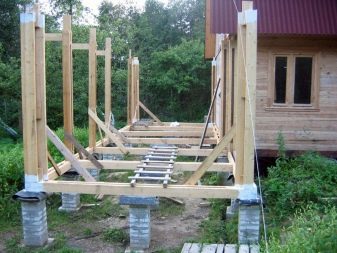
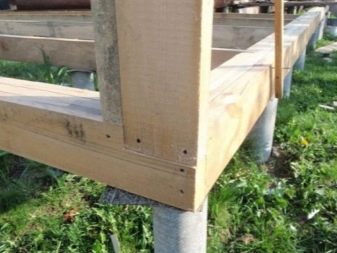
Next, the installation of the upper strapping takes place. Its assembly is similar to the bottom rail. The only difference is that the horizontal beam is attached above the rail to the wall, which will serve as the future foundation for the rafter system. The timber is fixed along the wall with anchors.
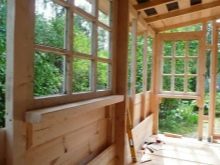
Further, frames for windows and doors are inserted into the frame structure.
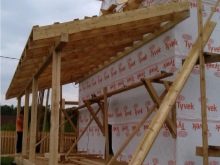
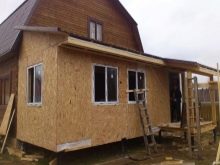
To give rigidity and reliability, the entire outer side of the frame extension is sheathed with plywood or boards.
Roof
The material for the roof is selected based on the financial capabilities of the homeowner. The optimal raw material today is corrugated sheets or metal tiles. The cheapest material is slate sheets or roofing felt, but these materials are used only not in residential premises. It is worth paying attention to the roofing material, which lined the common roof of the house, so that there is no inconsistency, and, in general, have a beautiful aesthetic appearance of the building.
The roof can be erected single-pitched as the simplest option, as well as gable.
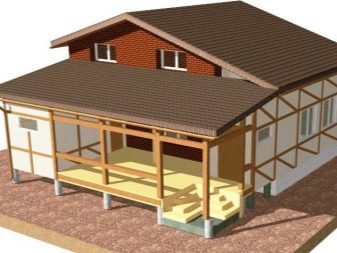
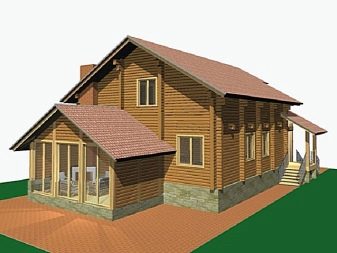
Construction begins with the installation of rafters, one end that lies on a horizontal bar attached to the wall, and the other on the upper strapping. It is advisable to think over the angle of inclination at the design stage. The rafter legs should protrude from the wall by at least 30 cm.
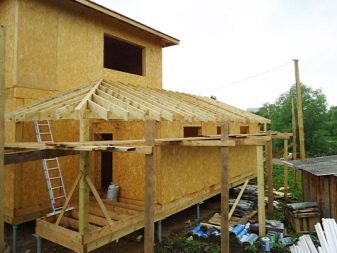
Floor installation
There are two ways to install floors:
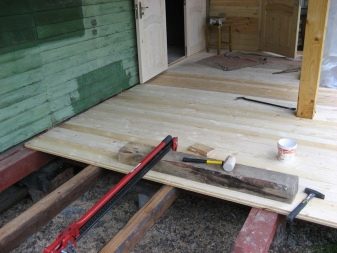
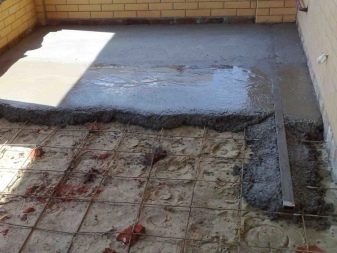
- concrete;
- wood.
The first method is suitable for extensions with strip foundations, which provide greater reliability than other types of foundations. Wood flooring is more economical and environmentally friendly.
Warming
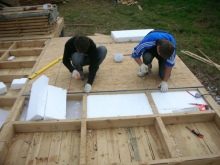
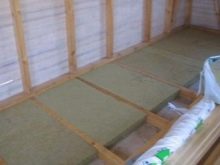
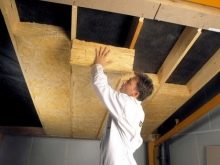
The principles of warming a frame extension are identical to the warming of a frame house. The first stage in insulation is the choice of insulation. The most popular and demanded are mineral wool and foam.

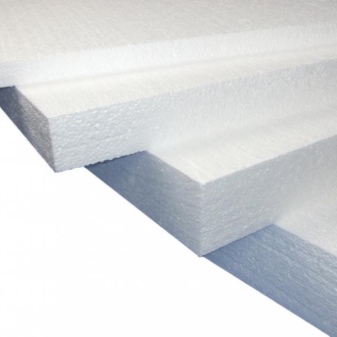
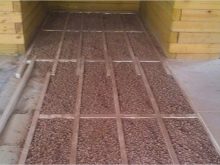
The floor is covered with putty and painted with frost-resistant paints. Then a layer of insulation is applied. The floor can also be insulated with a layer of expanded clay or foam glass.
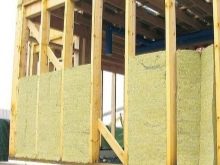
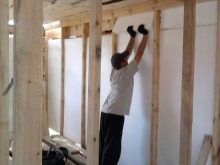
Walls can be insulated not only with mineral wool, but also with plasterboard. Thus, you can significantly save money, and the installation will be completed in the shortest possible time. The sheets are attached to the lathing with screws. If mineral wool is used, then it is necessary to put a layer of foam foam on top of it, which will provide the necessary vapor and thermal insulation.
The ceiling is insulated according to the same principle as the floor. Windows are best installed with triple glazing to avoid heat leakage.
Finishing work
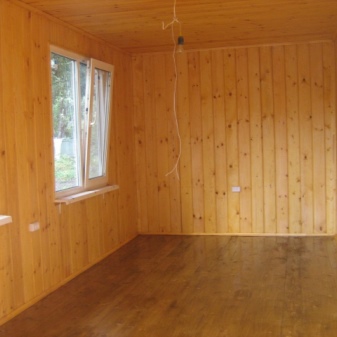
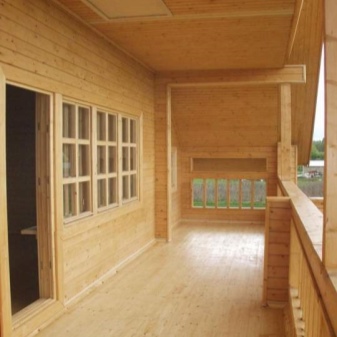
The final step of construction is finishing the extension from the inside. It all depends on the purpose of the room, and on the financial capabilities of the homeowner, and on the type of foundation and supporting beams, since heavy finishing will shorten their service life.
Advice
Many owners of summer cottages and private houses, who are faced with the process of a frame extension with their own hands, leave their reviews, share secrets and give useful advice.
- Pay attention to the conformity of materials with the general structure. If the house is wooden, then it is advisable to construct an extension of wood as well. If the house is brick, then when finishing it is better to make a brick cladding. Thus, the building will look harmonious.
- Consult with professionals or summer residents with extensive experience in construction to calculate the future extension.
- Don't skimp on materials.
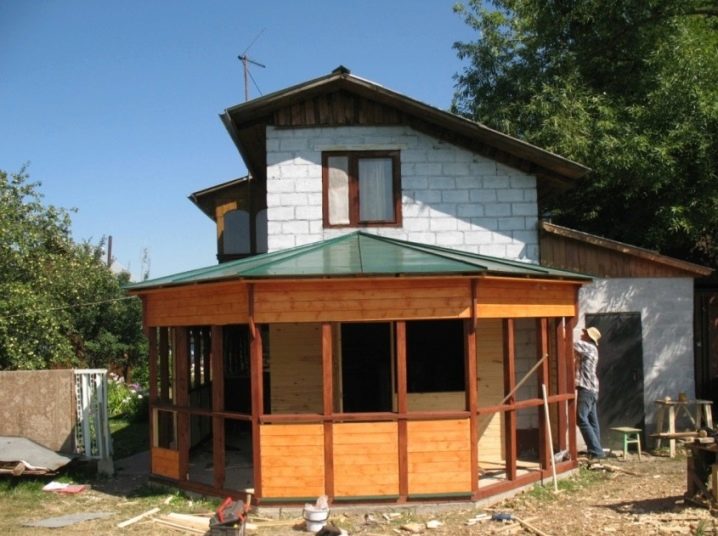
From all of the above, it is clear that the construction of a frame extension is possible with your own hands without the involvement of specialists.The main thing is the possession of basic carpentry skills and a great desire to build.


The comment was sent successfully.