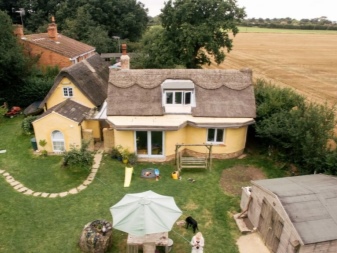
What does an adobe house look like and how to build it?
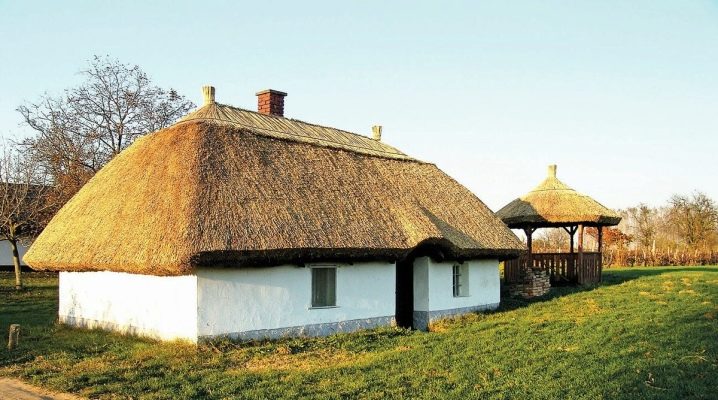
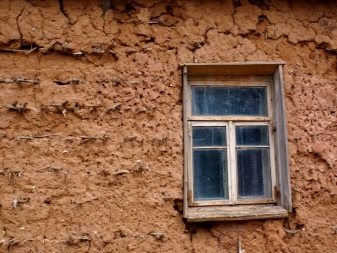
An adobe house is a technology forgotten in Russia: the last peak in the popularity of such dwellings came at the beginning of the 20th century, however, with the displacement of bricks and cement, the “clay” approach began to lose its relevance.
But this does not mean that such a house is short-lived: some old buildings, made without breaking technology, have stood for more than one century.
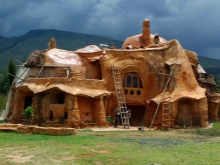
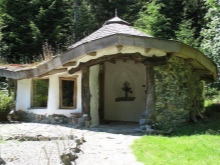

What it is?
Clay is still used as a construction raw material. Its rate of involvement in the construction turnover has decreased, but it has not lost its relevance. The fashion for environmentally friendly buildings again made us remember about the cheapest building materials that lie literally under our feet. It is enough to go deeper into the soil a meter, as the black soil ends, and under it there will be loam, consisting of clay by 80-90%. Dig deeper - from 4 to 25 m - you will come across a sandy layer, where clay gives way to sand: there is the first aquifer.
This property of sedimentary rocks is used in quarries where sand is mined. But there is no need to look for a sand quarry - you can dig up this clay next to your house. Properly used, with the addition of a small amount of sand and compacted to the limit between the outer and inner formwork, it serves as a good building material that will save you from frost in winter and prevent the house from overheating in the heat in summer. The thermal conductivity of clay is much inferior to brick, stone, hardened concrete (or cement) and steel.
An adobe house can be easily converted into a hybrid one: it can be faced with brick, “double timber” (inside and outside). The adobe houses, in which the main layer is held by masonry "half-brick" on both sides, have walls in which the thickness of clay with straw is 1.5-2 times greater than the total thickness of the brickwork.
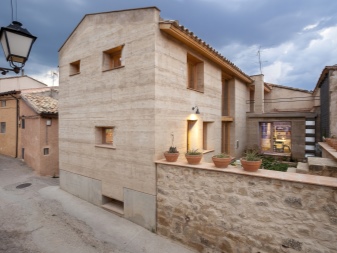
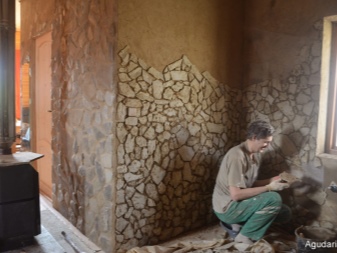
Material requirements
The main requirements are the following rules.
- Thorough drying. The very first freezing of undried clay will lead to the fact that a huge layer can fall from the wall, which will be extremely difficult to put in place. In some cases, the building itself will fall on your head.
- Thorough compaction. The clay is compacted until, when tapped, the clay layer makes the sound of a wooden chock. Unevenly compacted clay will cause the walls to crack. Have you noticed that at a depth of 1 m - when drilling a trench with a gate on a hammer drill or a motorized drill - the hardness of the clay reaches almost concrete strength. It's hard to split it. Being slightly moistened - at the depth there is always a significant amount of moisture - it is so strong that it is possible to scrape it off the brace only with a knife, piece by piece. For a greater degree of tamping, the clay is poured with water - then allowed to dry. Clay products are pressed using a powerful press that squeezes out 200 kg / cm2 - without a single drop of water, but it is impossible to create such pressure “dry” with your hands and feet.
- Erection of walls on a high foundation, on a hill, in the highest place of the site. The slightest flooding will cause the walls to swell and collapse.
- Protection from precipitation. The overhang of the roof (roof) can reach 1 m. The ideal option is to build a terrace around the house, from all sides. In this case, the area of the foundation is equal to the sum of the areas of the main part of the house and the area of the terrace.
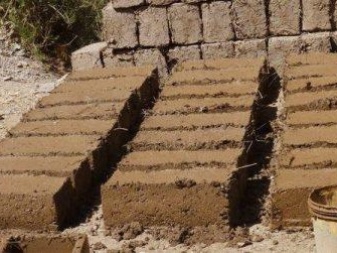
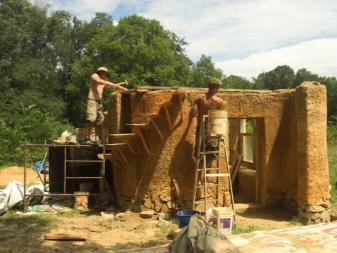
A distinctive feature of such a house is that the walls are very cheap: sand is the cheapest bulk building material, clay is practically free, wood is the cheapest solid material.
You will have to pay for all this with enormous laboriousness: excavation and selection of clay and making bricks.
The clay itself has excellent binding and protective properties. It is combined with all kinds of fillers and additives, and after setting it forms a strong layer. It retains heat inside buildings and structures - unlike sand-lime bricks and reinforced concrete.
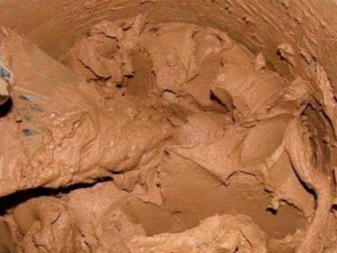
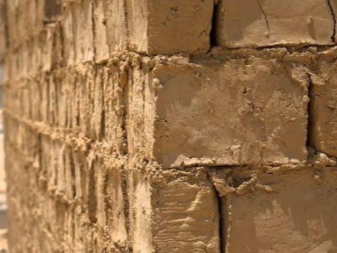
Clay is used as a component for plastering and as a compacted carrier material. This building material is time-tested - houses were built from it almost in prehistoric times, the last 10,000 years have justified its use.
Construction does not require any special equipment and expensive tools. It is easy to build a house according to your own design. Any shortcomings are successfully corrected along the way. Clay does not burn in direct contact with fire; it absorbs and gives off a small amount of moisture, but this does not mean that you need to dilute phlegm and dampness - with an excess of water, the walls will swell and begin to collapse.
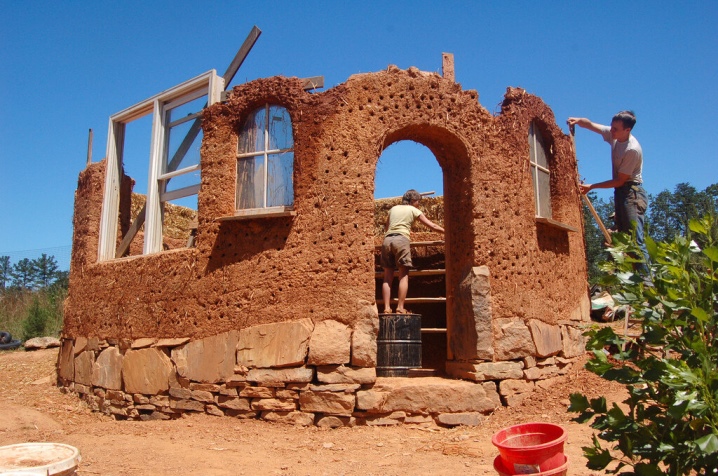
But clay also has disadvantages.
- The construction of the house is carried out only in the spring and summer, when there is a minimum of rain, but even soaked building material has the ability to quickly dry in the heat the next day.
- You can get clay only in summer, and not all of them will work - excessively oily will turn out to be too fluid. If you use clay that is insufficient or excessive, and not medium fat, then the house, even if the other technological rules are observed, will not stand for a long time. Dry clay will not stick together, oily clay will begin to shift under its own weight.
- For the speedy completion of the construction, enlist the support of assistants - it is difficult to cope alone, even if you are physically strong.
- They pay maximum attention to the decoration of the walls - even when the roof hangs down a meter, an oblique (in a hurricane) downpour will still wet the lower part of the walls, and they will begin to crumble.
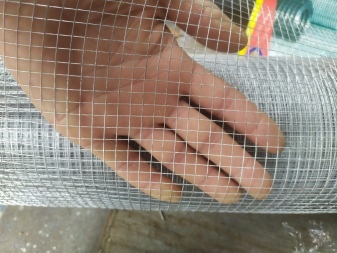
- To protect the house from rodents, you will need a metal mesh with a cell size of no more than 5 mm - so that the cubs of mice do not penetrate the thickness of the wall, and also do not eat the insulation inside.
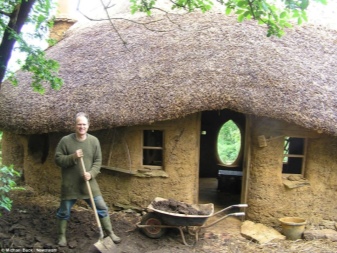
Varieties of wall masonry
For the construction of a house in which the load-bearing material is clay, formwork, the block method and the construction of walls with the help of bags are used.
Formwork
The scheme of actions is as follows.
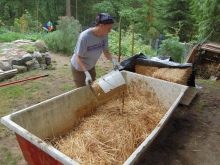
- Prepare a mixture of clay and sand, straw. Reeds are suitable for strengthening the masonry.
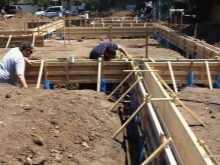
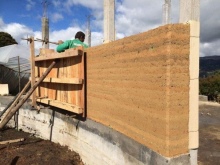
- Mount the formwork of the first row with a height of no more than 20 cm and press this mixture into there.
- After waiting for it to settle, form a ribbed surface on the top edge of the first row. This will strengthen the grip of each subsequent row with the previous one.
- Wait for the clay to set, but do not allow a crust to form on the surface of the row, otherwise the adhesion to the next row will be poor.
Continue to lay new, subsequent layers - wait until the previous layer dries.
Blocky
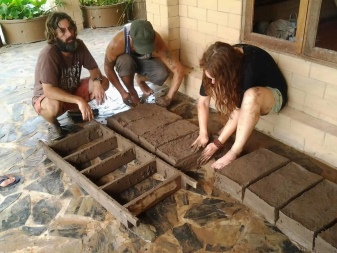
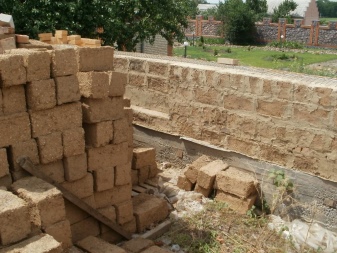
After kneading the clay mortar, use the molds to form the bricks. Wait until they are completely dry. Then, from these bricks, form a masonry like a brick, using clay-sand mortar as seams. Do not leave unused solution - it will quickly set and harden.
From bags
Prepare the required number of polypropylene bags and pieces of sharpened reinforcement, as well as galvanized knitting wire. The construction process will take much less time than when using formwork and brick (block) masonry.
Do the following.
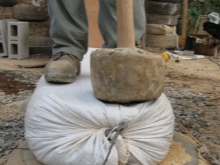
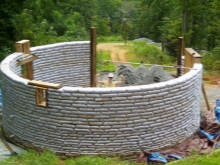
- Fill the bags with a sand-clay mixture (with the addition of straw and reeds). Compact the contents of the bags and close them.
- Fold the wall out of the bags and compact it. The necks of the bags must not spontaneously open.When laying the rows of the wall, position the bags as if you would place the bricks in classic laying. Place and secure barbed wire on each row - before placing each row. For joints, use a mixture of sand and lime, you can add a small amount of cement.
- Give additional strength and reliability to the erected wall using sharpened reinforcement, driving the pins vertically through the bags. This is a kind of primitive frame technology that stiffens the structure.
- After waiting for the wall to dry out and gain strength completely, equip the floor and roof, make a cement screed on the floor.
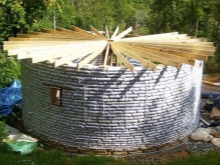
While the house does not have a full-fledged roof, cover the upper part of the walls with polyethylene or with roofing material - it is extremely important to keep them from rain.
Phased construction technology
Construction technology consists of the following stages:
- preparation of sites;
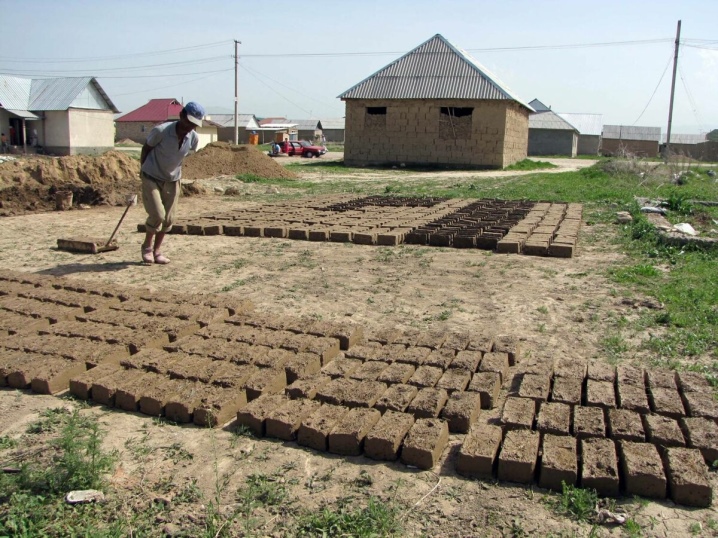
- production of clay bricks;
- laying walls;
- construction of an attic-ceiling and a roof;
- external and internal finishing.
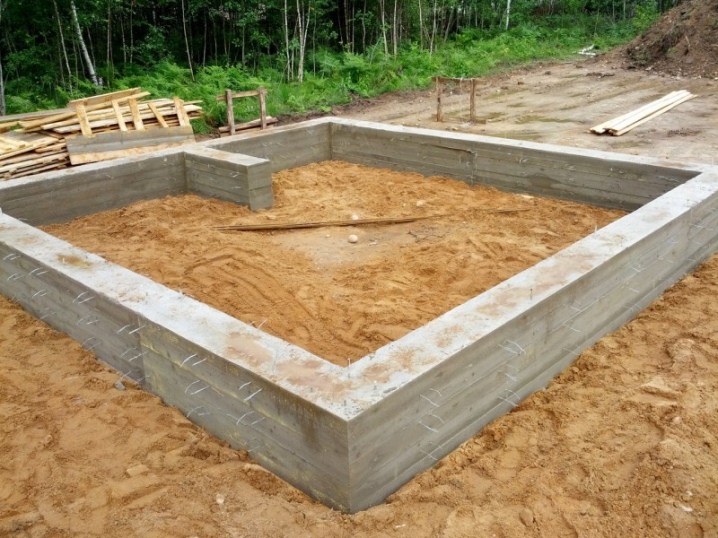
Before the start of the construction of the walls, a strip-monolithic foundation is prepared with a deepening below the freezing mark. The house should be located in a place well lit by the sun, away from trees.
For the preparation and drying of bricks, 3 sites are prepared.
- 6.25 m2, deepening - half a meter. The bottom is covered with roofing felt or polyethylene. This site is needed for the preparation of mortar and the manufacture of bricks. It is better to place the bricks mold on the table.
- Sloping - located in a sunny location. The bricks will undergo primary drying here.
- Shadow - with pallets. The bricks will be dried here. The place is well ventilated.
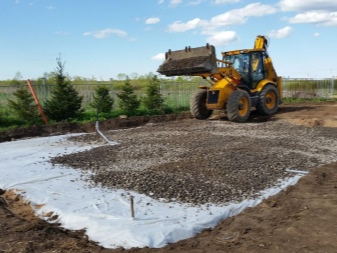
Arrangement of the foundation is as follows:
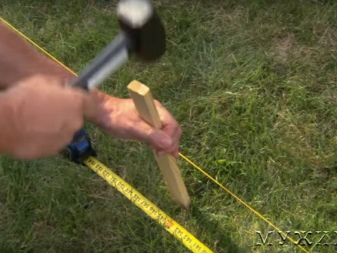
- marking the terrain with pegs and ropes;
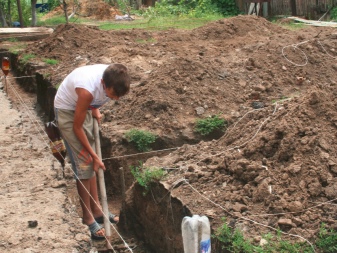
- digging a trench for the "tape" of the foundation (perimeter) and recesses (under the slab between the sections of the "tape");
- compaction of soil at the bottom of the trench and shallow pit;
- laying of sand and gravel cushions;
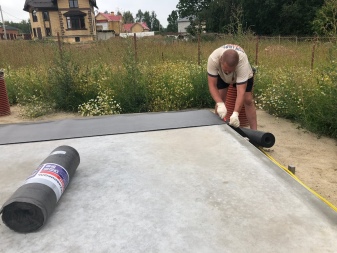
- laying roofing material;
- welding (or knitting) of the reinforcement cage around the perimeter (under the "tape");
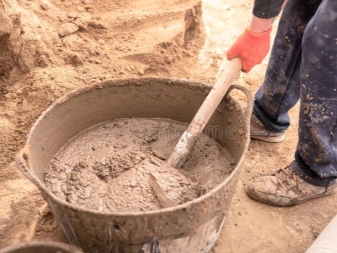
- preparation of concrete (not lower than the M400 brand) and pouring the foundation.
From the moment of setting - it completely hardens over the next 6 hours - at least 30 days must pass. The foundation needs to be watered all these days - additional water will help to gain maximum strength. If we neglect this stage, then partial cracking of its surface layer is possible, cracking to the place of occurrence of the reinforcement, which, in turn, will entail its premature deterioration (rusting up to rupture at the place of the crack). Freezing in the cracks, the water (from the precipitation) will expand them even more.
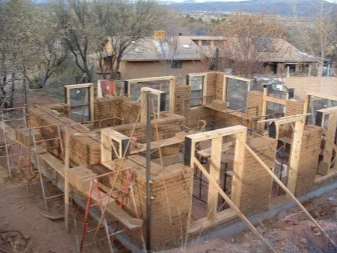
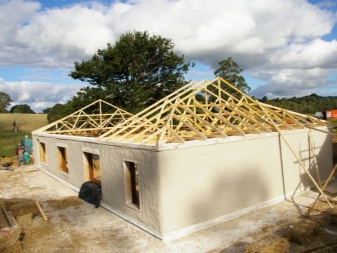
After completing the construction of the foundation, lay waterproofing on top of its perimeter and fold the walls according to one of the above technologies. After erecting the walls, mount a reinforced concrete armored belt as the last row.
The roof of the house is assembled in the following way.
- Mount the attic ceiling. It is built from a bar (not less than 100 * 100 mm) or boards (thickness up to 40 mm), which from the inside - from the side of the ceiling - are sheathed with waterproofing and a thinner board (not more than 20 mm in thickness). Put insulation - mineral wool - between the ceiling beams. You can insulate the ceiling with foam or polystyrene foam. Cover the top with another layer of waterproofing and sheathe the floor of the attic with a board with a thickness of no more than 25 mm.
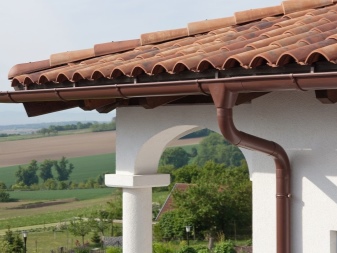
- Install the Mauerlat (from the same timber), lay the legs (supports for the ridge part). Mount the vertical supports, install the rafter beams, connecting them together with horizontal and diagonal girders. Then fit the battens, lay the waterproofing and assemble the roof. To drain rainwater, it is recommended to install gutters around the perimeter, and to move downpipes away from the walls.
Next, perform a floor screed in the premises, close it with waterproofing, install the floor joists, and place the underlying insulation around the perimeter of the house from the inside. Cover this underfloor with a clean floor of 30mm (in thickness) planks.
At the end of the work with the floors, install windows and doors and conduct engineering communications into the house, complete external and internal decoration. The building is completely ready for living.


The comment was sent successfully.