Steam room in the apartment: how to do it yourself?
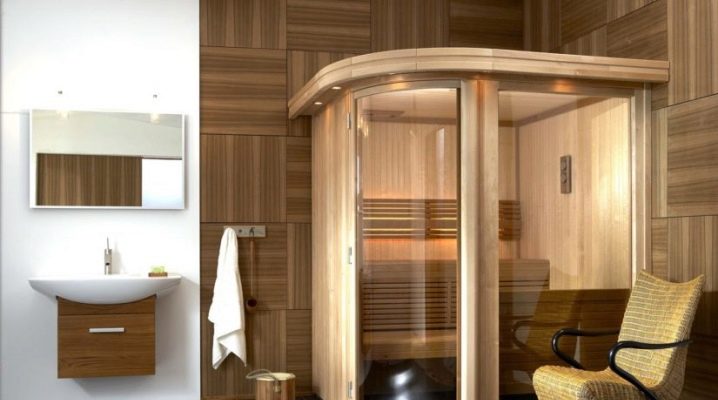
Saunas and baths are a popular type of recreation in many countries of the world, but, unfortunately, the rhythm of modern life does not allow you to enjoy it often. The situation can be corrected by apartment mini-saunas. It doesn't sound very real, but this is a common thing in neighboring Finland, where every third apartment has its own sauna.
Types of steam rooms for an apartment
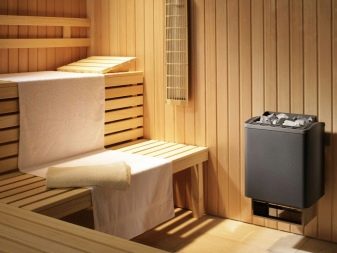
As an apartment steam room, the best option would be a dry Finnish sauna. The reason is simple - to equip a classic Russian bath in an apartment, you need to additionally equip water and steam drainage, and solid fuel heating equipment is prohibited in most houses. Of course, ardent bathers argue that a home sauna is a pale copy of a Russian wood-fired sauna. However, this does not prevent mini-steam rooms from gaining popularity, especially since more and more new types are constantly appearing.
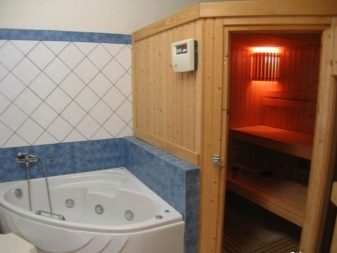
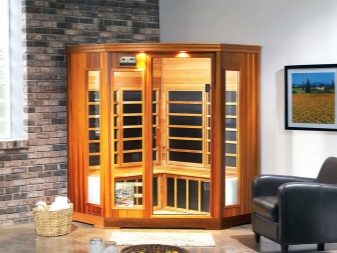
Apartment steam rooms look like small shower-type cabins, sometimes combined with them, in which an appropriate microclimate is created.
Different microclimate can be set in the same cabin on the health of each family member. As a rule, no more than 2-3 people can steam at the same time in a home steam room (depending on the size). Such structures are heated by electric ovens or infrared emitters.
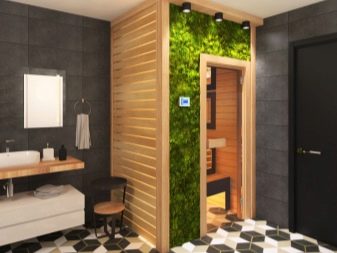
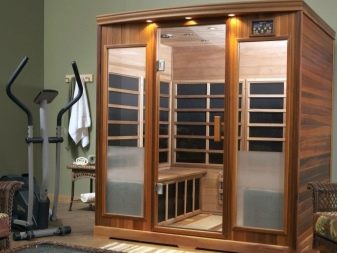
Saunas differ in size, power, type of heater. In addition, they are ready-made and home-made, stationary and portable. Portable steam rooms are a great option for small spaces.
The best known are two types of portable steam rooms.
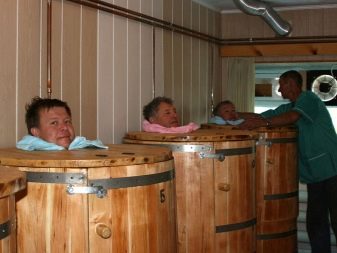
- Phytobarrels - these are miniature saunas for one person, made in the shape of a barrel. They have a heating element inside. Unlike stationary structures, only the body is exposed in the phyto barrel, while the head remains outside of it. In addition, such barrels are equipped with special reservoirs for herbal infusions, which greatly increase the usefulness of the procedure.
- Cloth sauna is a wooden frame covered with a special fabric. This type is very convenient in terms of storage: after use, the sauna can easily be rolled up and hidden. It should be used only with a powerful heater, since heat loss is much higher than that of other species.

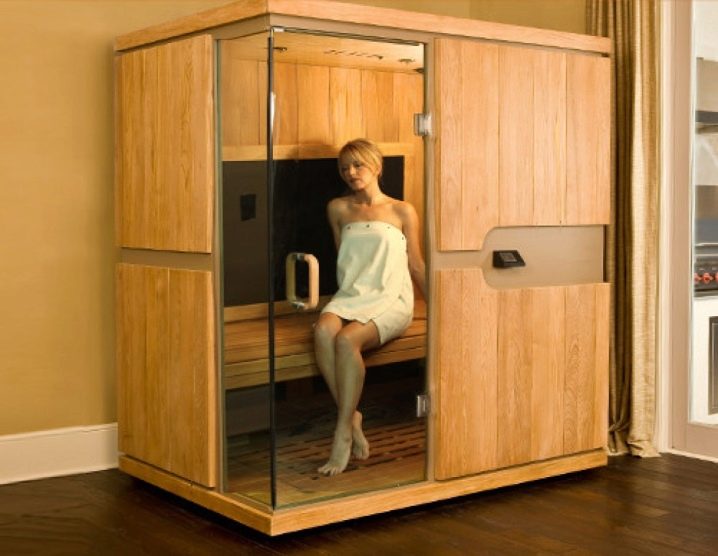
Ready-made stationary booths are the way for those who value quick installation and a minimum of related work. They are found in the form of separate cabins or cabins, connected to the shower by a partition, or two in one. The disadvantages of such equipment are standard sizes, which are quite difficult to choose for a specific room, especially if every meter counts. The price of the product is also capable of making the consumer change his mind. However, a limited budget is not a reason to give up a dream, but an opportunity to test your design skills.
Selection and preparation of premises
The first step in building a home sauna is choosing the space carefully.
A suitable place in an apartment must meet several requirements, having the following qualities:
- good heat and waterproofing;
- ventilation;
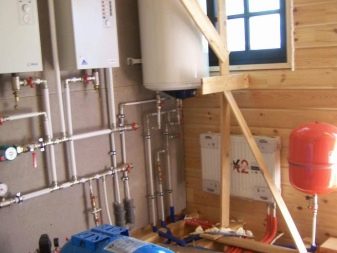
- access to the main communications: electricity, water supply, sewerage.
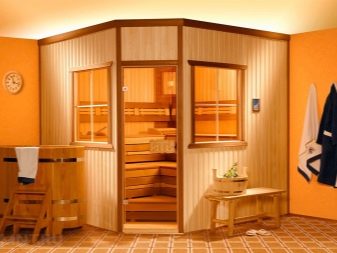
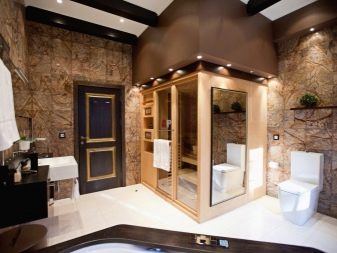
The construction of a steam room in living rooms is prohibited for safety reasons, so the best place is the bathroom.
In it, all these requirements are met.You can also use the kitchen for these purposes. Often the size of a standard kitchen and bathroom does not allow allocating a few extra square meters, therefore, most likely, you will need to redevelop the apartment, ventilation equipment from scratch, and bring communications.
This entails the need to coordinate the project with a number of government agencies:
- fire department;
- epidemiological service;
- redevelopment and approvals service;
- housing inspection.
Additionally, it may be necessary to modernize the power supply of the apartment, since the standard wiring, most likely, will not withstand the load of a powerful heater. In this case, the permit is issued by the electrical supplier and the contract for work is concluded with him.
Choosing a lower power stove will save you from replacing the wiring, but will increase the heating time of the sauna to the desired temperature. Alternatively, the cab insulation can be strengthened and its volume reduced.
When the electrical work is completed, the relay passes to ventilation. If we are talking about the bathroom, then the ventilation system is provided here initially. All you need to do is check and clean it. Holes must be made on the sauna booth itself. On request, they can be equipped with heat-resistant fans and dampers. In the case of using other premises, additional ventilation ducts will need to be installed. For this, a flexible duct is quite suitable, while unnecessary bends should be avoided and the shortest direct path should be chosen.
There is a fundamentally wrong opinion that this stage can be skipped, as if the sauna works without ventilation. In fact, it will not last for a long time: under the constant influence of moisture in an unventilated room, rotting of wooden structures begins, a favorable environment is formed for the development of bacteria, there is no need to talk about the quality of bath procedures in such conditions.
In addition, there is a risk of acne without fresh air.
Among the common mistakes when installing ventilation, there are those that completely negate the advantages of your own bath.
- Post-construction planning and installation. It is more difficult to remake the finished product than to initially provide for an air exchange system.
- Complete sauna tightness. Any room, regardless of purpose, needs a natural flow of fresh air.
- Equipment of only one exhaust outlet. If there is no air flow, then air exchange is out of the question.
- The absence of dampers on the inlet / outlet valves, which help to regulate the microclimate in the steam room.
- The arrangement of the holes on the same level and opposite each other. As a result, air will be distilled from one valve to another, forming drafts and not ensuring mixing of air masses.
As for the size of the future mini-steam room, then the indicator is taken into account, according to which an average of 2 m2 is needed per person, if the presence of a bed is required.
Selection of material and equipment
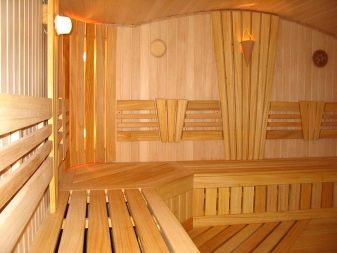
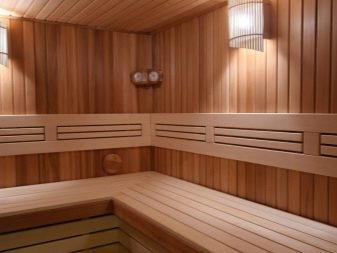
Materials for a sauna or bath must be environmentally friendly and non-toxic. This is an urgent need, since when heated, many materials release substances harmful to health. Therefore, number one in the list of required materials will be natural wood for the frame and cladding. It is desirable to use one type of wood, then the structure will have the same performance properties.
Aspen, linden and abashi oak are best suited for apartment mini-baths. The latter seems to have grown especially for such purposes: it does not conduct or absorb heat, practically does not absorb water, is resistant to mechanical stress, and does not emit resinous substances. Also, steam rooms are often trimmed with Scandinavian pine and spruce, alder, aspen. In general, for rooms with high humidity, it is better to use harder types of wood, and those that are softer are suitable for external cladding.
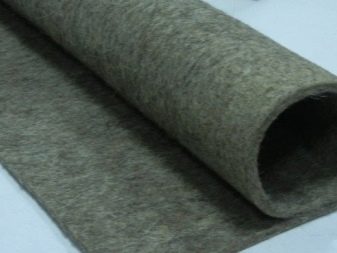
Provision must be made to prevent the escape of precious heat through the walls of the structure. You should not rely only on the low thermal conductivity of wood; it is better to additionally stock up on environmentally friendly and non-combustible insulation, for example, felt insulator or basalt slabs. Felt has the ability to easily absorb and release water without changing its properties, and insulation from basalt slabs completely repels moisture. You can take a closer look at other materials available on the market. The main condition is environmental friendliness and immunity to moisture.
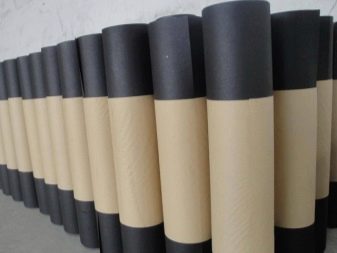
Where there is thermal insulation, there is also waterproofing. You can choose a material that performs both functions at once, or purchase glassine or foil paper.
Probably, the internal wood sheathing will need to be treated with an impregnation that protects against the damaging effects of moisture and steam.
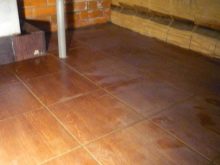
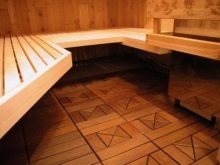
It is recommended to purchase ceramic tiles for finishing the floor. The coating can be wooden or any other, the main thing is to avoid synthetic materials (for example, linoleum), which, when heated, emit harmful substances.
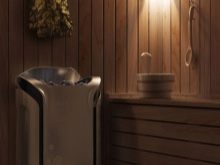
Of electric ovens, only those designed specifically for wet rooms are suitable. This device is the central figure of a home sauna, you should not save on it. The power is selected depending on the size of the steam room. In the matter of heating devices, buyers trust Scandinavian and German models, which combine the necessary power, reliability and lightness.
The main stages of installation
- Before starting work, all wooden parts are treated with protective impregnations and left to dry.
- Floor device. This step is not necessary if the sauna is being built in a bathroom, as the existing tiles will do just fine. Otherwise, the floor is made from scratch, that is, a sewage system, hydro and thermal insulation, a warm floor (if desired), and a concrete screed are installed. Ceramic tiles are laid immediately after the screed has dried, before the construction of the frame and walls.
- Then the walls are prepared, to which the sauna will adjoin: the old coating is removed, the surface is treated with antifungal and antiseptic drugs, 2-3 layers of glassine are fixed with the help of slats, which protects the main walls of the apartment from steam and moisture. For waterproofing, special polymer mastics are sometimes used.
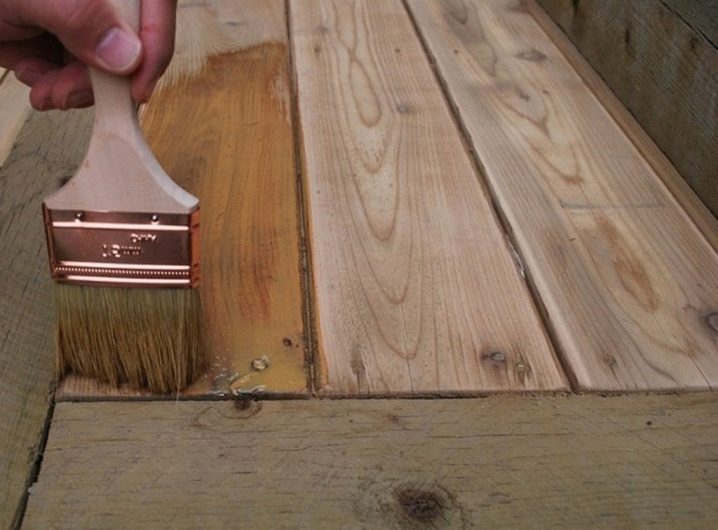
- Next, a vertical and ceiling frame is erected. To do this, use a timber of 4 * 6 cm or 5 * 5 cm.The height of the structure is at least 2 m.If the exhaust valve is planned on the roof of the booth, then a gap of 5 cm is left between the ceiling of the apartment and the steam room.Around the future ventilation openings, frames are made of timber. The doorway is decorated with vertical posts.
- Warming. A popular material is basalt wool, which is carefully laid between the beams of the frame.
- On top of the insulation, a heat-insulating material is attached, as a rule, it is aluminum foil. Foil sheets are laid with the mirror side inward, with an overlap of 10-15 cm, and glued with metallized tape.
- Installation of horizontal lathing in front of clapboard sheathing. To do this, use thin beams 3 * 4 cm, which are mounted in increments of 40 cm.
- Sheathing of walls and ceiling with clapboard. They begin work from the ceiling, from the entrance to the opposite wall. At the same stage, the inlet and outlet ventilation valves with dampers are installed.
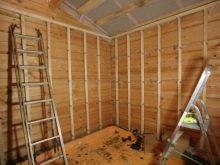
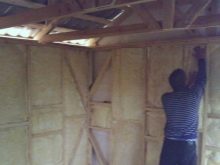
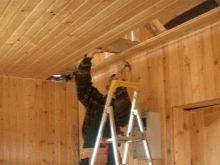
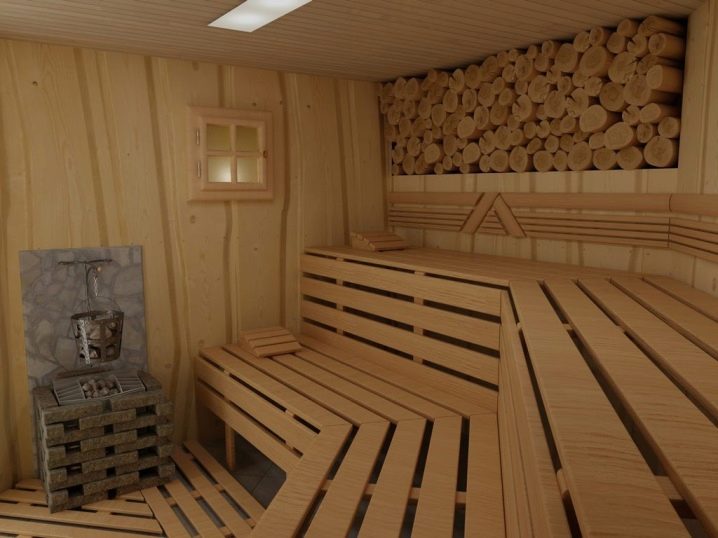
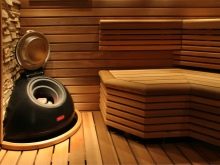
- Installation of benches. The support is made of timber, for greater reliability of the structure, a vertical rack is added. Plank with the same material that was used for the walls.
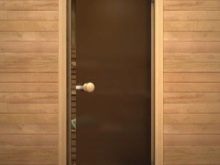
- The door is most often made of frosted tempered glass. This helps to avoid the effect of a confined space. The door should open outward, easily and effortlessly, so serious locks are not put, the maximum is a magnetic latch.
- Installation of equipment. The stove is installed in a convenient place, in a special fence made of wood remains. This is done to protect against scalding in a small space. Luminaires are chosen heat-resistant, they are mounted on top of the lining.
- Outside, the sauna is decorated with clapboard.
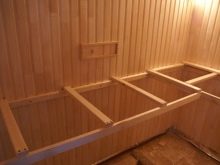
The steam room is dried before the first use. To do this, the room is heated for several days, gradually increasing the temperature and heating time.
On the first day, the heating is turned on for an hour with the doors open, on the second day it is kept for 3-4 hours at 60 degrees, on the following day at 90-100 degrees. After checking the operation of the equipment and ventilation, the sauna is ready for use.
The Finnish sauna is not the only possible option for an apartment steam room. If you wish, you can equip a Turkish hamam with your own hands in an apartment building. This type of bath is characterized by 100% humidity and low temperature (no more than 50 degrees).
For tips on installing a steam room in an apartment, see the following video.


The comment was sent successfully.