How to put the canopy on the holder?

You can make the bedroom more comfortable, and the sleeping place protected from the penetration of sunlight, using a canopy. Such a design is distinguished by a truly fabulous appearance, therefore, the interior of the nursery acquires a special charm with it. The canopy can be installed over the crib by yourself, but for this you need to follow the instructions. Today we will learn how to properly put on such a product on the holder.
What is the holder?
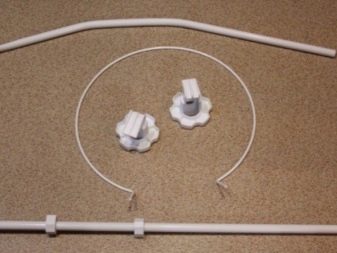
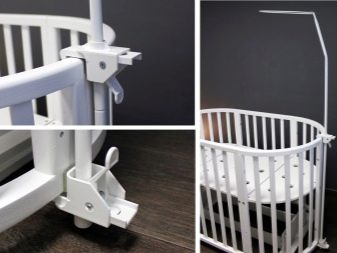
Before considering in detail how to fix the canopy, you need to answer the main question: what is such an element as a holder. The design of this part consists of a sealed or disconnected ring made of metal or aluminum alloy, as well as a tripod and fasteners.
The benefits of a canopy
In many cases, parents refuse to install a canopy over a crib, considering this element a "useless dust collector". In fact, the canopy is a very useful and functional design that helps the child sleep in the most comfortable environment.
Due to its structure, the canopy perfectly protects the child's sleeping place from the penetration of annoying sunlight that interferes with sleep. In addition, such products are usually equipped with long and dense canopies, which can provide good protection against drafts.
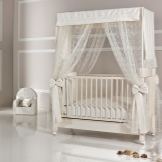
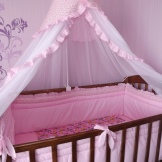
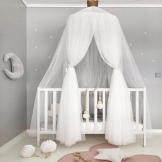
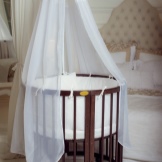
Using a high-quality canopy, it will be possible to protect the little user from the "attack" of flying insects, such as mosquitoes. If there are pets in the house, then you cannot do without a canopy. This design will prevent wool from entering the crib.
Mounting methods
When the crib is a single unit with neat light curtains, their edges are in most cases attached using a special hinged-type tripod. This simple structure can be installed in different ways.
The most popular ones are:
- at the head of the bed;
- on the side of the arena;
- to the ceiling;
- along the perimeter of the arena.
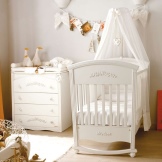
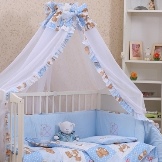
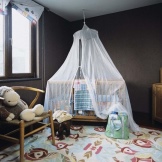
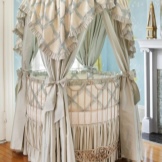
It is not very convenient to carry out fasteners at the head of children's furniture. This is due to the fact that, thus, the protection of the child from various influences will not be one hundred percent. This method of attaching the canopy is not ideal, because the edges of the canopy will only cover the child's head, and the canopy will not fall off the furniture.
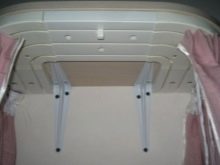
The canopy can also be attached to the ceiling. In this case, a special metal bracket is used. This process takes a lot of time, but it is as reliable as possible.


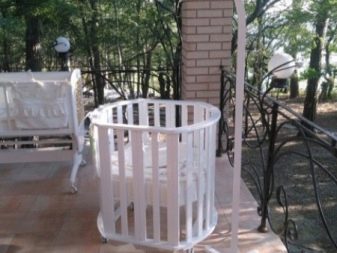
It is also permissible to fix the holders around the perimeter of the arena. In such conditions, the canopy will perfectly protect the crib, which will at the same time take on a more magnificent and elegant look. However, with such a solution, the playpen will have too many supporting parts, which over time the child can knock down.
Varieties
There are several types of canopy holders. Depending on the chosen installation method for this design, one or another option is selected.
- Bed. These holders are designed to be installed on the crib itself. Most often they come with the furniture itself. These parts are the easiest to attach.
- Wall mounted. Using wall elements, it will be possible to build a canopy of almost any length.
- Outdoor. These structures are installed on the floor. If necessary, they can be easily dismantled and moved to another place along with the arena.
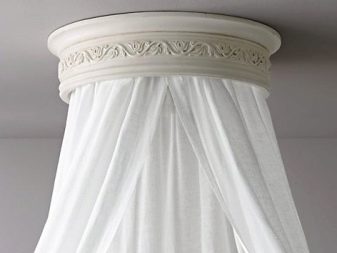
- Ceiling. These types of holders are stationary. Using the ceiling holder, it is permissible to install canopies of any length and modification.


Design
As mentioned earlier, the holder is assembled from a tripod, a ring and fasteners. Canopies can be installed in different ways, depending on the structure of the loop. If it is one-piece and does not come apart, then the woven material of the canopy is tied using special ribbons or Velcro. If initially the specified parts do not come with the product, then it is quite possible to sew them with your own hands. The loop of the holder itself is often complemented with spectacular lambrequins or bows.
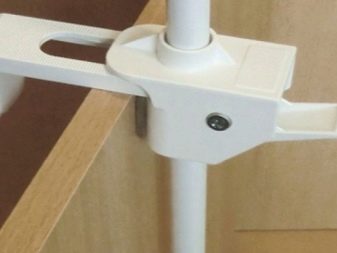
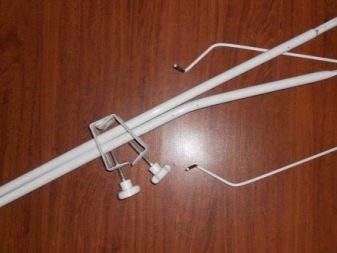
If the composition of the product provides for the possibility of removing the loop from the tripod, as well as separating its ends, then the upper part of the textile, on which special pockets should be present, is pulled over the looped antennae. The formed structure is attached with screws to the side of the arena, and then the fastening places are masked with plugs.
How to put it on correctly?
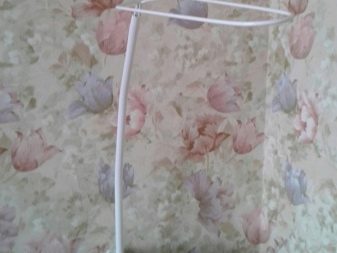
Before proceeding with the assembly of the canopy, you need to prepare the tripod mounts in the desired location. Typically the tripod is a straight aluminum tube with a curved section at the top. At the end, this part is equipped with the previously mentioned loop, which will be needed to secure the edge sections of the canopy.
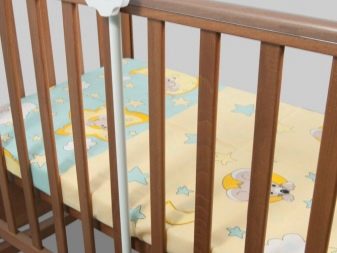
First, you need to choose the specific side of the crib, on which the holder fasteners will be located. As mentioned earlier, if the canopy frame is placed on the head of the children's furniture, the protection will be weak and the legs will remain open. It is advisable to put these structures on the side of the arena - thus, the textiles will be evenly distributed over the entire surface of the berth.
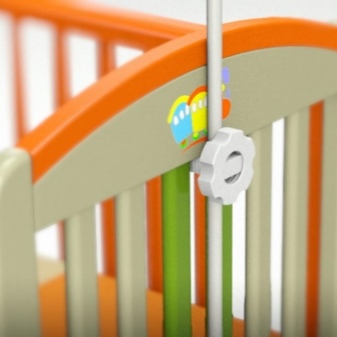
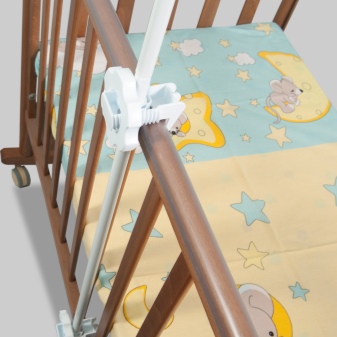
It is important to pay special attention to the height of the canopy edges. These indicators can be adjusted in the process of fixing the holding part. To make the process of installing the frame as easy as possible, the aluminum hinge should be disconnected.
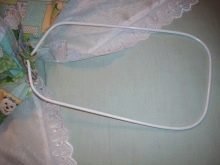
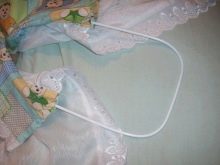
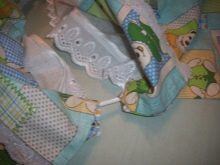
Next, you can proceed to putting on the canopy on the holder. The sewn product must be equipped with special pockets intended for the tendrils of the aluminum loop. Typically, there are two such parts, and there is a small open gap between them. Gently pulling the curtain material over the looped mustache will create neat waves.
After that, the structure is fixed on the holder using a screw. It will need to be tightened tighter. If everything is done according to the instructions, then the curtains will look beautiful on the arena and perform all their functions.
Ceiling mount
There is another method of fixing - to the ceiling. This decision will be relevant if you are sure that the crib will be located in its place and will not move for at least a year. This mounting option is recognized as the most reliable and wear-resistant, since the bolts will not be exposed to regular external stress, which cannot be avoided if the fasteners are located in the interior of the furniture.
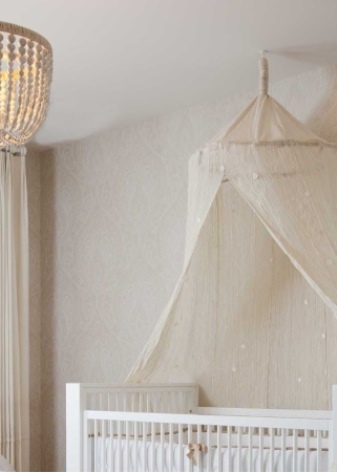
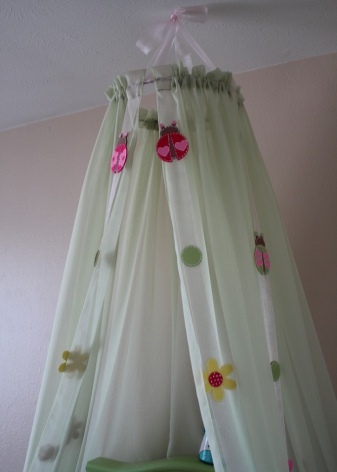
First, you need to decide on a specific place in which the canopy will be fixed.
Try to ensure you have unhindered access to this site:
- make marks on the ceiling to indicate the intended place where a kind of cornice will be located (a strip of metal);
- attach the holder to the ceiling base using self-tapping screws;
- tie the curtains to the eaves with ribbons or Velcro;
- after that, it will be possible to decorate the metal cornice with a variety of decorations, for example, spectacular bows.
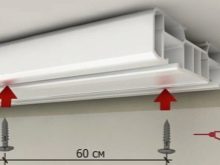
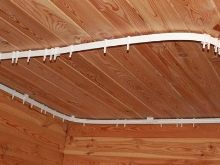
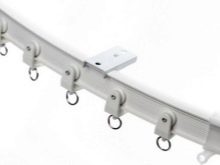
Of course, this version of the canopy should be much longer than the standard product, which is attached to the bed itself. The curtains, installed in accordance with the instructions, will perfectly protect the baby from all kinds of external stimuli. However, we must not forget that this type of installation will take up a lot of free time.
Assembly Tips
If you decide to install a canopy over the bed yourself, then you should take into account some useful tips from professionals that will help you avoid many incidents and mistakes in the process of work.
- At the end of the installation of the canopy, it should be properly straightened so that it neatly falls around the crib and does not wrinkle.
- If you decide to put on a canopy by attaching it to the wall, then you should proceed in the same way as in the case of the ceiling option. However, in this case, the bracket must be fixed at such a height that it is not lower than 1 meter from the side of the arena. It is necessary to follow this rule so that the child is as comfortable and convenient as possible under the constructed shelter.
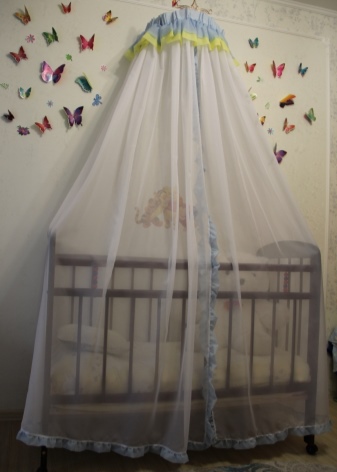
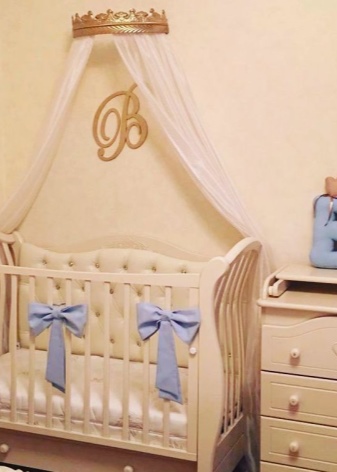
- Please note that the canopy mount should be as strong and strong as possible. There should be no backlash and loose connections. Only then will the design be comfortable and safe for the little user.
- Crib canopies are very different, from long to very short. It is permissible to hang any options you like in the children's bedroom. The canopy can even fall from the ceiling to the floor, however, many parents prefer medium-length products, since they perform their main function perfectly, but do not interfere underfoot.
- Ceiling and wall brackets are recommended to be additionally secured with screws. As a result of the use of these parts, stronger structures are obtained.
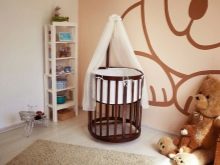

- Place the canopy on the holder more carefully so as not to damage the fabric from which it is made.
- The color of the canopy should be selected in accordance with the palette in the interior of the room. It is not recommended to buy too bright and variegated options, as they will interfere with the baby's fast falling asleep.
- The ceiling option should be addressed only if you are confident in your abilities, since it is rather difficult to install it.
- Before buying the holder necessary for mounting the canopy, be sure to read the instructions for assembling it.

A visual demonstration of how to put on a canopy on the holder is in the video below.


The comment was sent successfully.