How to make a papier-mâché plate with your own hands?

Many people love papier-mâché products for their simplicity in manufacturing. Depending on the level of skill, you can make crafts, starting from the simplest level, which can be made with children, ending with crafts of high complexity, for example, interior items, where more serious skills are needed. Today we'll talk about how to make a plate using this technique.


What is this technique?
The papier-mâché technique came to Russia with the light hand of Peter I. Despite the fact that the name is French (which means "torn paper"), the birth of papier-mâché occurred in China, during the Han dynasty... Then armor was made in a similar way, they were light, which allowed the fighters to move freely during battles, but also well protected from weak blows from a sword and even an arrow.


Further, the papier-mâché technique became popular in other countries, and at the beginning of the 17th century, the French began to make dolls, which gained immense popularity.
Papier-mâché technology
There are three main ways to make products.
- Newspaper or tissue paper breaks into small pieces and layer by layer is applied to the base. Each layer is coated with PVA glue or homemade paste. This method produces the smoothest product surface.
- Thicker paper it is soaked in cold water for a day or in boiling water until it cools down, then squeezed dry, crushed with a blender. After that, glue is added and mixed well until a homogeneous mass with the consistency of liquid sour cream is obtained. From this mass, a further craft is formed. It should be noted that the surface will not be perfectly smooth with this method.
- This method is just right for making furniture. Sheets of thick cardboard are glued together under the press, like plywood. This is how the individual parts are formed. Further, the complete construction of the subject is assembled.


Master class for beginners
For making a plate with your own hands you will need:
- newspaper;
- PVA glue;
- brush;
- base plate;
- water;
- acrylic paints;
- acrylic varnish (plain or craquelure).
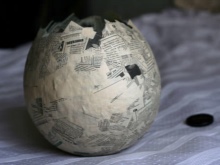
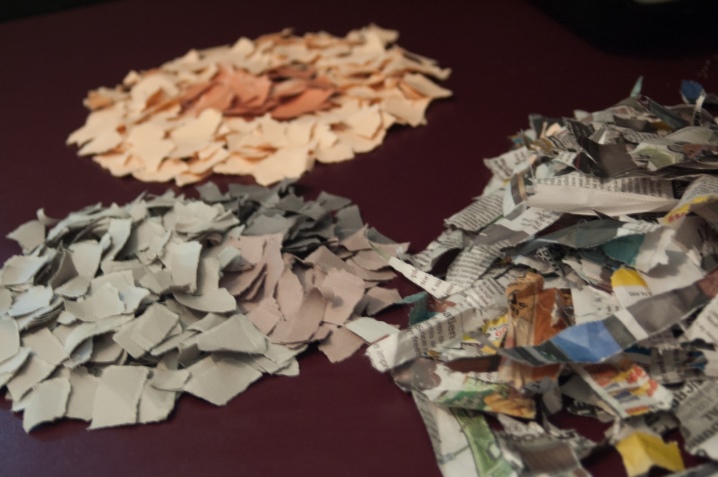
It is necessary to tear the newspapers into small pieces. The smaller they are, the smoother the surface will be. This is especially important when the base is of a bizarre shape, or there are bulges on it. In this case, the smaller the pieces of newspaper, the more accurate the shape of the product will be.

If the plate, taken as a basis, is ordinary, then pieces of paper about 5x5 centimeters in size will be enough.
So that later you can easily remove the plate with papier-mâché from the base, the first layer of newspapers should be soaked in water and applied to the surface. Choose for yourself which side to cover. If from the inside, then the product will end up a little less than the original, if from the opposite, then a little more. But now, after the first layer of newspapers, it is worth applying PVA glue with a brush and smearing it well.


Next, you need to apply a second layer of newspapers. And so, smearing each layer with glue, glue the paper pieces on top of the previous ones. You need to make at least 10 of these layers. Ideally, you need to do 100 layers, but this is very long and difficult, and not always necessary. Just keep in mind that the more layers, the stronger the product. And then it all depends on how you will use your craft.

If this is a decorative plate for wall decoration, then 10 layers are enough. And if you want to make a dish for fruits or sweets, then do not be lazy to make 20 or more.
After drying, the plate will acquire the strength of wood and can be decorated.
Ordinary painting with acrylic paints in a certain style can serve as a decor. It can also be painting using the point-to-point technique or additional volume, which is done through a stencil using a special paste, and painted with acrylics on top. The final stage of the decor should be acrylic varnish, moreover, applied in several layers. There should be good drying between each of them. Varnish can be used not only ordinary, but also craquelure, which imitates a cracked surface.


To make the cracks look more impressive, use a lower layer of paint either lighter or darker than the main color, a couple of tones. Read the instructions before applying the varnish., since there it is written in detail how to work with it. As a rule, the varnish is applied in one direction, but there are also types where this condition is not required. If, during drying, the surface is heated, for example, with a hairdryer, the cracks will turn out to be larger.
Step-by-step master class (method number 2)
Now let's look at how to make a plate in the second way. Let's take cardboard egg cartons as a basis. Necessary materials:
- cardboard cells;
- PVA glue;
- blender;
- base plate;
- paints, brushes for painting.


So let's get started. First you need to soak cardboard packages in boiling water. Tear them into several pieces, place in a bowl of hot water and leave for 20 minutes. The same can be done from a newspaper. After the water has cooled, wring out the paper and place in a bowl. Grind with a blender to the desired stage. The smaller, the better and smoother the surface of the future plate will be.


The plate should be greased with vegetable oil, cream, petroleum jelly or wrapped with cling film. This is necessary to easily separate the product from the base. Next, mix the paper pulp with glue, knead it like a dough and then apply it on the base in an even layer, the thickness can be varied. Let it dry and start decorating. Such a plate will not be perfectly flat, the surface will be a little bumpy.
You can color the plate as you like or decorate according to the recommendations from the previous master class.


If there is no PVA glue, you can prepare a paste. It is made from flour or starch. Do not forget that starch paste loses its adhesive properties after 3 hours, so it is better to cook it in small quantities. But flour paste can be stored in the refrigerator for up to several days, the main thing is to close it tightly with a lid.
Flour paste recipe
For a liter of water, you will need 4 tablespoons of wheat flour (before that, sift it through a fine sieve), mix. Then heat in a water bath, pour in a glass of hot water and stir constantly until thickened. After cooling, the glue can be used.

Starch paste recipe
Pour a tablespoon of starch into half a glass of cold water. In a separate bowl, boil 500 milliliters of water and pour starch water into the boiling liquid in a stream, stirring constantly. Then, over low heat, bring the mass to the desired density. After the paste has cooled down, you can start working.
For information on how to make a papier-mâché plate, see the next video.


The comment was sent successfully.