Nuances of growing winter garlic
When choosing a variety of garlic for planting, many gardeners prefer to take its winter variety. This culture has quite a few advantages, but at the same time it requires careful care. Let's see how to properly grow garlic planted before winter.
Variety selection
Gardeners like winter garlic for a reason. Having overwintered in a natural way, the sowing material quickly grows at the onset of spring, giving an early harvest.
This garlic is adapted to a wide variety of natural conditions. It perfectly tolerates a cold snap, short-term drought, is much more hardy than its spring counterpart.
But in order for everything to work out, and the harvest was really enviable, the first thing a gardener should pay attention to is the selection of a variety. Let's briefly highlight some of the possible options.
- "Komsomolets". One of the best varieties of winter garlic. It has large heads with at least 6 large teeth. Gives large yields, has excellent immunity to fungi.
- "Alcor". This is a medium-ripening variety. Its bulbs are pink-purple, each with about 5 large cloves.
- "Gribovsky 60". A large-fruited early variety producing a large number of arrows. There are a lot of denticles, about 11 pieces. Has a very rich, tangy taste.
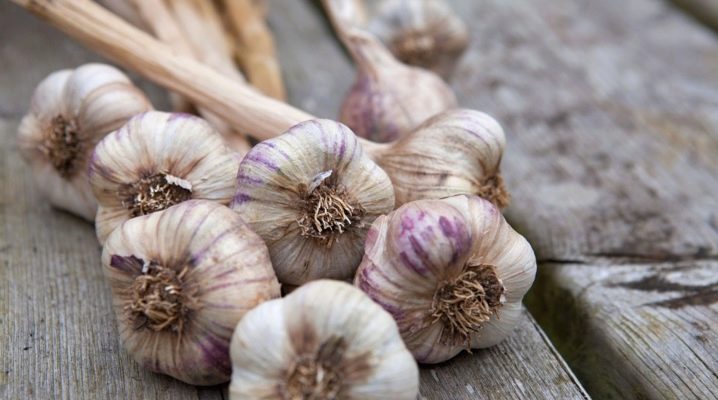
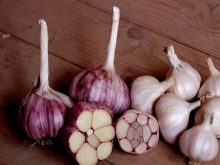
- Dobrynya. A well-known variety of winter garlic with large heads. This is a late-ripening variety, the bulbs have a lilac tint, each with about 10-15 cloves. Differs in increased keeping quality: in the right conditions it can lie for up to six months.
- Otradnensky. A fairly frost-resistant subspecies, widely used in the field of culinary due to its delicate taste. It has pink-purple heads containing 4 to 6 cloves.
- "Zubrenok". A variety with medium ripening periods. Bulbs are white, with a mother-of-pearl tint. The culture is distinguished by a high degree of productivity, because large heads contain 5-6 large cloves each.
- "Dubkovsky". A good yielding variety with impressive green feathers. The bulbs are medium in size, there are from 10 to 12 "babies" inside. Shows low resistance to rot and nematode.

Landing dates
In order for winter garlic to take root well in a new place and to give a rich harvest in spring, it is very important to choose the right planting timing. This is a rather controversial point, since the regions of the country are very different in climate and the time of the onset of cold weather. We will give only general recommendations, but it is necessary to focus primarily on the weather and its nearest forecast.
So, winter garlic is planted in the fall. Estimated terms - September - October, up to the end of the month. In any case, it is necessary to be in time before the prolonged rains begin and a serious cold snap begins. About a month should remain until frost.
In the northern regions, it is recommended to carry out work in September, in the middle lane it is better to choose the beginning of October for planting. Southern gardeners can afford to plant in the late October period.
Preparation
Having decided on the timing of planting and the variety of garlic, it's time to start preparatory activities.
A place
Winter garlic prefers places well lit by the sun: even or slightly elevated. Plants need a light, well-drained soil with neutral acidity. A sandy loam or loamy substrate is a good choice. Waterlogged and heavy soils with low air permeability should be avoided.
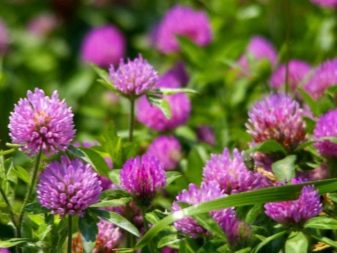
Winter garlic is planted where dill and parsley, beans, pumpkins, cucumbers, tomatoes, potatoes, peppers grew in the previous year. But the best option is to land after green manure. Mustard, clover, oats may well play their role. Do not plant garlic after it or after onions and bulbous plants, including flowers. If we talk about neighbors, then winter garlic will like to grow next to berry bushes, a variety of flowers.
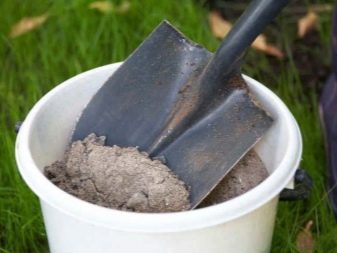
Priming
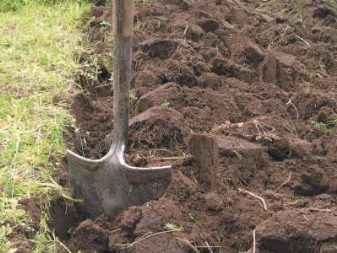
As already mentioned, the soil for planting garlic must be fertile. To grow large heads in the garden, you need to prepare the land in advance. Basically, this procedure is carried out in the summer. The earth is well dug up, cleaned of debris and plants. Heavy soils have to be lightened. To do this, sand and compost are added to them. If the earth consists mostly of sand, then it must be diluted with clay and humus. Acid substrates are put in order by liming.
Fresh organic fertilizers are sure death for the crop, as they contain a huge amount of nitrogen. If it gets a little warmer, then nitrogen will cause a set of green mass at the wrong time. The more correct choice is the rotten mullein. Depending on the initial state of the soil per square meter, you need to take from 1 to 4 buckets.
In addition, 30 grams of superphosphate and 10 grams of potassium salt are added to the square of the soil. However, such fertilizers can be replaced with 500 grams of wood ash.
Planting material
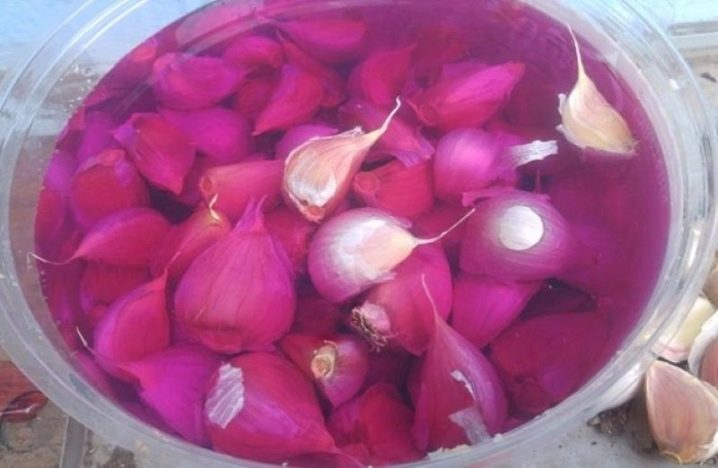
First, the seed must be hardened. It is placed in a cool place with a temperature of 3 to 5 degrees Celsius. He will have to stay there for 14 days. If you have chosen the heads for planting, then they must be disassembled into teeth. In this case, it is important that the husk remains intact. The teeth are carefully examined, deformed or wrinkled do not fit. Having selected the best, they are immersed in a weak solution of manganese for a quarter of an hour.
If it is decided to plant with bulbs, then no preparatory measures are required here.
Landing technology
Let's analyze detailed instructions for planting garlic before winter.
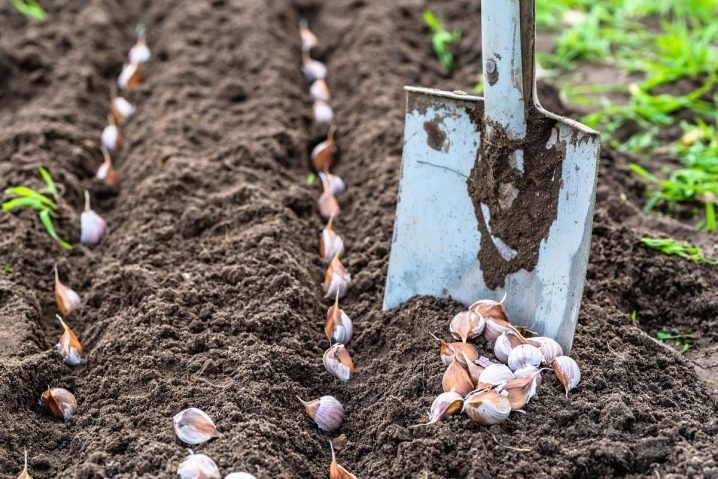
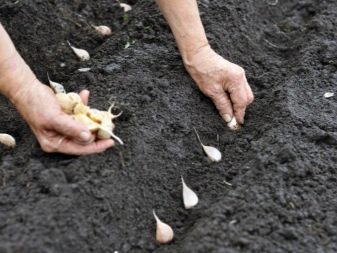
- First, the top layer of soil is leveled, for this it is optimal to use a rake. Next, trenches are formed with a depth of 8 centimeters. The distance between the trenches is 0.2 meters.
- The teeth are planted with a sharp tip upwards at a distance of 7 cm from each other. If you plant bulbs, then the distance between them will be only 2 cm. At the same time, the distance between the trenches will also be reduced - up to 15 centimeters.
- The planted material is covered with soil, watered well and covered with a layer of mulch. You can take sawdust, humus, peat and other types of natural materials. The layering layer should be at least 3 cm. If, according to forecasts, a very harsh winter is coming, then spruce branches are additionally placed on top.
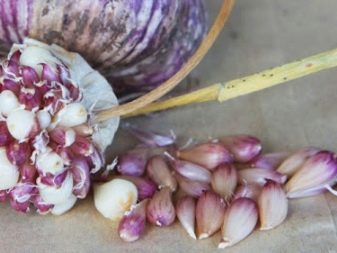
Tip: you need to plant garlic with bulbs at least once every 5 years. If you plant only teeth all the time, then the culture will quickly degenerate. And from the bulbs just strong and large sets grow for the next season.
Care
Growing winter garlic in the open field must be done correctly, in compliance with all the requirements of agricultural technology. Moreover, care activities begin almost immediately after the end of winter.
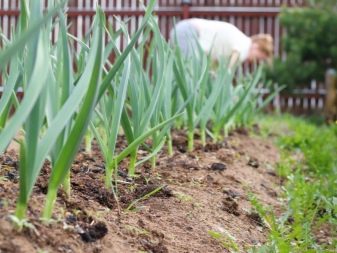
In the spring
If you put spruce branches for the winter, then after the snow melts, it will need to be removed. But you don't need to open the mulch, as it continues to perform protective functions. It will be removed only after the first shoots appear. This usually happens in late March or early April.
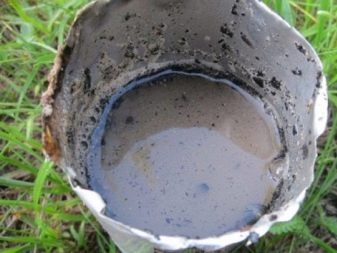
Young shoots are weak, such leaves may even turn yellow. To prevent this from happening, winter garlic must be fertilized. The first feeding for him will be nitrogen. To do this, just take a bucket of water and add a tablespoon of carbamide to it. After thorough stirring, the soil on the plantation is watered with a solution. For each square meter, 5 liters of solution are used. After 14 days, nitrogen feeding is carried out again.It will provide a good set of green mass for the entire period of crop growth.
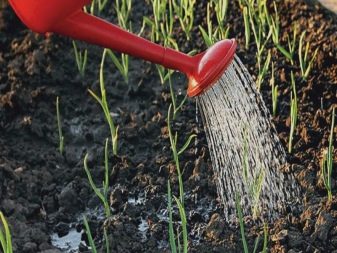
During the cultivation of winter garlic, great attention should be paid to watering. Irrigation in the spring is carried out once a week, using a warm and settled liquid. Watering should be done carefully so that the water does not erode the ground. It is best to use a shallow watering can.
On the next day after irrigation, the ground is harrowed superficially, deepening the ripper by no more than 3 centimeters.

At the same time, the plantation is inspected for weeds. They usually become a haven for pests, so you need to get rid of them without regret.
Summer
Summer is a period of active formation of the garlic head, so here the culture will have to be looked after more diligently. First, it is worth continuing with proper watering. As in the spring, they are held weekly. But now we need to take into account the weather as well. If it often rains in the spring, then the summer can be extremely dry and hot. Under such conditions, the number of waterings naturally increases. But 21 days before harvesting, you need to stop watering, no matter how hot it is.
The third and last dressing of winter garlic is carried out in June. There are two options. The first is organic. To do this, a glass of wood ash is diluted in 10 liters of water and insisted for 72 hours. The second option is superphosphate. 10 liters will require 25 grams of fertilizer.

Many gardeners prefer to huddle winter garlic, although this procedure is not at all necessary for him. However, it allows you to get more beautiful and even heads, as well as increase the juiciness of the feathers. Hilling is carried out in early July. During this procedure, you need to shake off the soil from the plants.
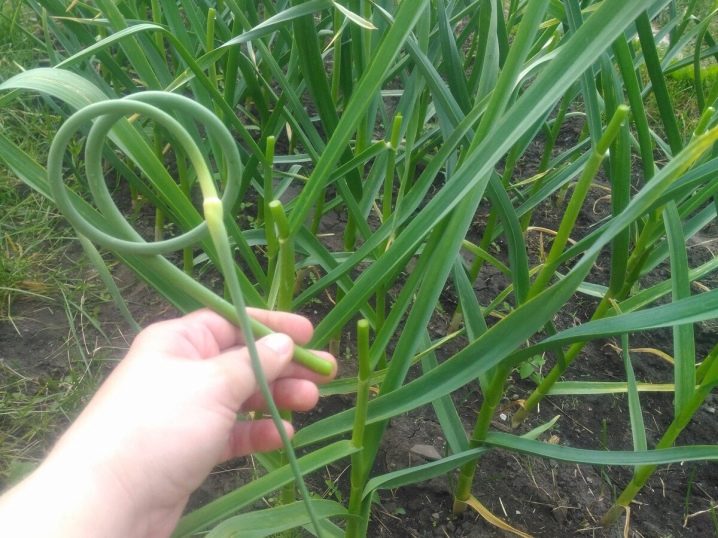
Special attention should be paid to arrows growing from garlic stalks. Winter garlic releases them 100% of the time. If there are no arrows, then you made the wrong choice and planted a spring variety or a re-grading. There is no other explanation for the lack of arrows.
As soon as they grow to 10-15 centimeters, they are removed. In this case, it is important not to pull out the arrow, but carefully cut or pinch off.
If you ignore the moment of removing the peduncles, then the heads will grow small.
Diseases and pests
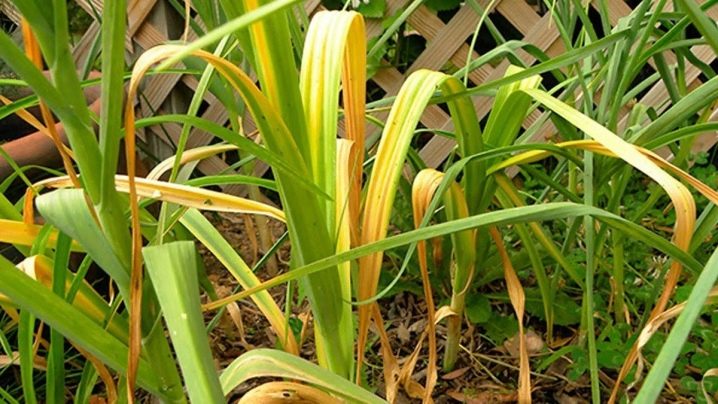
One of the most dangerous diseases for winter garlic is penicillous rot of the bottom. It infects the bulbs even before sowing into the soil. In the affected specimens, the tips of the feather turn yellow, then the yellowness spreads along the entire perimeter of the plant. The result is death. It is impossible to cure such garlic; all that remains is to prevent the disease.
For this, garlic is harvested only when it is fully ripe. The neck is cut so that 10 cm remains. The bulbs are thoroughly dried before storage until they rustle.
Important: the causes of yellowing of the leaves lie not only in the above-described disease. The leaves can also lighten with a lack of potassium and nitrogen, planting in the wrong type of soil, lack of watering. There are many risk factors.
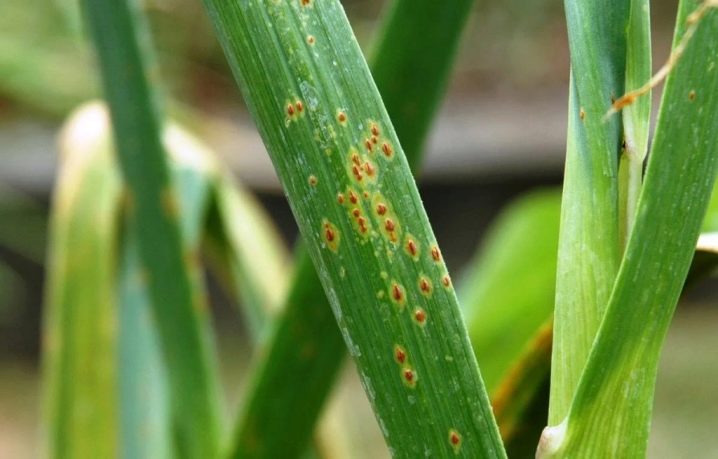
The second common disease is rust. It is characterized by the appearance of small rusty spots on the plants. Over time, their number only grows. To cure the disease, it is necessary to spray the garlic with "Oxyhom" three times. The interval between treatments is 7-14 days.
Another of the diseases can be noted peronosporosis or downy mildew. Its main feature is gray spots on the shoots. The disease will have to be treated with Ridomil.
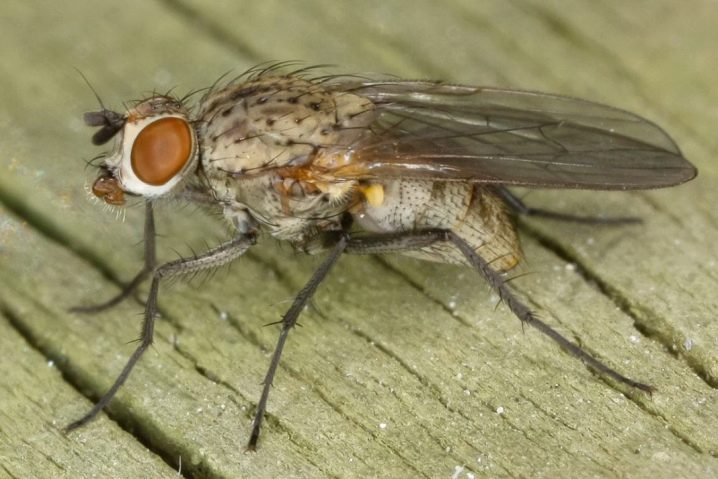
Of the pests, onion fly parasitizes most often on winter garlic. From this plants dry in the garden, they slow down the processes of photosynthesis. You can drive away the pest with the help of a shag. To do this, take 250 grams of tobacco and a tablespoon of hot pepper. The collected ingredients are poured with 2 liters of boiling water, left for three days. After filtering, supplement with such an amount of water that it is equal to 10 liters. Add a little grated laundry soap.
In addition to flies, stem nematodes can also attack the sprouts. These are microscopic worms that suck out all the nutrient juices from plants. The main signs of the pest are the rapid drying of the stem and the appearance of a putrid odor. To cure garlic, it is necessary to do spraying with the preparation "Calypso".
Harvesting and storage of crops
We can say that winter garlic is a fairly productive crop. However, the yield per hectare will depend on many indicators: varieties, agricultural technology, climatic conditions. The variability is great - from 11 to 45 tons.
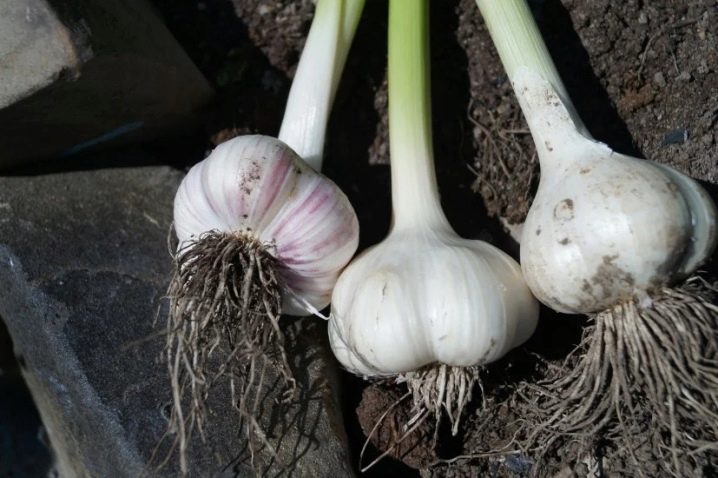
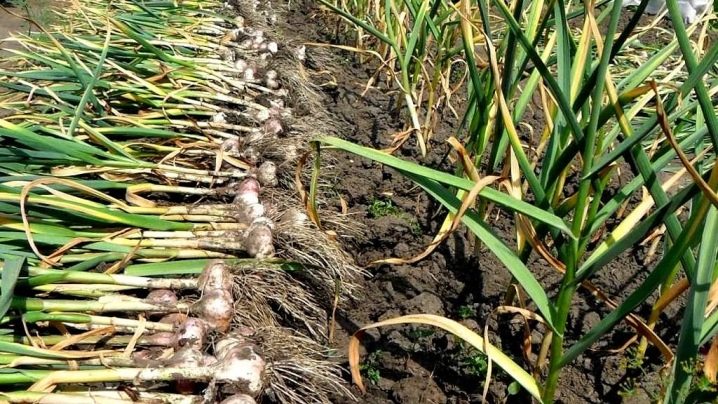
It is necessary to remove garlic from the beds at the moment when its foliage turns yellow and sinks to the ground.
Choose a dry day for digging. The heads are pulled out of the ground very simply, you just need to dig them up a little. You should not overexpose the crop in the soil, from this the heads can crumble into separate cloves.
The crop is laid out on the beds to dry. This is 2-3 days. In rainy weather, the heads are placed under a canopy for almost a week. The stem cannot be cut, it still has benefits for the heads. When the bulbs dry well, the stem is shortened to 7 cm, and the crop is sent to dry in a ventilated area.
Important: if you plan to plant bulbs in autumn, then arrows should be left on some plants. Once harvested, they will store nutrients for another 14 days. Then they must be cut off, dried for a month in a cool room.
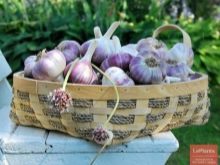
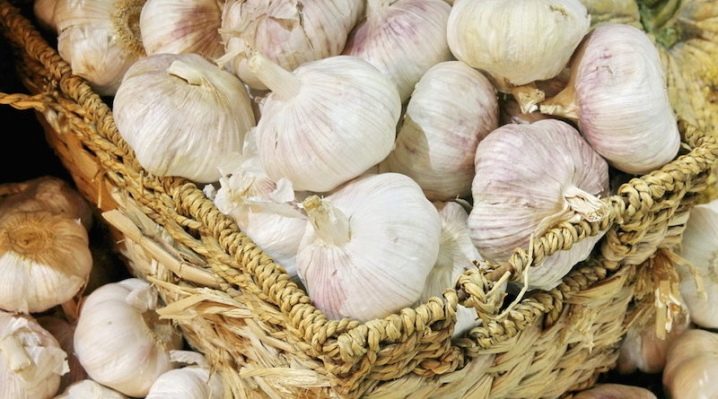
Until the onset of a cold snap, garlic can be stored outdoors under the protection of a canopy. Then the heads are placed in baskets or boxes, sprinkled with onion husks. The crop is stored at a temperature of 2 to 4 degrees Celsius.


The comment was sent successfully.