How to prepare garlic for planting in the fall?
Garlic is not only an integral part of most dishes, but also a favorite crop for sprouting by many gardeners. It grows rapidly and rapidly, does not require special care and is relatively unpretentious.
Garlic can be grown quickly and easily from cloves. However, like any other, this planting material requires careful preliminary processing. A well and efficiently carried out process will serve as a guarantee of a bountiful harvest and good plant health.
The need for preparation
Autumn planting is not entirely "familiar" for garlic and requires careful preparation. Simply put, garlic planted in the fall throughout the winter will remain in a state in which there is a high risk of various fungal and other diseases. And also he can simply rot. On the garlic, and especially on the lower part of the head, pests or their larvae can remain, which will also cause damage to the culture. Pretreatment will not only help to get rid of them, but will also become the key to the health of an already adult plant. Sprouts sprouted from treated seed are relatively resistant to colds or other diseases in the future. Quite simple preparatory manipulations will help the teeth germinate faster in spring.
It so happens that the lack of pre-treatment may not be very noticeable in winter and even early spring. But some time after germination, the sprouts may suddenly turn yellow and even dry out.

Selection and division into cloves
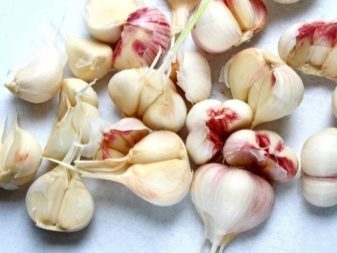
First of all, you need to understand that Only winter garlic is to be planted. When planting spring garlic in the fall, you can lose the harvest - it will freeze. And also winter garlic is more resistant to diseases, pests, and tolerates frost. The characteristic features of winter crops are the presence of an old arrow, a purple hue of the skin, as well as cloves located in one tier. There may also be a second tier, but it may contain small teeth, while in the spring, the teeth are located on several even tiers. Usually on one head of winter garlic you can find from 4 to 12 large cloves, suitable for planting. A large head of garlic with 5 or 6 cloves is ideal. An important point is the choice of a suitable variety.
It is best to dwell on varieties that have been growing in this region for quite a long time. If the choice of the gardener fell on a variety uncharacteristic for a given area, then at best (with mandatory preliminary processing), you should count on the plant to sprout in the spring. The harvest in such cases is very small or, at all, absent. The heads, which will become the "base" of the crop, must be ripe, harvested in the year of planting. It is believed that this type of seed increases the probability of 100% germination. And also you need to dry them thoroughly and correctly. The material should not show any traces of rot or mold, as the cloves of such bulbs rarely germinate. And also you cannot choose bulbs in which the cloves are very different from each other in size, or have grown together. It is also a bad sign if the cloves have double tops, or there are too few of them in a large-looking bulb.
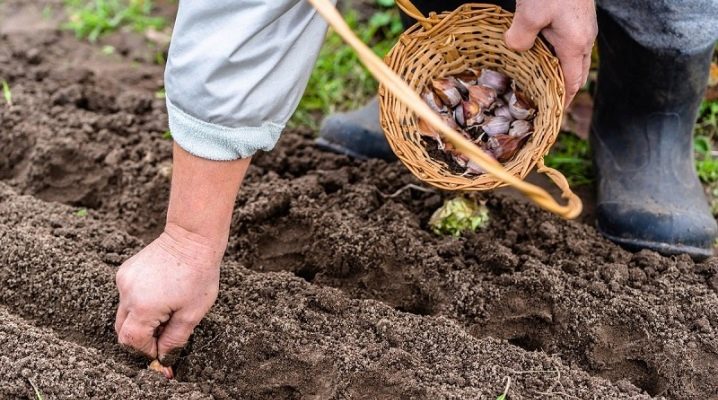
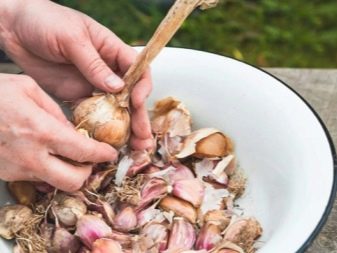
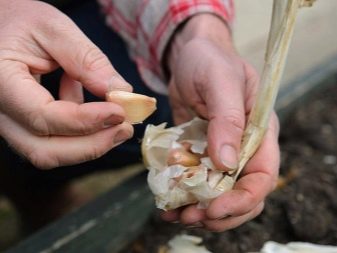
And also the bottom of the bulb must be dry and intact - no cracks or traces of mold. It is recommended to store the garlic harvested for sowing until autumn in a cool and dark place.A refrigerator or cellar is perfect for this. Before planting, it is necessary to separate the cloves from each other, and also choose the largest and healthiest in appearance. The teeth should be free of dents or other damage. Obviously, the teeth will be spared from the white husk in the process, but you need to try to keep the peel intact. And you also need to remove the bottom of the head. It is also necessary to remove excess growths. They will prevent the planting material from taking root. It must be remembered that you can divide the cloves only on the day of planting. Larger cloves are used to harvest the garlic itself, and smaller specimens are used to produce greens.
If it so happened that you had to choose specimens with stains or damaged ones, then the whole batch must be treated with antiseptics.

Processing methods
In order to fully properly prepare garlic for planting in the fall, it is necessary to disinfect it. There is no need to say that after all the seed will be healthy and germinate. However, this procedure reduces the risk of tooth death. In order to disinfect them before planting, the planting material, as a rule, needs to be soaked. However, soaking should not last more than half a day. Otherwise, it will sharply reduce the quality of the crop.
One of the advantages of garlic, as already mentioned, is its relative simplicity in terms of growing conditions. But this also applies to the process of preparing for autumn planting - you can process it by any means of a suitable category at the choice of the gardener himself. For example, you can disinfect garlic with any suitable means. Processing is almost always required if the seed was selected or grown by the gardener himself on his site. When buying seed in a store, processing is usually not required.
Special means
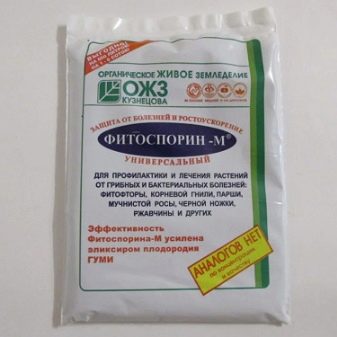
Soaking in solutions with special products, which are now sold in horticultural and hardware stores, should be relatively short-lived. You do not need to wait 12 hours in order to decontaminate the inoculum. Soaking in Fitosporin is effective. Prepare the solution according to the instructions on the label and soak the garlic in it for an hour. Usually, to prepare a solution, it is necessary to take 20 grams of the drug for each liter of water. If the solution is too concentrated, then the cloves should be left in it for no more than 5 minutes. After that, the liquid is poured out and is no longer used. Later, in the spring, and after the sprouts have already grown, they can also be treated with this drug.
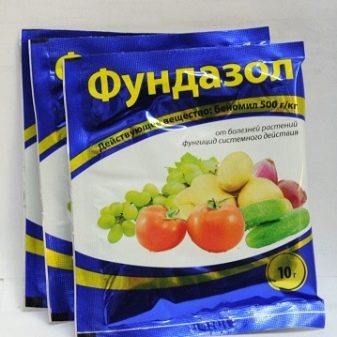
The same level of effectiveness differs and the drug "Maxim". Both products are safe and do not affect the taste of future garlic or the health of the plant. Another alternative drug in this category is Fundazol. An instruction is also provided to it, which, as a rule, also recommends preparing a solution at the rate of 20 grams of the drug per 1 liter of water. Some gardeners recommend keeping the planting material in this solution for a whole day. It is important to remember that it is impossible to overexpose garlic in solutions with the addition of these drugs - the planting material can get burned.
Traditional methods
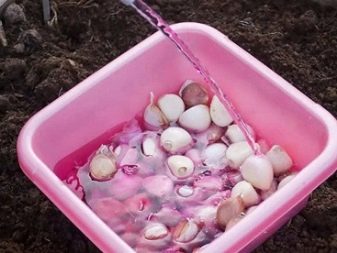
One of the most popular products in this segment is potassium permanganate... To do this, you need to prepare a light solution, and pour it into a container with seed until the liquid covers it by a couple of centimeters. Soaking, as already mentioned, should take 12 hours. After that, the cloves must be dried, and only later they can be planted before winter. The planting site can also be watered with this solution.
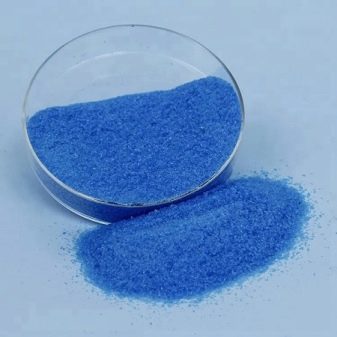
Not quite "folk" can be called the method of the same soaking, but in a solution of copper sulfate. The proportions of the product, as well as the technology, remain the same as in the previous soaking method.It must be remembered that it is necessary to soak only in plastic dishes so that rust does not form in it. The most cost effective method is soaking in brine. The solution is prepared as follows - 3 tbsp is taken for 5 liters of water. l. common kitchen salt. The cloves are soaked in the solution for no more than half an hour. After that, be sure to dry them.
A two-stage treatment is allowed - first with a saline solution (or a solution with potassium permanganate), and then with copper sulfate. With such processing, it is necessary to keep the garlic in copper sulphate for no more than 2-3 minutes.

Application area birch tar is extensive, and it also includes the processing of planting material. The solution is prepared at the rate of 1 tbsp. l. per liter of water. Tar is a natural disinfectant and helps fight fungus and other diseases.
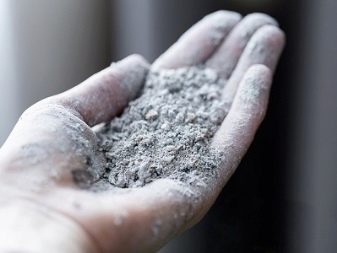
To suppress the growth of the nematode, you can soak the future crop in wood ash solution... For this, 1 kg of ash is dissolved in 6 liters of water, and the resulting mixture is brought to a boil. After cooling, the solution is filtered. The re-obtained mixture is diluted with an amount of water of the same volume. Only after these manipulations can the seed be soaked for an hour. This solution not only disinfects the material, but also saturates it with various microelements. And you can also carry out one more combined treatment. First, the garlic is immersed in a solution of copper sulfate for 20 minutes, then for the same amount in a solution with potassium permanganate, and finally - in a solution with ash for 6 hours.
After any soaking, all planting material must be thoroughly rinsed (preferably under running water) and dried... Immediately before planting, each tooth must be dipped in potassium humate. It should also be remembered that garlic (after planting) needs fertilization. He especially needs potassium, which helps to survive the cold weather. Without it and a number of other fertilizers that need to be applied, the preliminary processing of the cloves may become useless, and the "seeds" may die. Garlic disinfection will be useless even if the seedbed has not been pre-treated.


The comment was sent successfully.