All about drilling holes for poles
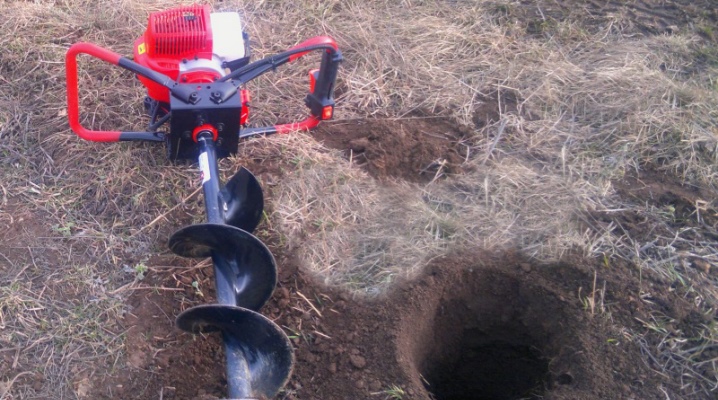
Drilling holes for pillars is a necessary measure, without which an extremely strong fence cannot be built. A chain-link mesh with pillars driven into the ground is not the most reliable solution: a part of a pillar driven into the ground rusts in several years. The above-ground part of the pillar, having lost its support, will fall.
Peculiarities
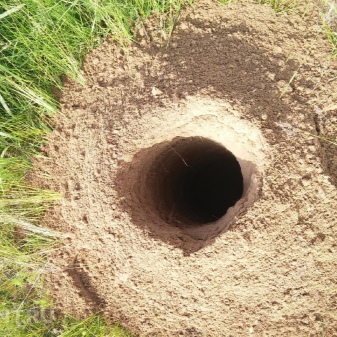
Drilling holes for fence posts or supports for non-capital (non-residential) structures and buildings necessarily involves concreting the underground part of the post. Concrete protects the steel from which each such pillar is made from the effects of salts, alkalis and acids contained in the soil. It keeps excess moisture out of the post. For this, holes (pits) are needed - under each of the pillars.
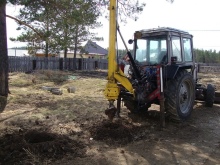
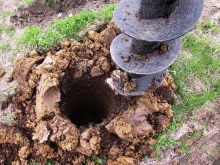
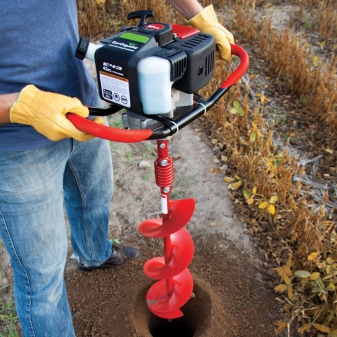
It is difficult to manually drill holes (using a crank). To drill several holes in the ground in an hour, and not to dig one of them for one and a half to two hours, use an electric drive or a gasoline walk-behind tractor, which brings the gate into rapid rotation. He will also drill a deep water hole in a few hours. Drilling is performed strictly vertically.
No distortions in any of the sides are allowed: a "pig" cast from concrete with a pillar in the center will acquire a shift in the center of gravity, which is why the pillar will noticeably squint over time, deviating from the vertical position.
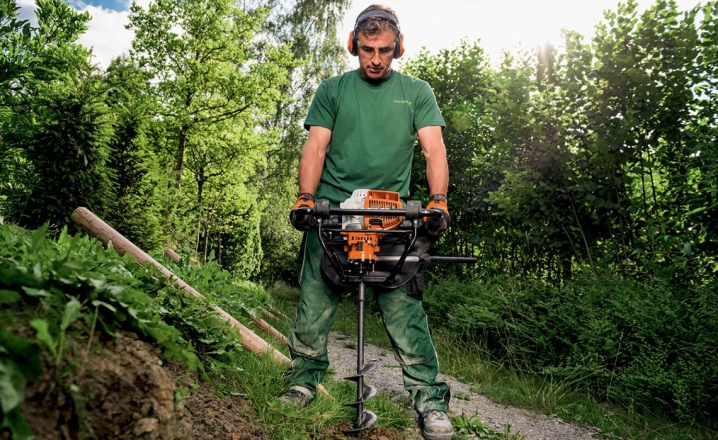
How can you drill?
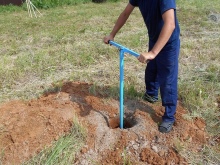
Manual drilling is a last resort when there is no access to mechanical augers for a long time. The simplest option is a manual garden drill, which you can make yourself in just a couple of hours. It is equipped with a T-shaped handle, rotating it, the worker gradually sinks into the ground. If you need to drill to a depth of more than a meter, for the convenience of work, an additional section is provided, which is connected to the handle and the working part of the drill using couplings. Theoretically, with the help of a hand drill and a large number of sections, it is possible not only to drill holes under the pillars, but also to get to the groundwater lying at a depth of 40 m - provided that the mass of all sections does not prevent one person from making a channel of such a depth, and the density the soil is not prohibitively large.
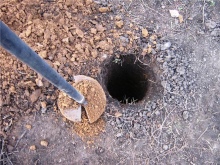

Power drills are classified into fuel, electrical and hydraulic. The first ones are equipped with an internal combustion engine that generates an acceptable torque for effective drilling of the soil due to the combustion of gas, gasoline or diesel fuel. The second is based on an electric drive with a capacity of 2 kilowatts. Still others relate to a professional tool: the hydraulic drive of the hole auger is most often installed on a mobile (automobile) platform with additional ground bumpers that prevent the machine from swaying during a quick start and a sudden stop.
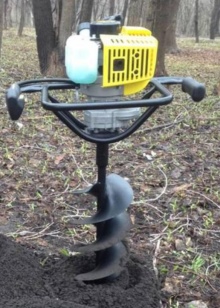
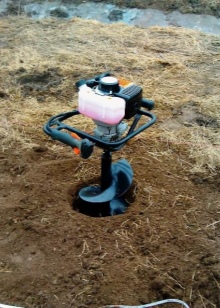
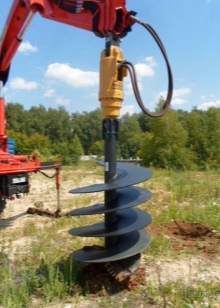
In some cases, a hydraulic lift-rotator is installed on special equipment, for example, on a converted excavator or tractor. Having rented such equipment for a day or two, the consumer decides to dig holes under the pillars along the entire perimeter (often more than a hundred) during the same period. An electric drill can be made on the basis of a high-power perforator (from 1400 W). This mechanical tool will cope with drilling holes for fence posts, supports for a utility room under construction. It will speed up the process of digging holes for seedlings of fruit trees and shrubs.
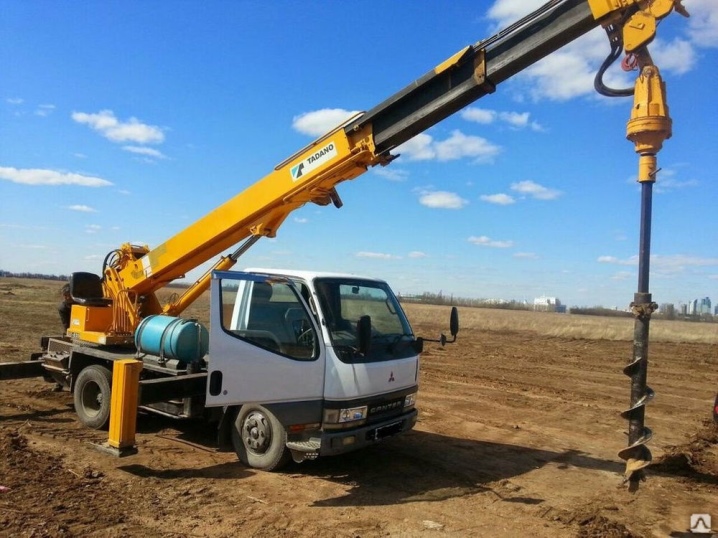
By the type of working part, drills are divided into:
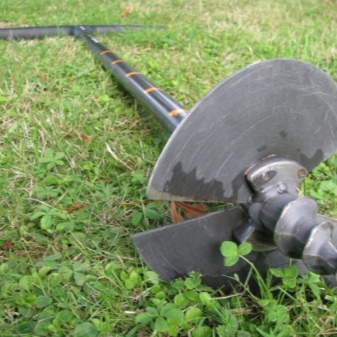
- simple garden - the working part is assembled from two half-discs from a circular saw;
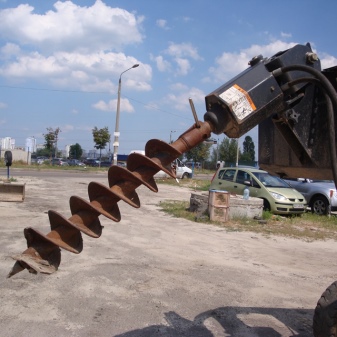
- screw - the drill has a screw part made of a steel strip wound around the axis and placed on the edge before welding.
The first ones are installed mainly on a handheld device. The latter are more often used as part of a mechanized device rotated not by the hands of a worker, but with the help of a drive.
Hole parameters
Chernozem-sandy loam soil is less dense. Puffy (as a result of prolonged frosts) also makes its own adjustments to the depth and diameter of the hole. In such soil, the depth of the underground part of the column is at least one meter. Many owners of country houses, changing the old mesh fence to a new one (made of professional pipes and roofing sheets), deepen the pillars to a level of 1.4 meters or more. Loamy (or clayey), as well as stony (containing smooth stones or rock fragments) soil eliminates the need to bury the pillars to a depth of more than a meter. The common depth is 0.8-0.9 m.
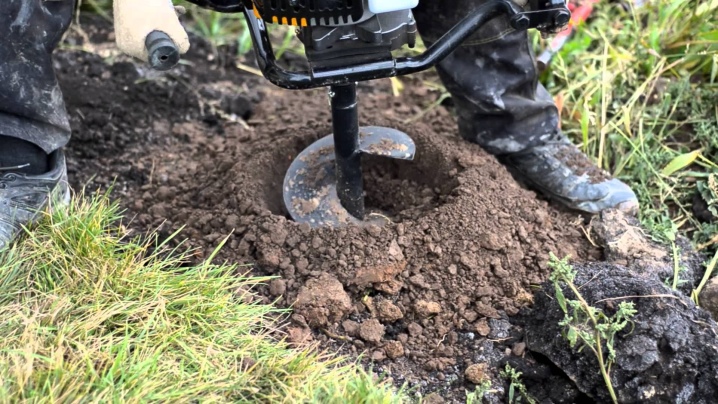
The diameter of the holes, more than half a meter, is impractical for the intake sections. The fence does not belong to the capital type of construction: only its weight acts on it, which is hundreds of times less than the weight of a small country house, and the possible windage during a hurricane (the profiled sheet flooring resists the wind). A gate combined with a wicket allows you to slightly exceed the diameter of the hole, however, the user knows that the deeper and wider the hole under the post, the more concrete will go away. The larger diameter, length and weight of the concrete "ingot" will allow the pillar to be held for tens of years, preventing it from squinting even a degree.
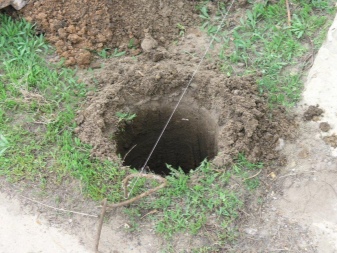
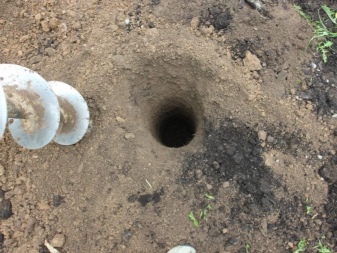
The height of the above-ground part of the post for the same fence - no more than 2 m... It makes sense to put a higher fence if the object is not a dacha or a country house, but a guarded structure, for example, a point or branch of a state office, a university, a hospital, a military unit, etc. ... The distance between the centers of two adjacent holes (the location of the pillars) is chosen so that the fence does not squint, does not fall, for example, due to frequent and strong winds in the area. For example, for pillars where a square profiled pipe with a cross section of 50 * 50 mm is used, and a rectangular pipe 40 * 20 is used as horizontal crossbars, the distance between two adjacent supports is not more than 2 m.
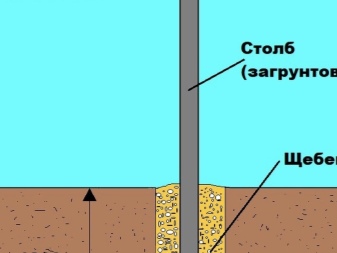
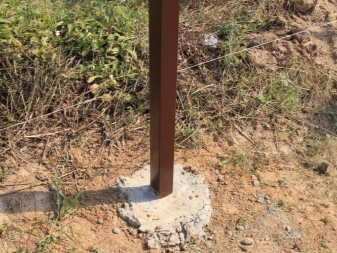
Preparation
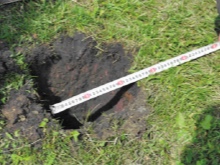
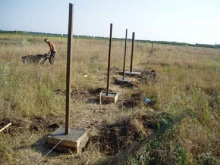
Before drilling holes for pillars and supports with a pit drill, the territory is marked out - according to a previously prepared site plan. When marking, pegs are installed in the center of future holes. NSThe lan of the site or terrain takes into account the diameter of the holes - that plays an important role in choosing the optimal distance between the posts.
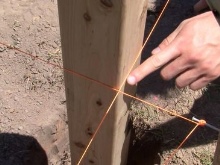
Square, rectangular or round - the pipe must be cut into equal parts. For example, clay soil provides for pipe sections of 3.2 m (1.2 "sunk" into the ground and poured with concrete). The diameter of the hole is 40-50 cm. During the marking process, the area should be cordoned off along the perimeter with fishing line or thin twine stretched over pegs. The latter are located at the corners of the site. The same distance between the posts is measured along this line. Tags are affixed in the form of additional pegs.
Stages of work
To dig a hole in the ground, follow the steps below.
- Dig up a small (top) layer of soil 10-20 cm with a shovel. This will set the estimated location of the future hole.
- Set the drill exactly upright. Start with it to cut through layer of earth after layer, keeping the vertical position. Apply a little pressure on the tool - without effort on the part of the master, it will not move deeply as quickly as necessary for the work to go efficiently. Too hard pressing and too fast advancement of the drill deep into the soil can damage the cutting edge with foreign coarse-grained inclusions. The rapidly increasing resistance of the destroyed soil will "sink" the engine speed.
- After a few full turns, remove the drill from the ground.by removing the destroyed soil and clearing the cutting edges from the adhering earth. Repeat the previous two steps again.
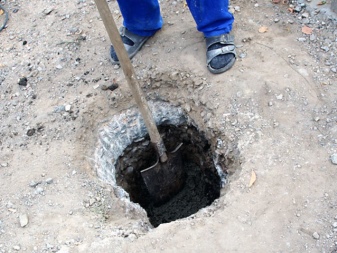
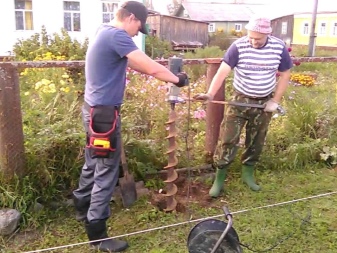
If the drill does not cut the ground correctly and efficiently as it did when starting out, check for dull cutting edges. Dullness of blades is a common occurrence on hard ground, in which stones and other foreign particles, different from the fine structure of clay, can come across.
- With the help of an electric or gasoline auger, soil drilling will be significantly accelerated. The sequence of drilling for pillars or piles can be as follows.
- Install the working part (cutting tool), securing its shank in the clamping mechanism of the drive. Check if the axis is not bent - when rotating, the curved axis "walks" in different directions, it is easy to check by detecting rhythmic deviations of the top of the drill in different directions. The misalignment of the working tool will be given by the beating of the drill during drilling.
- Place the drill driver vertically. Start drilling.
- When the drill decelerates the speed to a value at which the efficiency drops sharply, engage the reverse (reverse) mode. This will enable the tool to come out of the crumbling soil. The turnover will increase. Switch the motor or electric drill from reverse to normal and loosen the layer being drilled.
- Remove the destroyed rock from the hole, clean the blades from adhering earth. Continue drilling further inland.
- Repeat drilling until the hole reaches the desired (according to the terms of reference) depth.
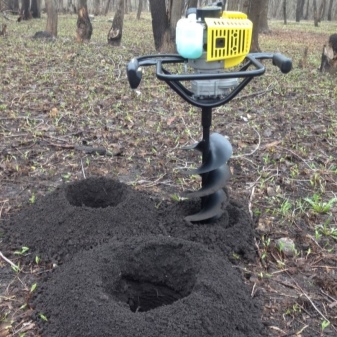
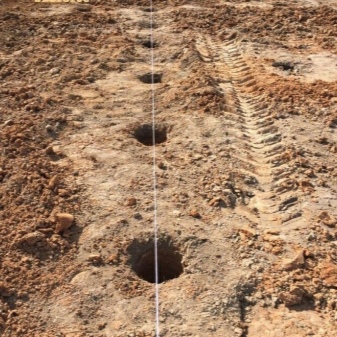
If it has become much more difficult to drill, and the efficiency and drilling speed have noticeably decreased, add 20-30 liters of water to the hole. Hardened and overly compacted by the overlying layers will soften. Since clay turns into mud that is difficult to wash off, it is useful to continue drilling the same hole after a day or two - when the water is completely absorbed and the upper layers of clay will not stick to the blades of the drill.
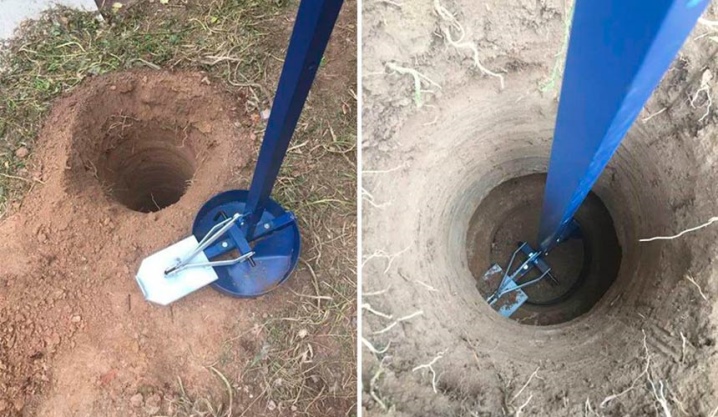
The auger drill, more often used with a walk-behind tractor or an electric drive, like a drill that drills wood or metal, removes a significant part of the soil outside on its own. After installation at the drilling site and with further advancement into the depths, it is not worth pulling upward, extracting the earth - only simple drills have this drawback, the cutting part of which is made of two halves.
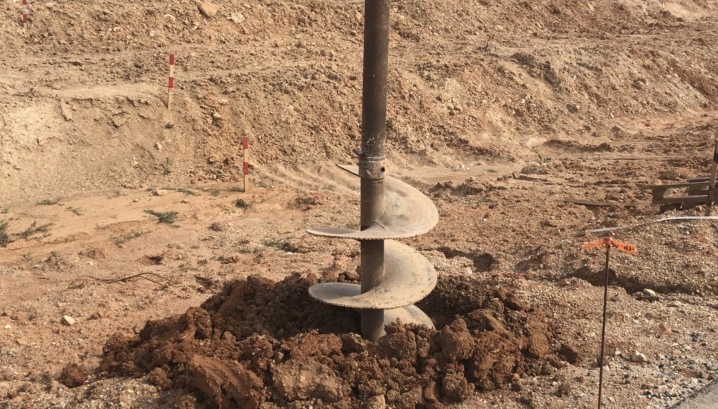
Too dense soil will require drilling a hole at a reduced speed - a power drill has several speeds. Observing exactly the technology of drilling holes for pillars, the master will ensure high quality and durability of pillars for a fence or a small structure. Deviation from the above schemes will almost immediately lead to distortion of the supporting structures.
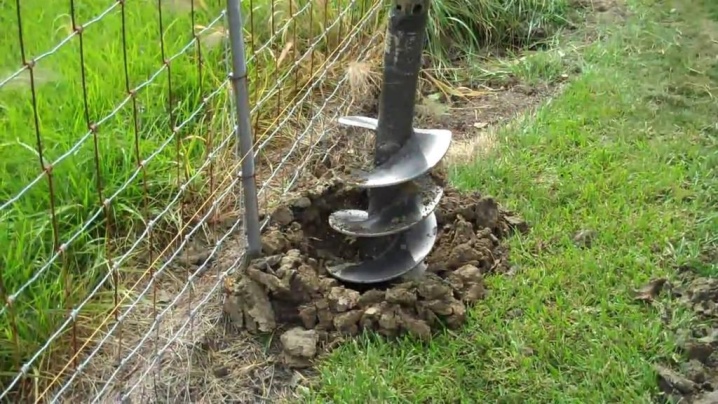
For a visual video of drilling and concreting poles, see the following video.


The comment was sent successfully.