All about making drilling rigs with your own hands
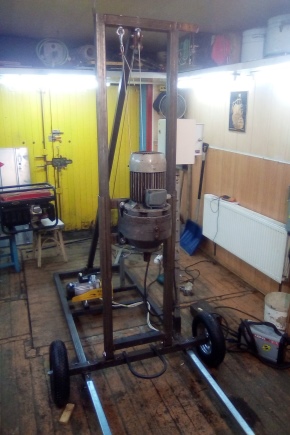
Drilling a well for water is one of the most popular ways to provide water to private houses, as well as places where there is no centralized supply. But the process is usually expensive, and hiring dubious “craftsmen” is not the best alternative. It will be easier to make a small drilling rig with your own hands. It will not be that expensive, and you will be able to fully control the process from start to finish. Let's try to figure out what a water drilling rig is, how to make it yourself and what will be needed for this.
Peculiarities
Let's start with the fact that to drill water wells, which you want to do yourself, you will have to be patient and willing to do not the easiest work. The point is that this process is such that precision is required. Besides, the result of the work can be unpredictable, because it is required to make a rather long and narrow shaft in the ground in order to get to the aquifer. Then immerse the casing pipe there to protect it all from collapse. In the process of carrying out the work, you will have to pull out a rather large amount of earth to the surface, which can be different: from stones like granite to wet sand.
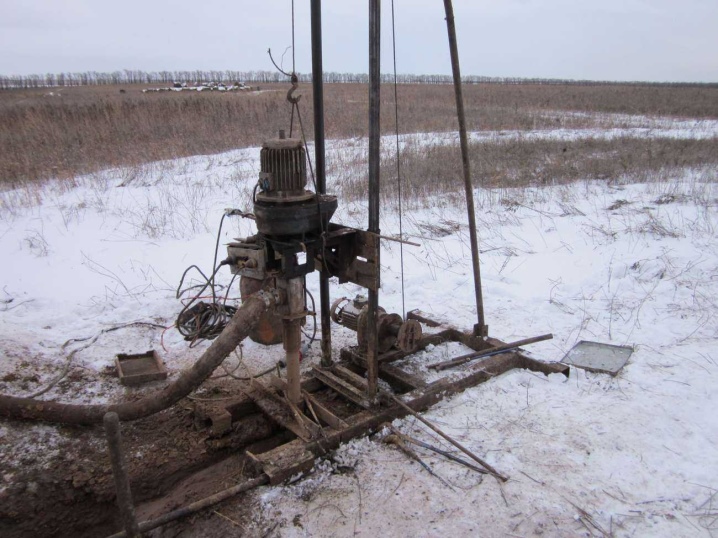
It should be added that a number of aspects of this process will also depend on how deep the aquifer lies. Sometimes you only need to drill 10-15 meters, and sometimes several hundred meters. Naturally, this seriously affects not only the time of the entire process, but also the selection of a home-made drilling rig, as well as the process of its manufacture.
Projects
If we talk about drilling rig projects, then there are 3 main categories of such devices that make it possible to drill soil to search for water:
- shock rope;
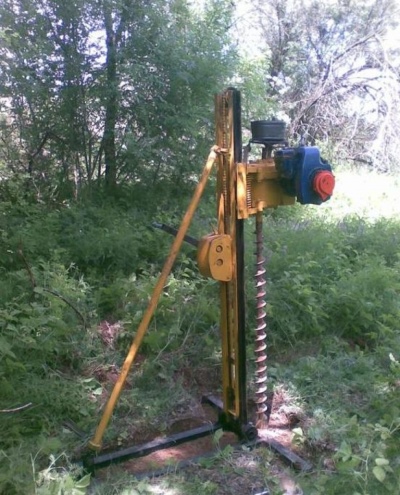
- rotary screw;
- rotary installations using hydrodrilling technology.
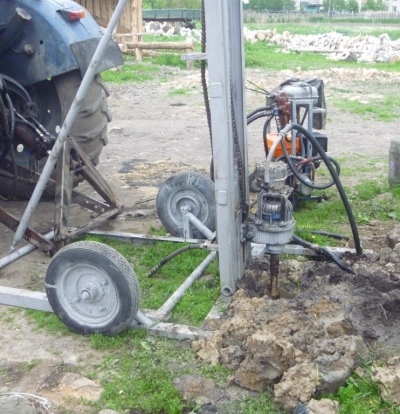
By the type of drive, such devices can be different. In manual units, the main feature will be that the muscular force is used as the force that sets the unit in motion. Mechanical devices usually have an engine - gasoline or electric.
The principle of operation of rope-percussion models consists in burying a heavy load into the ground - a chisel, which is shallow inside. The bit lifts to a certain height, after which it drops sharply down. Due to this, it goes deep into the soil to a certain depth, and part of the excess land remains inside the shallow area of the bit. When it is completely filled with earth, it is pulled out, and the whole process is repeated anew. The process is quite lengthy, but such a small-sized installation is simple and affordable.
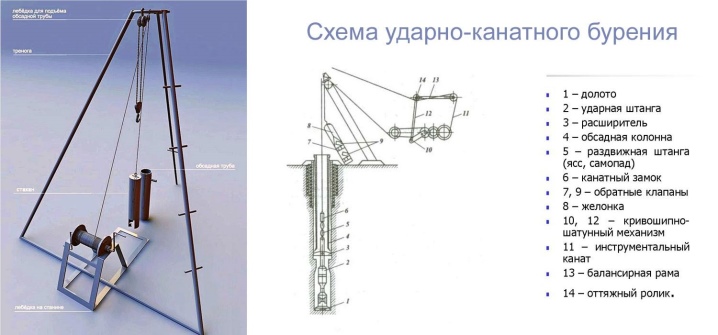
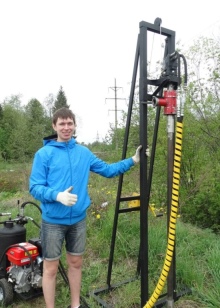
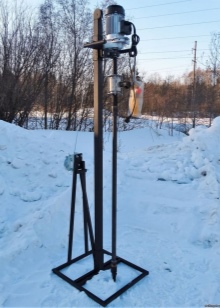
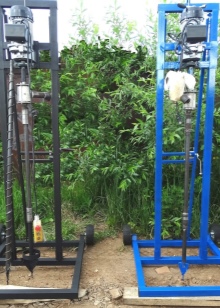
The rotary counterpart will be more convenient to use due to the presence of a rotating auger auger, which can itself throw excess soil upward. True, not every person can make such a design, even if there is a drawing. Although, with a certain skill and skill, it is generally possible to make such a drilling machine for drilling.
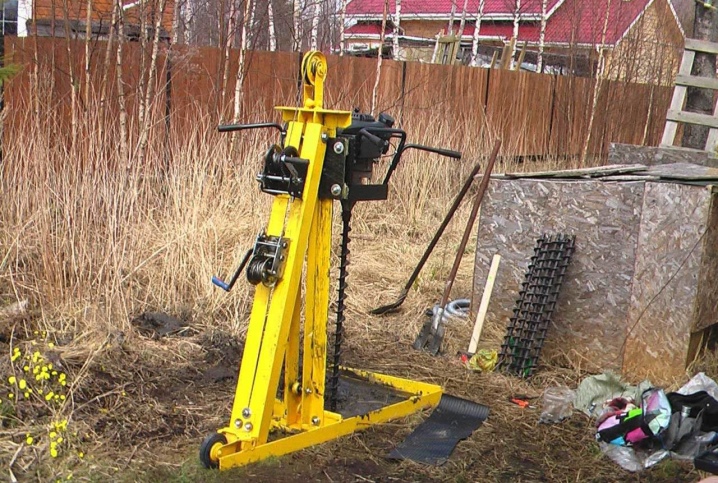
All the constituent elements for such a mini home station cannot be made by oneself in any case. - some will need to be bought in a store, something made to order, and something can be looked for in the secondary market. But if you manage to create your own drill, then the costs will definitely pay off. By the way, you will also need some kind of tool: a hammer drill, a welding machine, a grinder.But more on that below.
What is required?
So, to create a drilling rig with your own hands, you will need to have at least a little experience with such devices as:
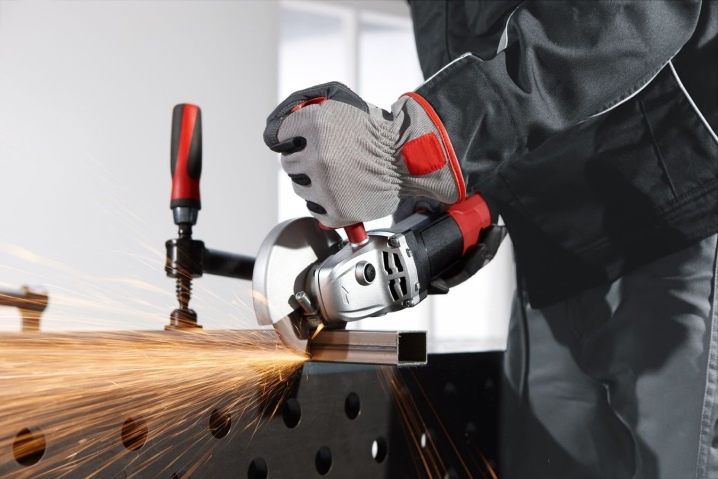
- Bulgarian;
- welding machine;
- electric drill.
In addition, you will need to have on hand:
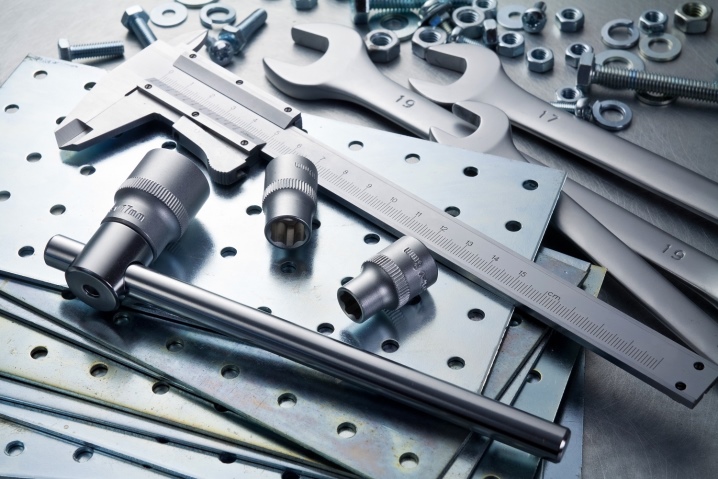
- adjustable wrench;
- plumbing cross;
- a tool for forming an external thread of an inch type;
- a half-inch galvanized pipe and a squeegee of the same size;
- dies;
- hacksaw for metal.
How to do it?
Let's try to figure out how to make a device for drilling various types.
Auger
Consideration of this option should begin with the fact that the frame of such a model can be made in the form of a tripod, although most often these are vertical guides that are attached to the stand and interconnected by a horizontal structure at the top. The frame should hold the workstring firmly and the variable-length rods as they are pulled out of the hole.
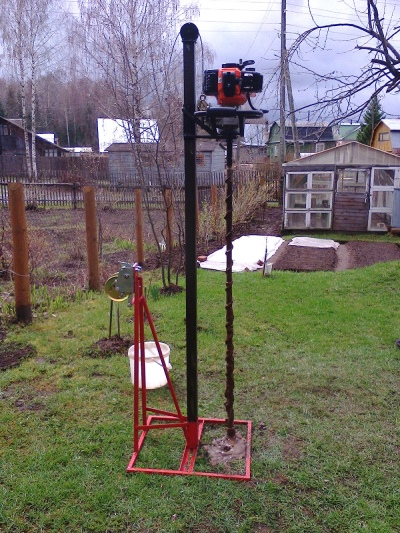
Manufacturing sequence.
- To a piece of metal pipe, the length of which is about 150 centimeters, 2 turns of a metal strip should be welded to make something similar to a screw-type thread.
- Knives are installed along the edges of the auger. And they do it so that the cutting edges are at an angle to the horizontal.
- Knives should be sharpened.
- A tee equipped with an internal thread is screwed or welded to the upper part of the drill.
- Now it is required to prepare pipe sections made of metal of the same diameter as the screw pipe. These will be rods, which will make it possible to increase the length of the drilling string, if necessary.
- On parts of the pipe, a thread is formed to connect them, or a hole is drilled to fix it with a locking pin.
True, in order to increase the length of the drill rod, you can also use a sleeve or lock type connection. The drilling rig can be made of wood, channel bars or metal pipes, as long as it holds the drilling column well.
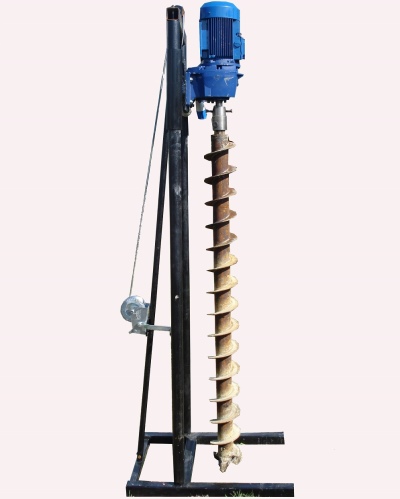
A block is mounted on top of the frame, which is connected to the winch, which is responsible for lifting the pipe string and the drilling tool. Such a tower is required when drilling to a depth of more than 8 meters.
Given the increase in the length of the drilling rod, the weight of the structure increases, which is why an electric motor with a winch is required to lift it. By the way, the electric motor will be indispensable for wet drilling. For this, a device with a power of 2.2 kW is enough, and it produces 65-70 revolutions.
An important element of this design is the swivel. This is the part that allows the driving moment to be transmitted from the motor to the drill rod. In addition, thanks to it, the drilling fluid is fed into the mine. Usually, the rods are fixed on the movable area of this element. For pouring the solution, the swivel is equipped with a sealed special pipe.
Considering that this element is always moving, there are 2 requirements for its creation:
- the use of steel of extremely high strength;
- minimum distance between moving and static parts of the device.
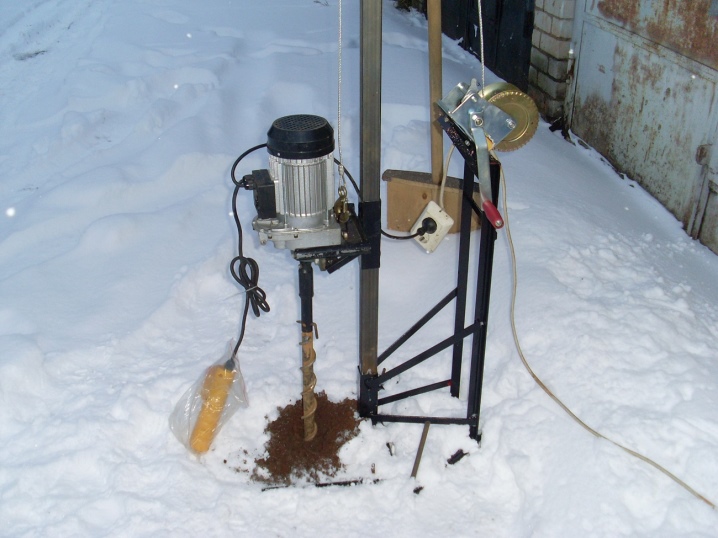
Shock rope
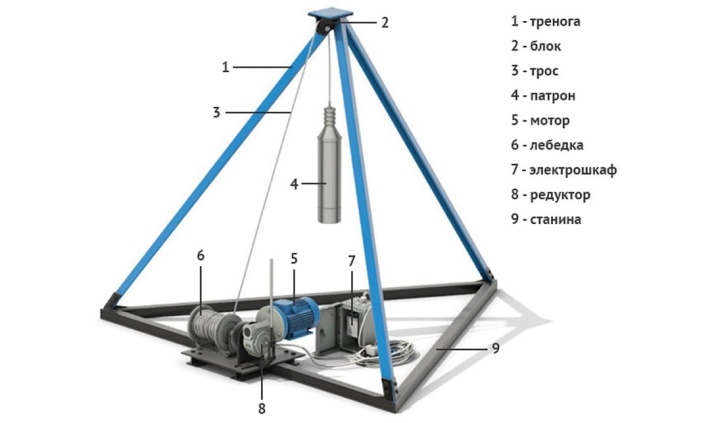
The percussion-rope drill is the simplest device for drilling. Has 3 main elements:
- a block and a gate responsible for winding the rope;
- collapsible bed;
- massive chisel suspended on a cord from the bed top.
The frame can be assembled from channels, angles and old steel pipes. It must be of such a height that it can be easily moved when disassembled. True, it should be remembered that the greater the height of the fall of the load, the more it will sink into the ground. Individual parts of the bed can be bolted together at the top connection. Its lower part can be tied with corners or pipes for greater stability.
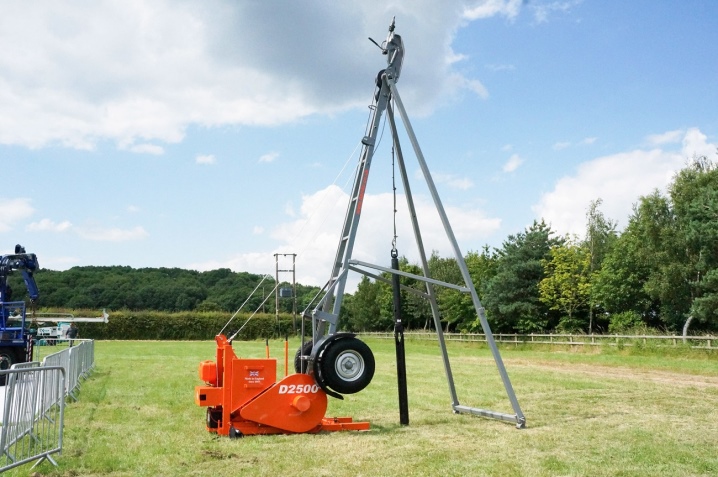
The cargo, which we will call a "chisel" or, as it is also called a glass or a thief, can be created from a piece of pipe with thick walls, the diameter of which is 10-12 centimeters.
The most important point here will be that the working element is as massive as possible. It is best if its mass is 80-100 kg. But, however, a larger load will be difficult to lift even for several men, not to mention transporting it.
In the lower end part of the glass chisel, notches should be made, or its edges should be grinded off so that it goes into the ground as easily as possible. The lifting of the load can be carried out using a manual gate or an electric motor, through a gearbox. But it will be better if the installation has both options. This will allow you not to depend on electricity.
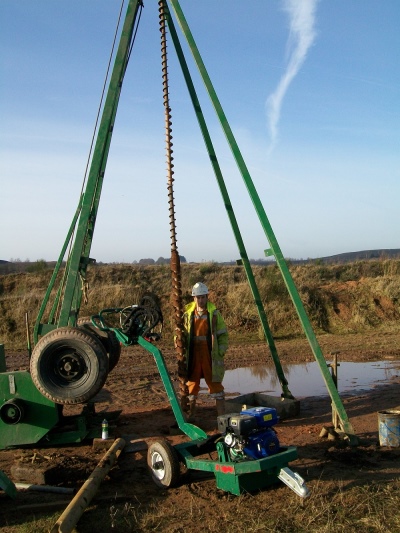
Rotary
A rotary drill will be something like a hike on a screw. Such an installation should also have a frame along which the engine will move, to which the drill is connected using a swivel. Through the latter, water is supplied to the column.
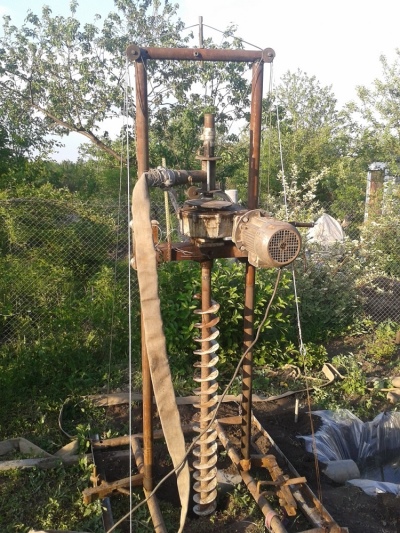
The order of creation will be as follows:
- make a swivel and rods. It would be better to purchase them if you are not a professional turner;
- we buy a geared motor (a model with a power of 2.2 kW and 65-70 rpm will be enough here);
- we buy a manual winch or an analogue of an electric type (lifting capacity not less than 1000 kg.).
After that, you can weld the frame and form a drill. Such work will consist of vertical and horizontal parts, as well as a carriage on which the motor will be attached.
The base is created from a pipe with thick walls. They must be at least 3.5-4 millimeters in size. It is better to take a profiled one, although a round one will do. When welding a frame for a small drill rig, accuracy is not very important.
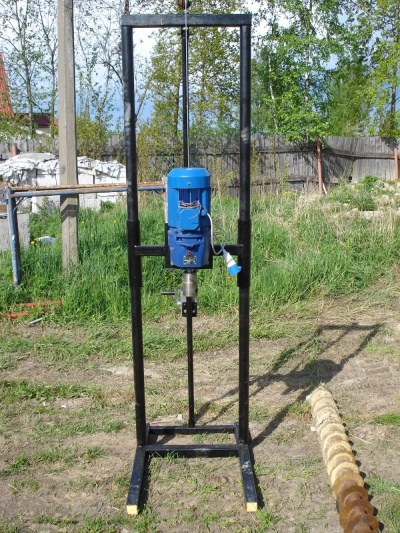
The main thing is geometry, and the dimensions can already be adjusted. First, the lower frame is made and measured, and already for its specific dimensions, a vertical one is made and, only at the last stage, a carriage.
In general, it should be said that the drilling rig can be created without any problems with your own hands. It will be especially easy to make a manual model from a motor-drill or from a drill, but more complex devices may require turning skills, as well as a variety of equipment.
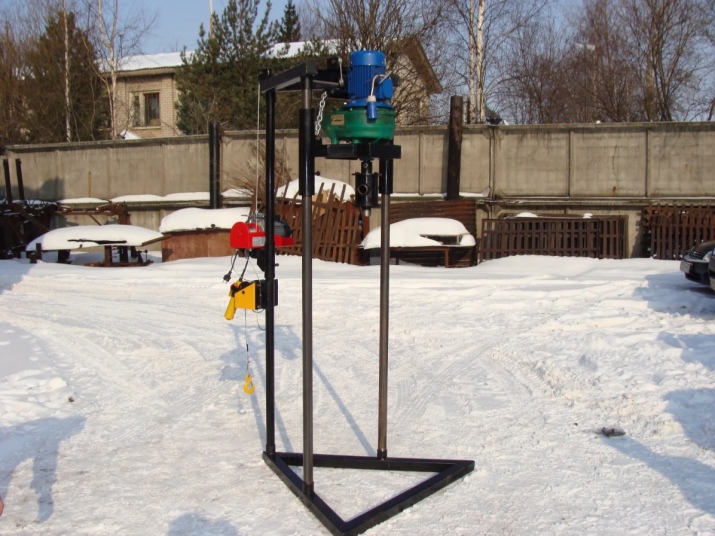
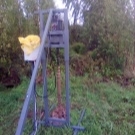
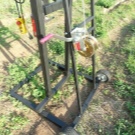
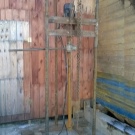

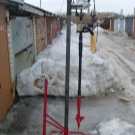
Besides, you need to clearly understand what you are doing and why. But if such a drilling rig is made independently, it will make it possible to very seriously save on the purchase of equipment for drilling, made in the factory.
For more information on how you can make a do-it-yourself drilling rig, see the next video.


The comment was sent successfully.