All about installing curbs and curbs
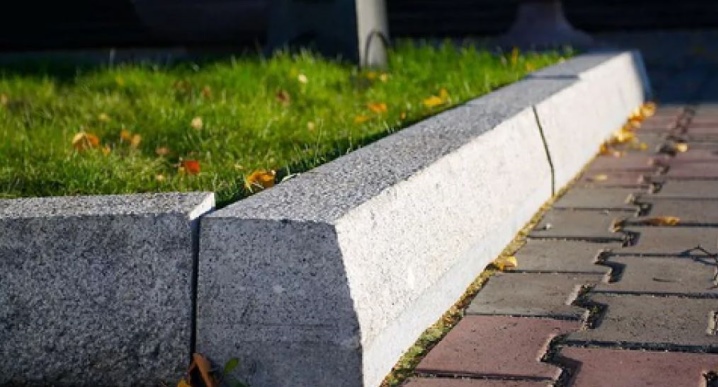
For many city dwellers, the installation of borders and curbs may seem like an incomprehensible and difficult process, but in reality it is quite possible to cope with it on your own, without overpaying to the craftsmen. The task is quite feasible with certain knowledge and adherence to some rules. In our article, we will explain in detail how you can improve the site by making a fence with your own hands and saving on the installation of curbs.
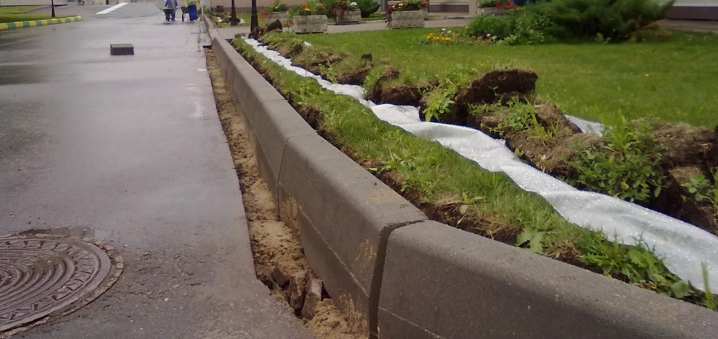
Peculiarities
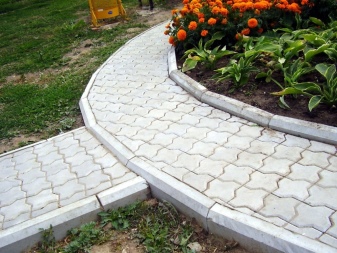
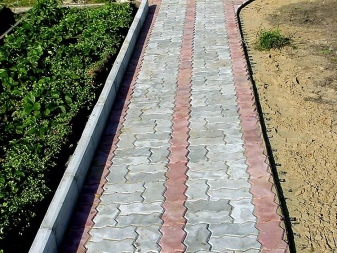
Sidewalk curb is a necessary element in landscape design. With its help, they allocate blind areas, flower beds, equip garden paths and the territory of a private courtyard. But curbs are needed not only to create beauty. The installation of curbs is needed, first of all, to protect the coating, to prevent soil from mixing and not falling into the fenced area. In a word, if you have covered the paths for more than one year so that they will last a long time, install a border around the edge that will prevent the material from collapsing and keep it in the desired shape. One of the functional features of the curbs is the redistribution of the load on the site with different surfaces.
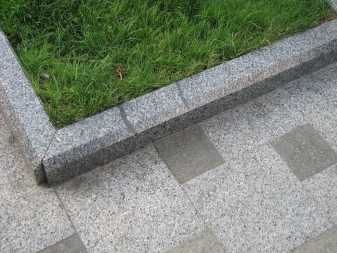
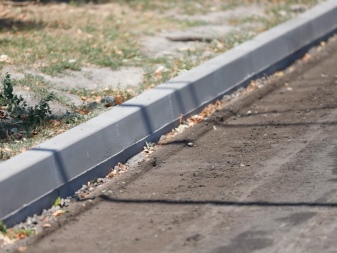
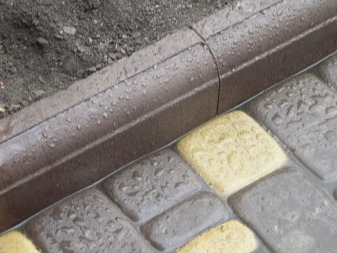
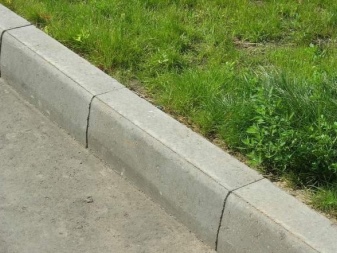
A protective edging is especially needed on narrow paved areas; in this case, another structure will not provide reliable protection against destruction and strengthening the coating. Those owners who are trying to do without a border, laying the tiles vertically, still then come to the idea that they need it. Pieces of slate along the edges of the laid paving stones also do not perform the functions that curbs do. Over time, in any case, you have to do the edging, therefore, in order not to do double work, not to spend twice the time and effort, it is better to immediately follow the right path.
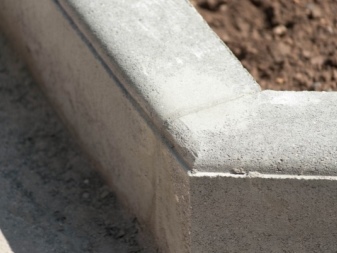
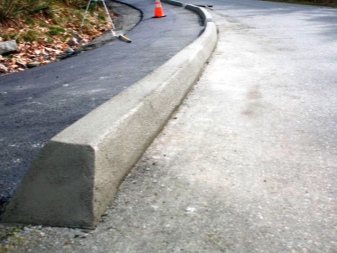
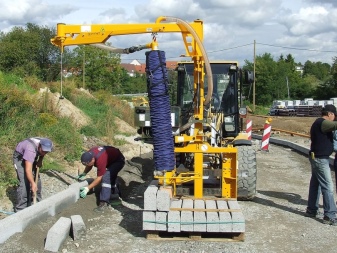
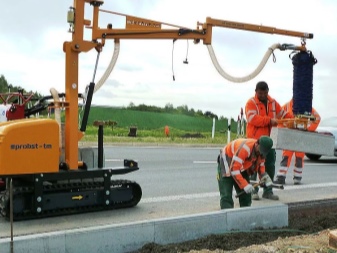
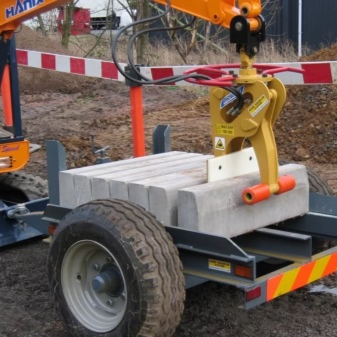
Please note that in the event of rework, repairs to the edges of the tiles have yet to be completed. There is no need to reinvent the wheel or save on edging, if the decision has already been made to ennoble the territory with paving stones. A good curb is protection, decoration and surface finish. Installation of such a fence can be done automatically by the stacker, or you can do it yourself. They take a car when it is necessary to install hundreds of meters of edging, mainly a road curb. You can do the work within your site yourself. It is best to invite an assistant - this way the work will be argued faster, and someone else is needed when measuring or to hold back, submit the elements.
Let us dwell on these methods in more detail and in each case consider the technology for laying curbs.
How to install by machine?
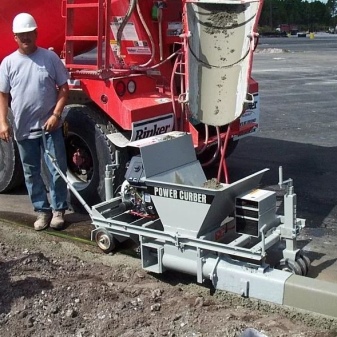
The automatic stacker will make the process go faster, but they are usually used by special road companies for roadside work. If you also have to lay kilometer-long curbs, then it is better to invite a specialized team, which, with the help of technology, will do the job quickly and efficiently. The simplest machine is set up to ram the pumping concrete mass into a docking profile shape. Its productivity is up to 500 meters per shift, and for the whole day it can be used to lay up to 1 kilometer of the curb.
The movement of equipment is not associated with the presence of a wheel drive (this unit does not have it), but occurs involuntarily in response to the reverse movement of the rammer. It can be rented, and delivered to the place on a trolley or on a trailer. The stacker is powered by a 16 horsepower gasoline engine (air-cooled). The side panels are removable for easy access to the unit.2-3 people can easily establish continuous work on the unit during the day.
DIY styling
Now on the market you can buy a side stone of various types:
- trunk;
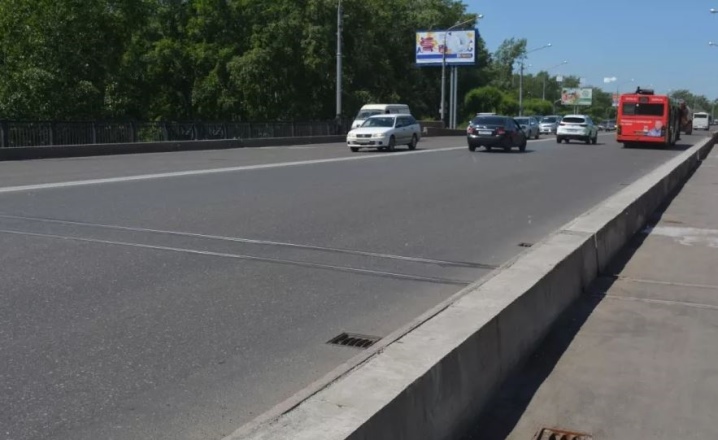
- road;

- sidewalk;
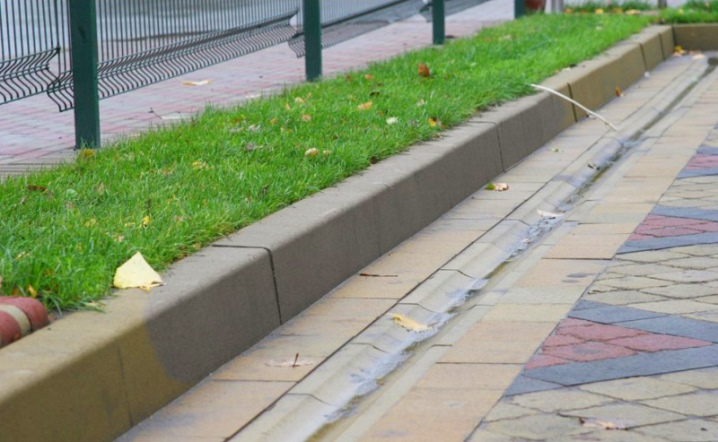
- garden straight;
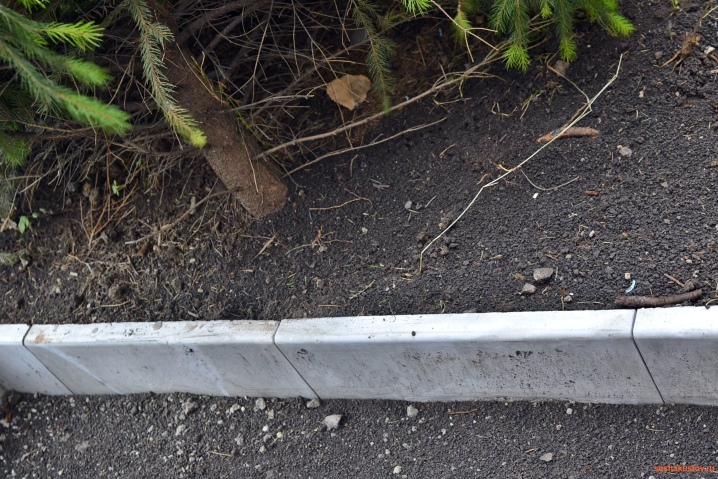
- radius.
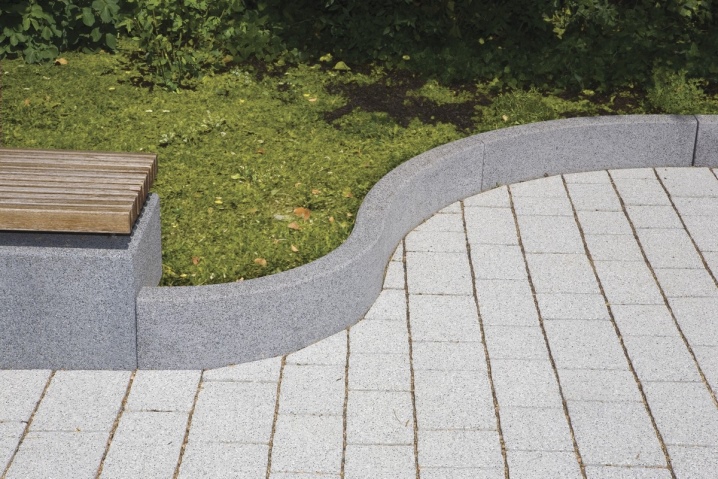
Curbs differ in shape, size, but have a common laying technology - in all cases, one must be guided by the same rules. So, the general step-by-step instruction for installing the curb stone is as follows.
- First of all, at the dacha, the boundaries of the plot for the tiles are determined, along the edges of which a ditch is dug. To make it even, markings are made: first, pegs (wooden or metal) are driven in and a rope or cord is pulled.
- The depth of the pit depends on the height of the curb and the desired level of its protrusion relative to the intended coverage (paving stones). And in width you need to dig 20 centimeters more than the thickness of the selected curb element.
- The bottom of the ditch must be leveled, compacted and covered with sand at a level of 5 centimeters.
- Then fill the ditch with a cement-sand mixture in a ratio of 1: 3 - 1: 4 (about 3 cm).
- Mount curbs: it is better to put them under the level, touching up with a rubber mallet.
- The distance between the parts of the curb structure should not exceed 3 millimeters.
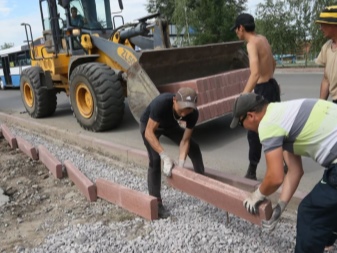
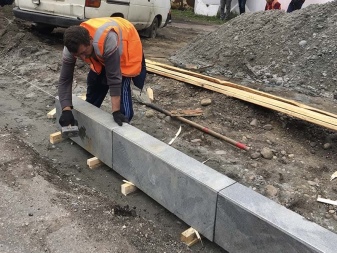
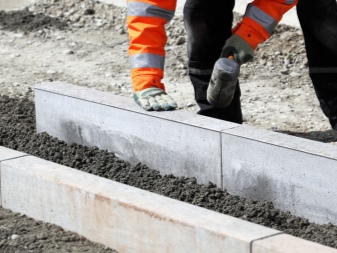
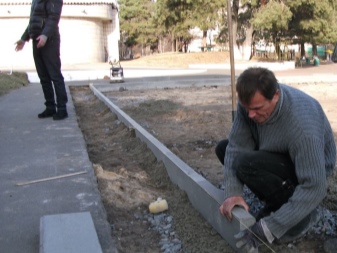
As you can see, this work can be done with a minimum number of tools. The laying technology can be different: the curb can be laid on a different basis. Let's consider everything separately.
To the ground
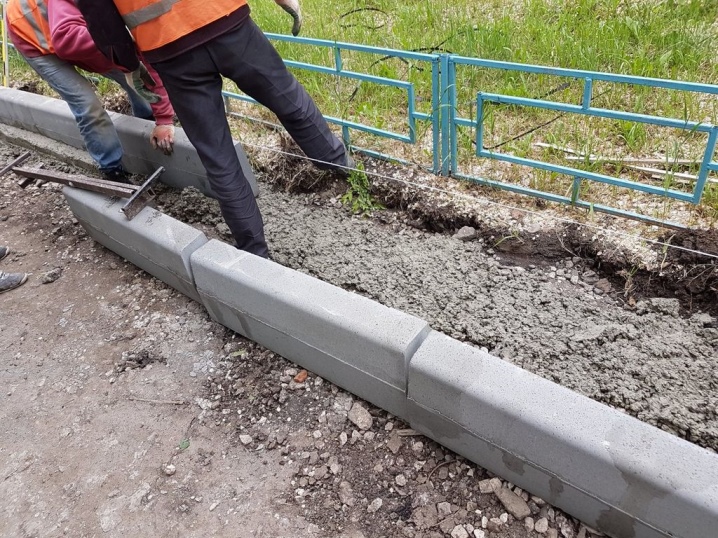
The technology of laying the curb tape without concrete is applicable on dense soils, where there is a guarantee that the curb will adhere thoroughly without additional fixation with cement mortar. As a rule, this method is justified in areas with clay soil, where the elements of the coating and its fences will practically not move.
On the sand
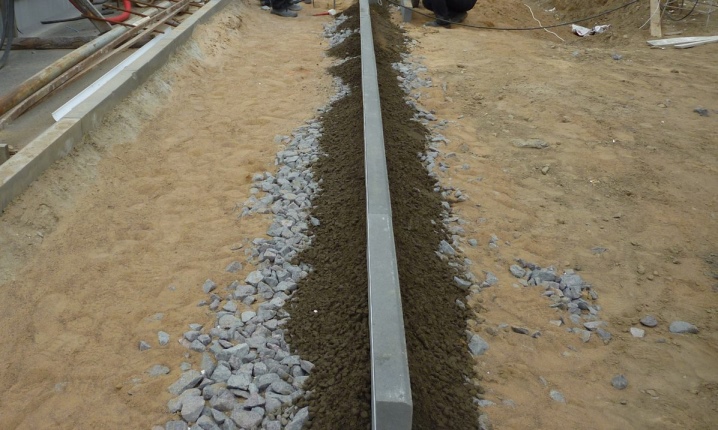
The installation scheme on sand is the same as the general step-by-step instruction until the moment where the structure is poured with sand-cement mortar. Only rubble (at the level of 15 cm) can be put under such a curb, having tamped it well. In the intervals between the trench and the walls of the curbstone, rubble is also poured and tamped tightly. This technology is used if there are no additional funds for the acquisition of materials in order to make a concrete mixture, or when it is necessary to enclose the lower space only for a while. With this method, the structure can quickly be destroyed even with the slightest pressure on it with the foot at an angle. This must be taken into account and understand that it is rather temporary in nature and is suitable, for example, for fencing a flower garden, flower beds.
On a concrete base
If the soil is prone to heaving (or on sloping terrain), the curbstone is laid on a cushion of sand and gravel, on top of which a layer of concrete is poured. On such a concrete base, the curb will last for years. The procedure for such an installation is as follows.
- The site is measured, after having hammered in the pegs in key places on which the cord is pulled.
- According to the markings obtained, they dig a trench with a shovel in such a way that at least 10 or even 15 centimeters remain on the sides of the curb element on each side. And when digging into the depths, it is necessary to take into account that at the bottom at the level of 10 centimeters there will be crushed stone, then the sand-cement mortar will be poured about 5 centimeters, well, take into account the height of the curb - at what distance do you want it to rise above the surface.
- The bottom needs to be leveled and tamped; ideally, geotextiles with a minimum density of 160 g per square meter should be laid on the bottom. This is to avoid mixing sand and gravel with the ground, which will allow the curb to run for a longer time. And this is a guarantee that there will be no shifts when heaving in spring.
- Coarse sand and coarse gravel (25-40 mm) are poured onto the gekotextile at a level of 10-15 centimeters. Everything is tightly rammed.
- A solution is made in the following proportion: 3-4 parts of sand and 1 part of cement.The amount of water is minimal, just enough to stir the composition, which must be laid in a thick layer (5-7 cm) on a crushed stone base.
- A curb element is laid on a concrete pillow, a solution is poured on the sides and the curb is fixed.
- The concrete is allowed time to dry and set. If there is free space between the trench and the curb, it must be covered with rubble or sand, tamped and sprinkled with soil.
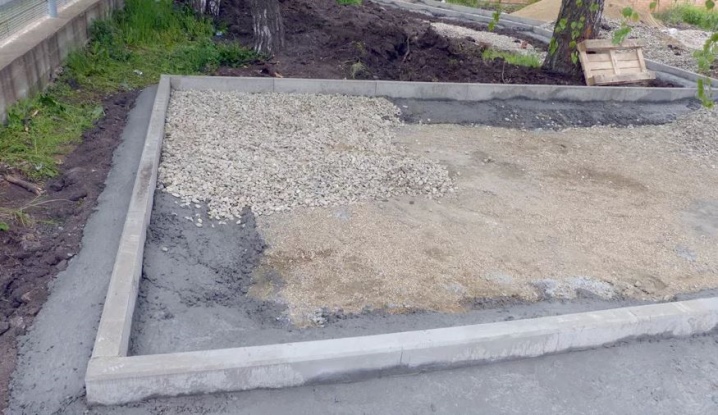
The concrete solution can still be made with the addition of crushed stone. In this case, take 1 part of cement, 2.5 parts of sand (preferably sifted) and 2 parts of water and medium-sized crushed stone. It is good to apply such a solution with a trowel on a prepared base. Then a curb element is installed on the mortar, adjusted with a rubber hammer. It is not necessary to knock on the stone with an ordinary hammer and even more so with a sledgehammer in order to avoid deformation of the curb. For such work, you need to get a hammer with a rubber knob.
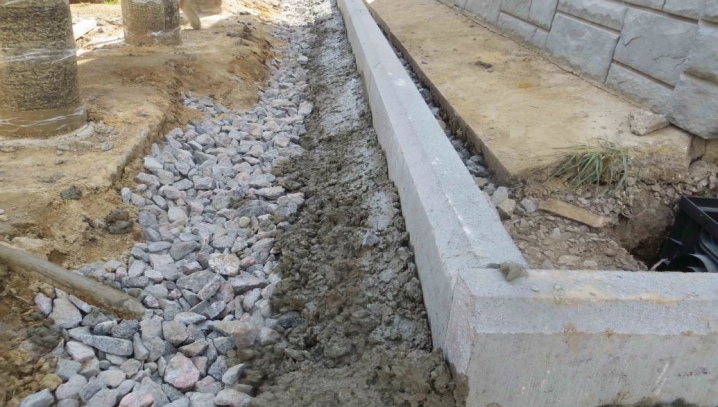
This technology is a guarantee that when heaving, the curb will remain in place, no shift will occur. So the method of installation depends, first of all, on the soil and on the goals pursued by the owner. You need a temporary fence - do not bother with concreting, lay the curb directly on the ground or sand, for a solid and durable structure, additional fuss with the mortar will be required. Curbs do not always fit in a straight line, sometimes they have to be done along a curved path. When the radius of curvature is more than 11 meters, then the curb is made in a circle from an ordinary straight piece, which is cut with a diamond disk into several parts. Each part is joined at the required angle, they are fixed together with a concrete mixture.
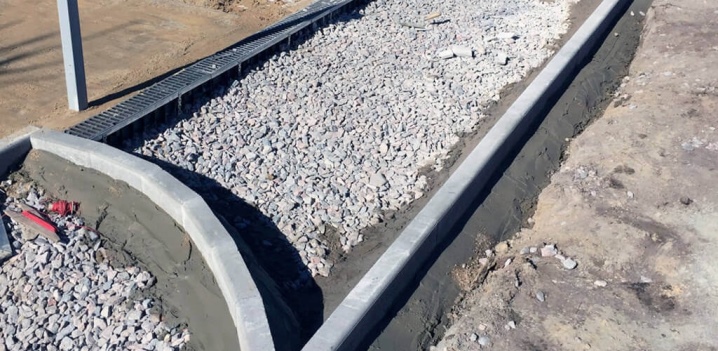
When the radius is less than 11 meters, you need to purchase special curbs with the desired curvature. They no longer need to be cut, but simply dock correctly and secure with mortar.
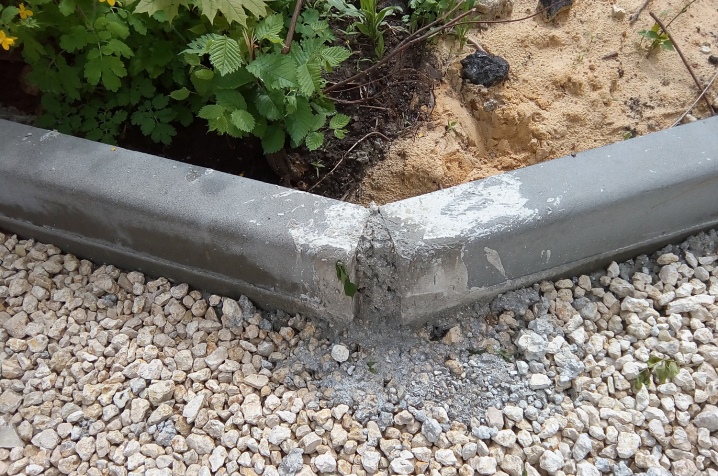
Experts advise to allow the structure to stabilize and proceed to the treatment of cracks. The gaps that form between the parts of the curb are removed only with a dry mixture of cement and sand. Then they pour it over with water and wait for the surface to dry, but do not fill it with the ready-made solution. The shifts of the finished structure are stabilized with a semi-dry composition: semi-dry concrete is poured on each side of the curb. In general, for laying the border edging, it is desirable to use crushed stone of fraction 15, and cement of the highest quality grade - 500.
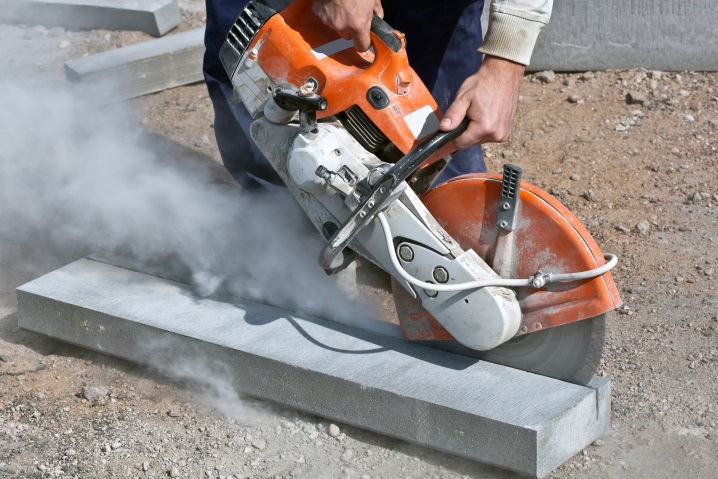
To protect the coating from rain, experienced craftsmen advise setting the track bed 2-4 centimeters higher in relation to the ground. For the same reason, they make a slope of 2-4 degrees, but if the landscape is already sloped, then this is unnecessary. If there is a need for trimming the curb stone, you cannot do without a grinder and a diamond wheel. You can use a petrol saw - this equipment can be rented. Remember to wear safety glasses when doing this.
Another valuable tip: in places where the water table is quite high, an additional layer of rubble should be sprinkled under the sand to a height of about 10 centimeters. Without this additional measure, there is concern that the fence will loosen faster than you would like it to. The border is matched to the color of the tile, the cheapest option is natural gray stone. As for the tools: in addition to a bayonet shovel for digging a trench, prepare a shovel. It will come in handy for working with mortar.
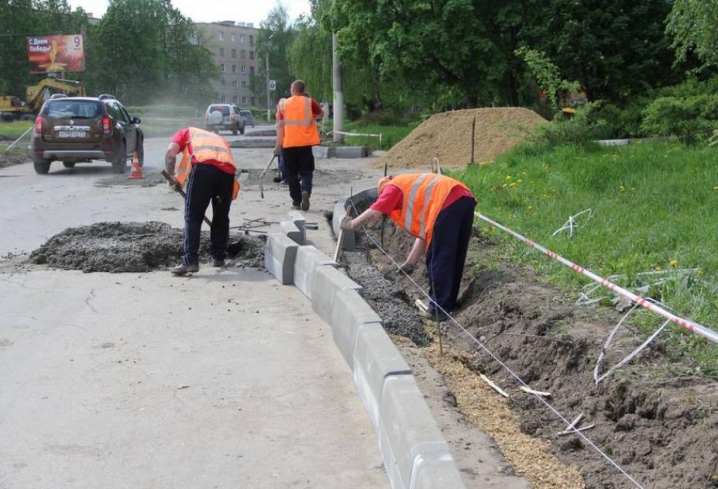
By the way, the mortar mixture can be mixed with the same shovel or in a concrete mixer. It all depends on the volumes. Of course, for large-scale work, an automated process will greatly facilitate your work. A concrete mixing device is also available for hire. In order not to redo the work, when shaping the trench, it is better to make it a little deeper. As they say - in this case it is better to dig out than not to dig up some centimeters. The excess distance can be covered with rubble, but if the depth is not enough, you will have to dig again.
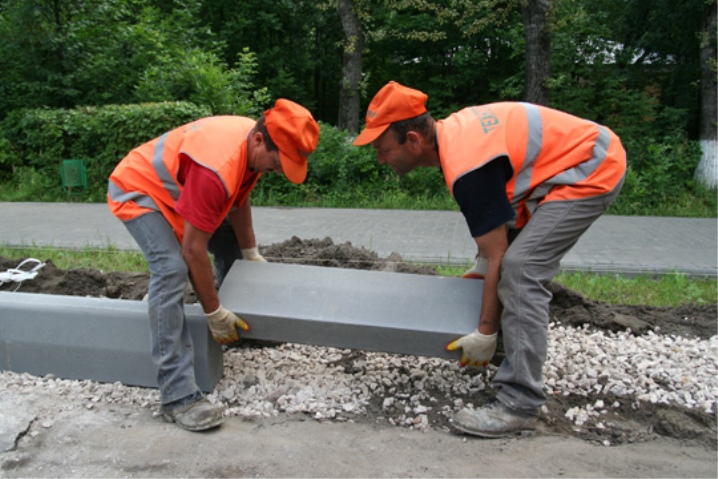
Usually the curb stone is deepened by half or one third of its height. But it happens even deeper - it all depends on your desire and the conditions for the location of the fence and covering. Take into account the fact that the soil does not fall on the cladding, and the water in heavy rain has a place to drain. When tamping the "cushion" of rubble, you can use an additional load from available tools, or you can simply tamp it with your feet. The layer can be uneven, they are leveled under the level with sand, which is more pliable in this.
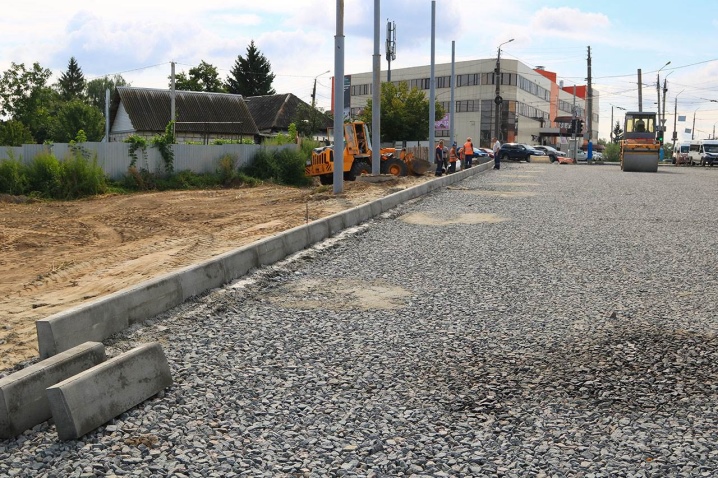
To facilitate the process, the sand can be slightly wetted - this way the layer will be compacted and leveled easier and faster.
Before you put the curbs, you need to decide on the way they are laid:
- to the ground;
- on a sand cushion with lateral fixation with a solution;
- laying under a concrete base.

The whole further process will depend on this. In the course of work, it will not always be possible to change the decision. So, if the necessary materials for the mortar are not at hand, you will not be able to fix them - you will have to bury the curb just in the ground, and this is a short-lived option. Or, having started laying on a sand cushion, you will not be able to switch to concreting, since you will not have enough mortar.
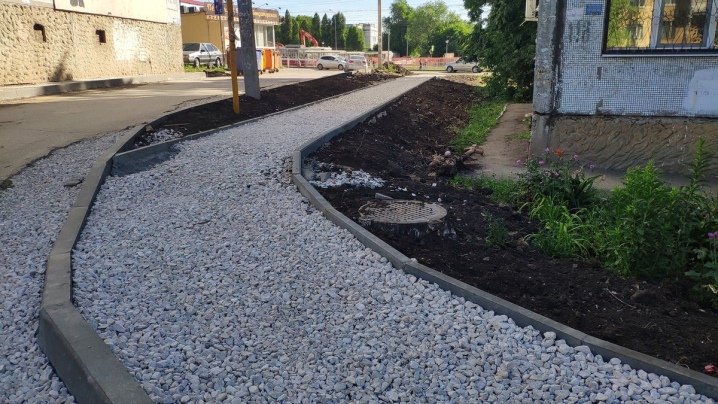
Allow the elements of the curb to grab at least for a day, and then continue working on the cracks and start laying the tiles.
And also keep in mind that a curbstone can withstand short-term collisions even with light vehicles, but if such loads are constant, it will collapse. In this case, it is better to take a road reinforced stone with steel rods inside with a diameter of up to 14 millimeters. Such a curb is used to separate the pedestrian zone from the carriageway. But for a summer cottage, they mainly use a curb - an ordinary sidewalk curbstone. It comes in a smaller size, lighter in weight, it is more convenient to work with it during installation.

For information on how to properly install the border with your own hands, see the next video.


The comment was sent successfully.