Paving curbs
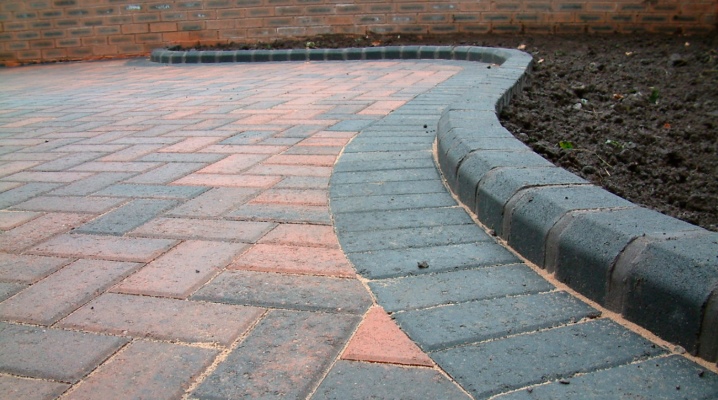
Many homeowners find it difficult to install a curb and hire specialists to carry out this work, paying large sums of money. In fact, you can handle the installation yourself. In the article we will tell you in detail how to correctly install the curbs for the paving stones.
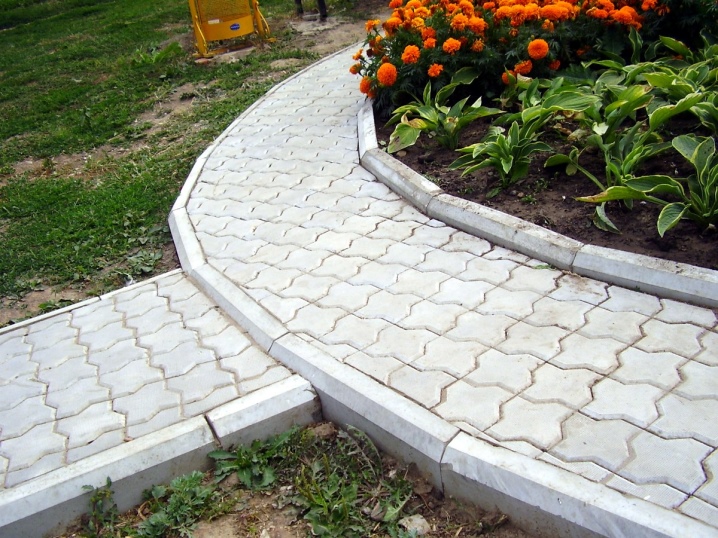
Peculiarities
The curb not only gives a complete look to the sidewalk, but also protects the coating from deformation. This is especially important for clinker tiles. The paving curb, or curb, as it is often called, acts as a decorative element of design.
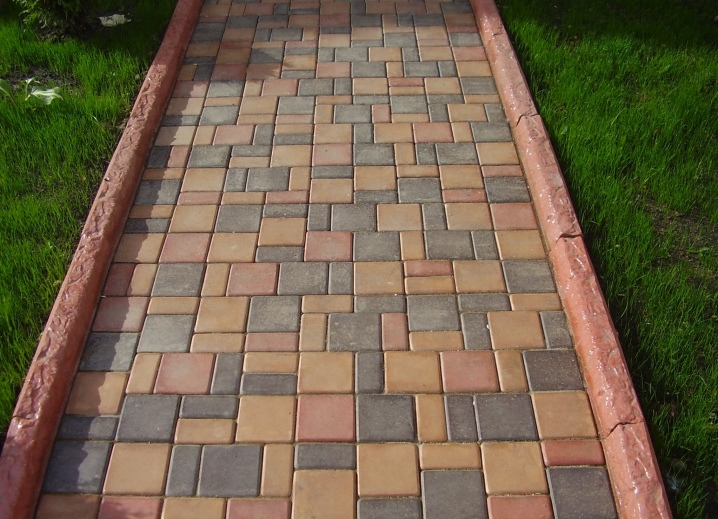
In any case, as experienced masters advise, you should not ignore its styling. It is especially relevant when it comes to limiting zones or highlighting narrow garden paths.
The curb will protect tiles or paving stones from external influences, preserve the integrity of the coating and extend its service life.
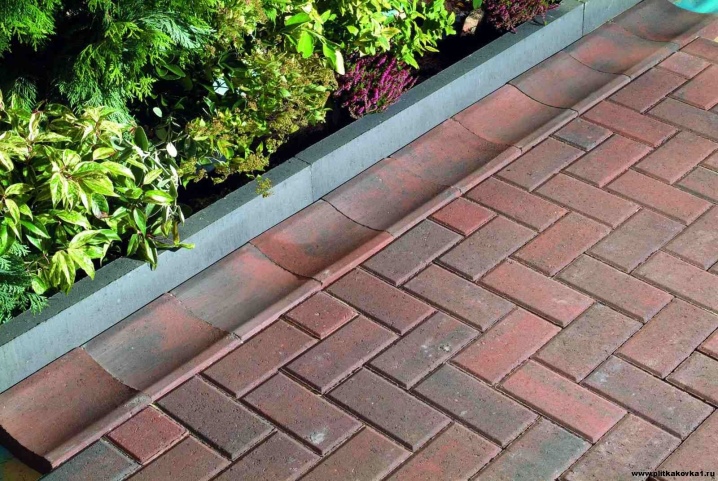
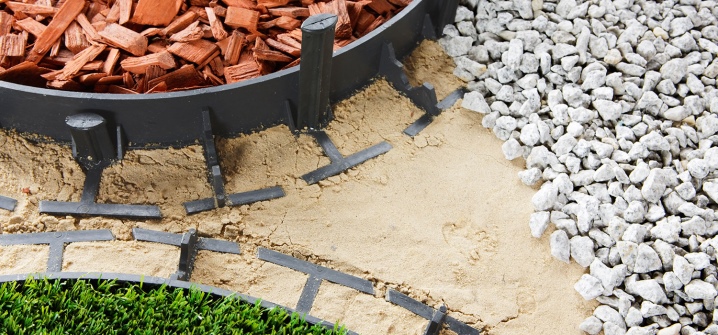
The differences between the curbs are in the material of their manufacture. On the modern market there are edging elements made of stone, plastic, there are polymer curbs and clinker. Let's dwell on the varieties of products.
Varieties
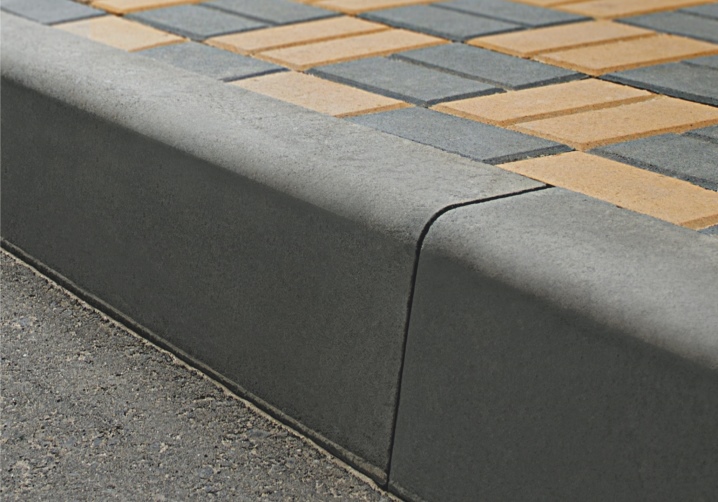
Today you can find borders of any shape, configuration, different colors. These elements are made from various materials. The simplest and most common is a concrete curb. It is made of concrete of the highest quality, it is very durable, reliable in operation. When laying in the courtyard of a private house, it can be made hidden.
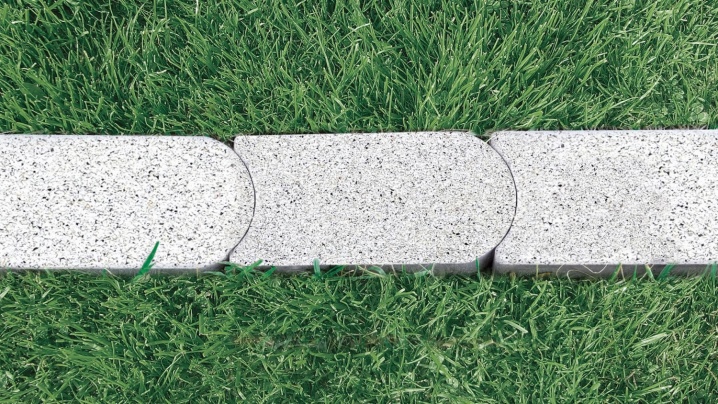
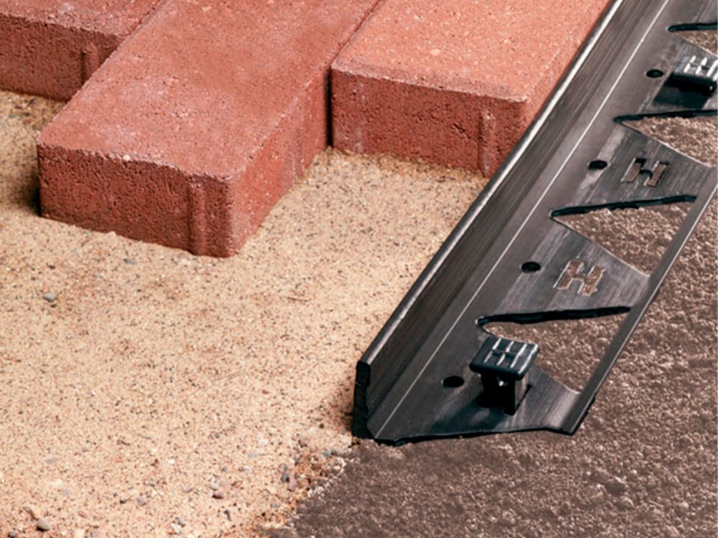
A plastic border is a modern element for covering decoration. Curbs made of such material are only gaining popularity, they are affordable, but they have a number of disadvantages: plastic fades in the sun and has low strength.
Stone elements, in contrast to plastic ones, on the contrary, are durable, but expensive in cost. There are curbs that are cut from natural stone, and there are artificial ones. However, with good work, it is practically impossible to distinguish which product is made from a natural base, and which one is made of stone chips mixed with concrete.
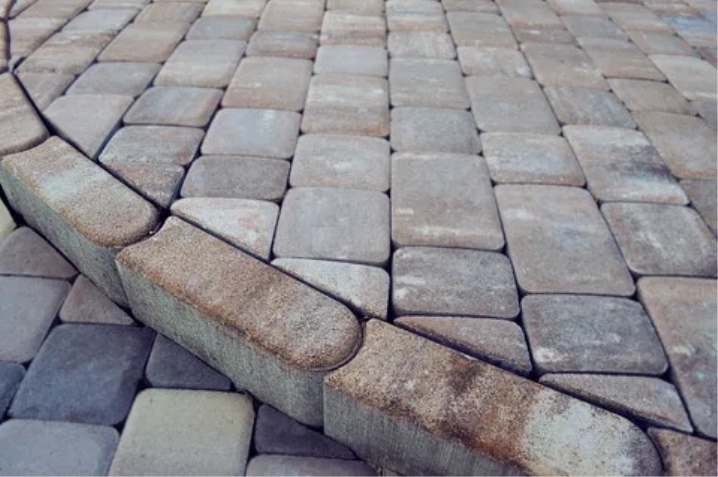
The clinker curb is made according to the technology of manufacturing clinker bricks, so such a curb cannot be confused with anything. It has a special color, shape and size. And also curbs, like shingles, are made from a mixture of polymer and sand. Both tiles and edging of such a plan are considered the cheapest options, but the material is not very durable. It has a drawback: it expands when heated. There are also rubber curbs, they are made from crumbs from car tires.
They tolerate heat, cold and moisture well, but they are fire hazardous elements.
How to install correctly?
Very often the sidewalk curb is made of concrete. A canvas is collected from as many products as is required to decorate the desired section of the paving stone. Consider how to lay such a curb with your own hands, and what distance to keep between the elements when laying.
- Dig a trench as deep as possible depending on the size of the curb. And you also need to consider how much it should protrude above the ground. The width of the trench is 1 cm larger than the element on each side for pouring.
- Pour a solution of a sand-cement mixture (1 part of cement and 3 parts of sand) into the pit.
- Stretch the rope for even laying, and lay a concrete bar on the level of the still uncured mortar, driving it in with a rubber hammer.
- Pour the solution on the sides to secure the element.
- Next, the rest of the parts are stacked end-to-end.
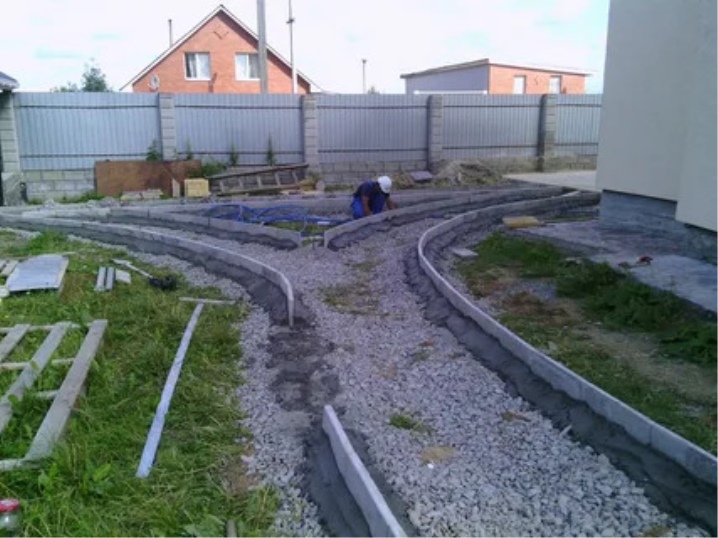
Usually, the upper level of the curb is set at the level of paving stones or tiles. But when there is a possibility that the ground can get on the surface, for example, during rain, it is better to make the curb higher than the path. In any case, it is advisable to place the curb above the coating at least 1-2 cm. The curb for paving stones is set according to the exact dimensions and strictly observing the distance between the elements. Only a small gap of 2 to 4 mm is allowed.
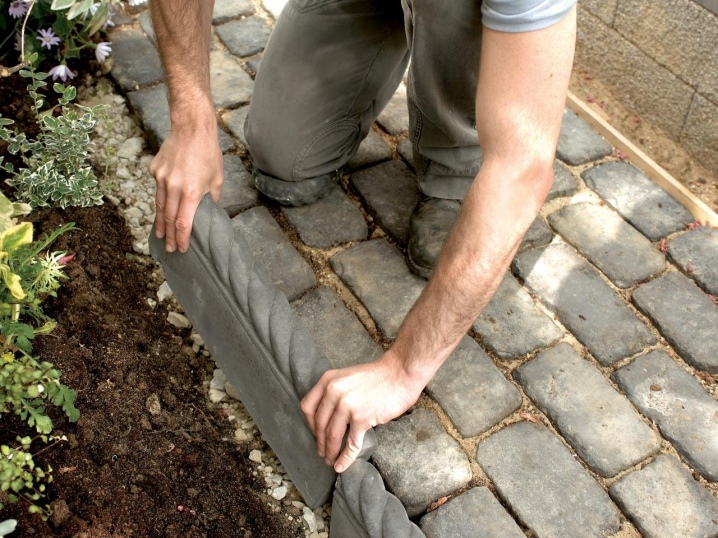
The solution is made quite thick so that it does not spread during installation. In those places where the curb element has already been laid, you can carefully fill up the earth - it is believed that the concrete will mature faster this way. The solution will finally harden within 2-3 weeks, so it is undesirable to operate the track until this time.
If it becomes necessary to cut the curbstone, this can only be done with a diamond wheel, which is inserted into the grinder. After the curb is fully strengthened, you can start laying the paving stones. Outside, the soil can be compacted, and already completely leveled after all the tile installation work is completed.
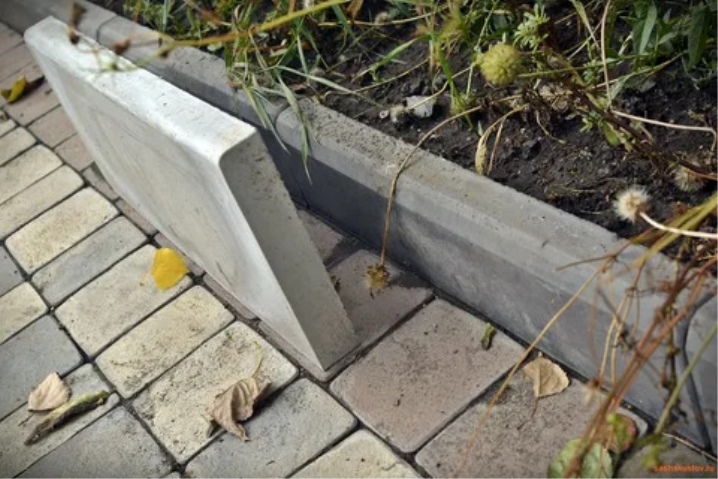
If you have to lay a curb on an area where groundwater comes close to ground level, provide an additional "pillow" during laying in the form of a layer of crushed stone 10 cm high. It needs to be laid under the curb at the very bottom.
For information on how to make a curb for paving stones, see the next video.


The comment was sent successfully.