All about the repair of concrete mixers
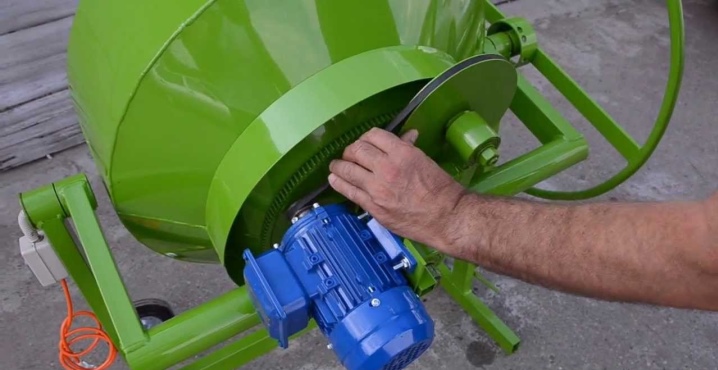
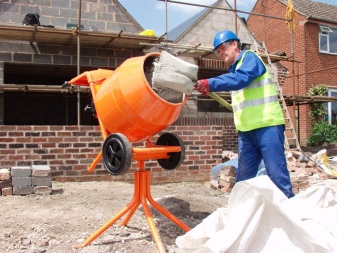
Concrete mixers for builders Is a necessary and fairly reliable technique. If it is properly operated, then such devices can serve for a long time. Malfunctions that have arisen along the way can be easily corrected with your own hands (if the device is no longer subject to the warranty period of service). This does not require special education - it is enough to have only some knowledge and be able to own the necessary tools.
What tools do you need?
To repair a concrete mixer, special tools are not required - as a rule, men have all this in garages or workshops. Consider the general list:
- sledgehammer or hammer (depending on the complexity of the work);
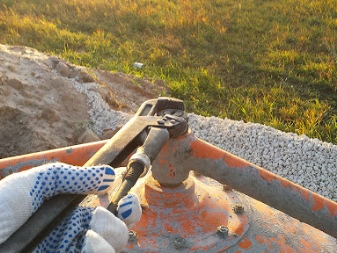
- wrenches of different sizes (wrenches, adjustable, gas);
- screwdriwer set;
- pliers are ordinary and with a pointed base (to remove and install retaining rings);
- tweezers and tester (multimeter);
- chisel;
- vice.
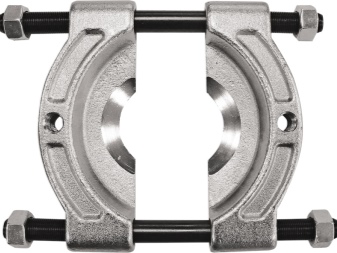
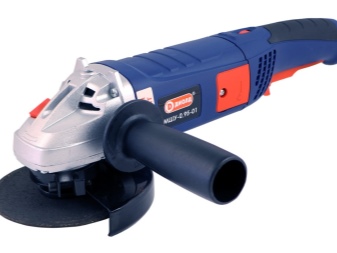
Additionally, you may need other tools - it all depends on the specific problem. For example, to perform certain work, you will need a bearing puller or a grinder. Have a knife at hand.

Typical malfunctions
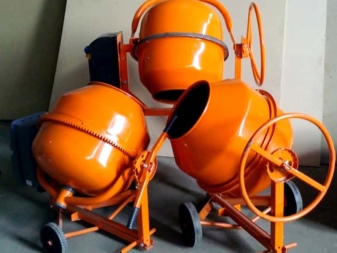
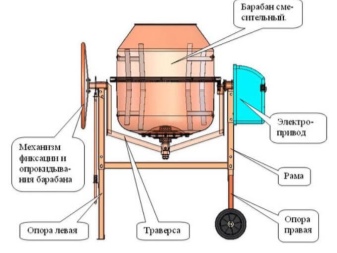
Concrete mixers are produced by various manufacturers, they may differ in configuration, but the breakdowns are the same for all devices of this type. Consider typical malfunctions of concrete mixers.
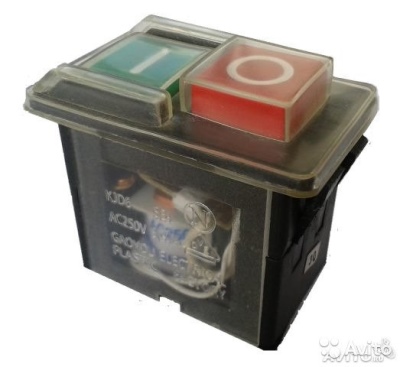
- Start-stop button. This switch most often fails. Sometimes, by pressing the "start" button, the drum stops spinning when this button is released.
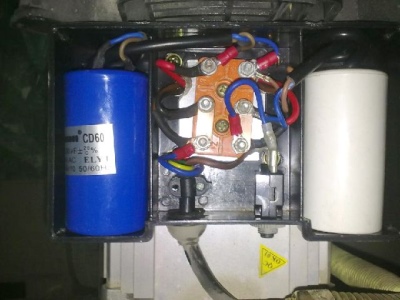
- If you turn on the concrete mixer and it does not start, the problem may be in the capacitor of the electric motor. Try to push the drum with your hand - it should start.
- Problems in the operation of equipment can arise when a belt is torn off or when a pulley needs to be replaced. In such cases, the unit will turn on and make noise, but the drum will not rotate.
- The mixer can be jerky - pay attention to the gears. Most likely, you will need to replace the crown or pinion gear. Replacement of the bearing is possible.
- The drum turns in the opposite direction - check the electrician, for sure there was a failure in the electrical part of the mechanism.
Let us dwell on the repair of the above-described malfunctions in detail.
Elimination of breakdowns
To replace mixer switch, remove the protective cover of the electric motor unit (unscrew the self-tapping screws that hold the protective cover) and de-energize the equipment. The coil of the electromagnet is checked with a multimeter - if the indicator is zero, it will not be possible to fix it with your own hands, the button in this case is replaced with a new one.
Using a similar technology, the starting capacitor of the electric motor is also replaced.:
- after removing the protective casing from the motor unit, disconnect the wires from the capacitor;
- remove the capacitor (the faulty element smells of burnt plastic);
- install a similar new element (with the same operating voltage and other similar parameters);
- connect the wiring and replace the protective cover.
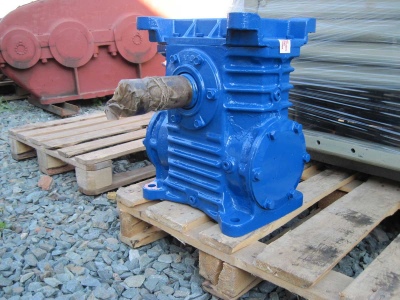
Repair the gearbox - a feasible task, you can also do it yourself. After replacing any part, the household concrete mixer is tested. Next, we'll talk about how to deal with the drive. The procedure for replacing the belt is as follows:
- it is necessary to loosen the motor mounting bolts;
- a new belt is first put on the engine shaft, then on the pulley;
- tighten the fastening bolts (an assistant will be needed here, since one will have to pull the motor down, the other will clamp the fasteners);
- assemble in reverse order.
And here's how the pulley is changed:
- remove the protection (casing) from the electric motor and disconnect the wires from the starter;
- loosening the bolts of the fasteners, remove the belt;
- you also need to remove the pulley and circlip;
- a new pulley is installed in place of the used pulley and fixed with a retaining ring;
- return the belt and motor protection to their place, do not forget about the wires that must be connected before checking.
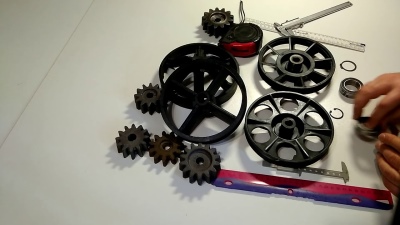
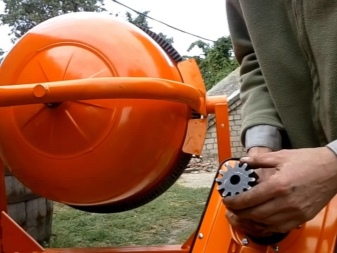
And now about gear replacement... To replace the sector-type crown gear, the concrete mixer is not disassembled, but changed sector by sector. But to replace a solid crown or drive gear, you need to disassemble the structure.
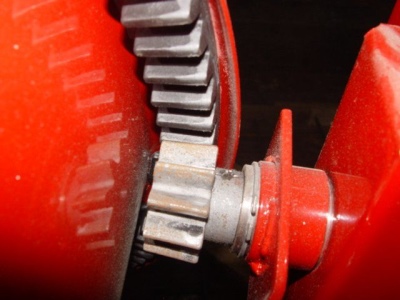
They act in this way:
- disconnect the container from the traverse and remove the spent mechanism by removing the retaining ring (do not lose the key);
- replace with a new gear, insert the key and fix it with a retaining ring;
- adjust the mesh density.
The unit is assembled in the opposite direction, paying particular attention to the fixation of the regulating mechanisms on the shaft for tight abutment of the container to the traverse.
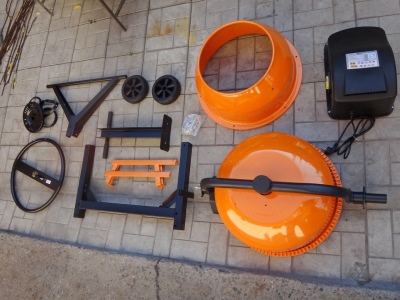
When replacing the bearing perform the following actions.
- Before repairing concrete mixers, they purchase for replacement exactly the same bearing that was on the unit and failed. Most often it is bearing 6203.
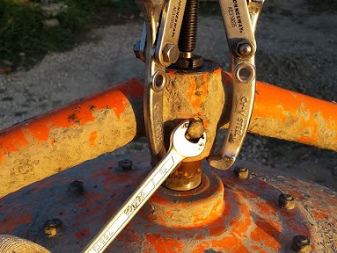
- To remove an old part, you first need to bare the engine by removing the box from it. The drum is removed together with the main gear and the key. Carefully take out the bearing, it is better to do this with a special puller.
- The new bearing is well lubricated with lithol and, using the same puller, is installed in place of the used element.
If there is no puller on the farm, it can be adapted when replacing one bearing with another piece of pipe of the required size and diameter.
Why is repair needed?
Repair of a concrete mixer may be necessary for various reasons, but more often it happens in the following cases:
- overloading of the unit (try not to overload the equipment above the established norms);
- lack of regular cleaning of the drum (according to the instructions, after each work process, it is necessary to clean the drum);
- improper storage of equipment (the tool needs to create proper storage conditions so that the parts do not rust).
Particular attention should be paid to the repair of consumables (belts, drive gears, derailleur, etc.). Often their wear is associated with improper storage and improper use of the tool.
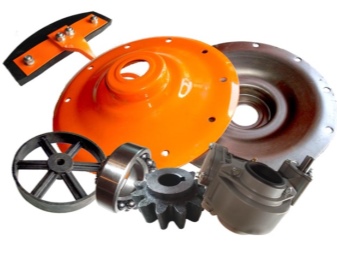
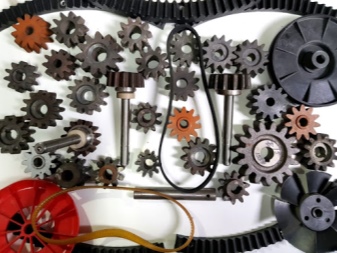
Support bearings and gear rims have to be replaced much less frequently. These mechanisms are more durable and will last longer if used correctly with a concrete mixer. By the way, more often cast iron parts are unsuitable, and this is due to the lower quality of their casting.
Therefore, it is worth giving preference, for example, to a gear ring made of plastic rather than cast iron. Since this mechanism has a significant mechanical load, experienced craftsmen try to replace it initially or buy a concrete mixer immediately with a plastic crown.
If you take bearings, then they are bronze, steel, but it is preferable to use bearings made of caprolon (polyamide). Experienced craftsmen recommend giving preference to bearings with a washer.
Warranty service?
And another important point: do not rush to undertake repairs if the machine for mixing the solution is under warranty service. As soon as you violate its integrity, the manufacturer will refuse to repair it at its own expense or replace it with a new one.
Self-repair of concrete mixers is justified only when the unit's warranty has expired. When buying, you must be provided with a warranty card with a specified period along with the check.All this time, the manufacturer is ready to bear all the costs of repairing your equipment.
Well, if after the expiration of the warranty period you have to fix something with your own hands, you will have to approach this process with all responsibility. If you need to disassemble the concrete mixer, make sure that the unscrewed parts are not lost, and follow all the steps in sequence.
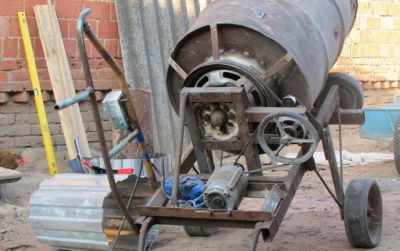
All about the repair of concrete mixers, see the video below.


The comment was sent successfully.