What is a birch burl and how to process it?
At all times, wood has been considered one of the most demanded natural materials. Without it, it would be difficult to build houses, make furniture, water vehicles. And, of course, you cannot do without wood in the manufacture of handicrafts and small beautiful things. When creating a piece of art, craftsmen use different parts of the tree, but the burl is always of particular interest. In this article, we will consider what birch burls are, and also talk about where you can find them and how to properly prepare them.
What is it and how is it different from a suvel?
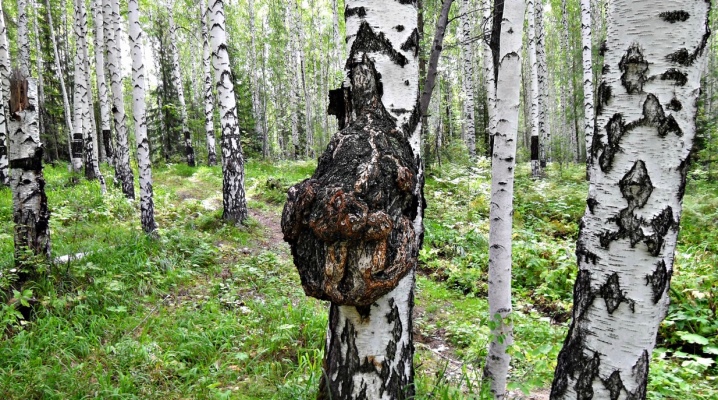
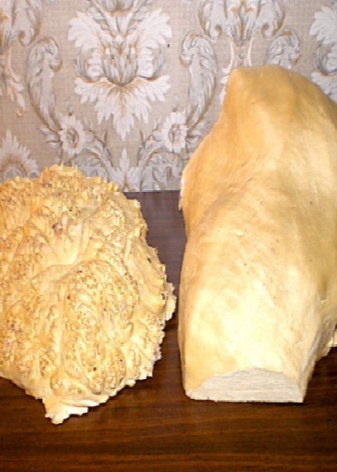
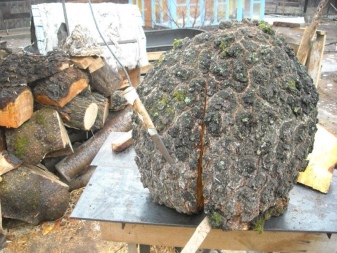
A burl is a kind of growth on a birch, usually it has a round shape. Among the people, the cap is often called "the witch's broom", and the word itself came to us from the Old Church Slavonic speech, where the word "cap" was translated as "head".
This formation is covered with bark, sometimes small twigs with buds can sprout from it. Burl has an incredibly high density (specific gravity), which is always higher than that of birch itself.
Sizes can also vary: there are both very small growths and giant formations up to 350 kg (fluffy birch).
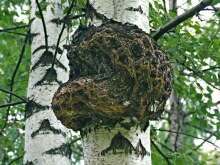
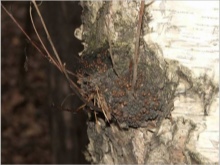
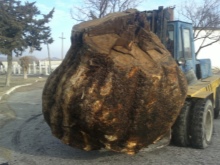
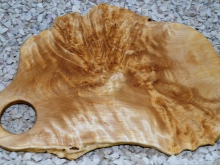
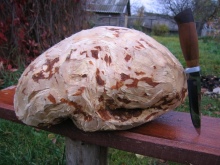
The birch burl is a unique phenomenon, and among the craftsmen it is very much appreciated. If you saw through the build-up, you will see an incredibly beautiful texture, which is represented by large concentric circles and small dark dots. There are no two identical formations in nature, so each cap is special. In this case, the burls growing on the trunks will be more attractive than the basal ones. After processing, they take on the appearance of malachite, they shine beautifully.
As for the suvel, this is also a tree formation, and it is often confused with a burl. It should be considered how these growths differ.
- The nature of origin. The cap can grow for a variety of reasons. The main one is the origin of a kidney under the bark, which cannot grow outward. The tree feeds it, and adventitious elements begin to form around the bud. All of them try to get out from under the bark, and this is how a cap appears. Suvel is a painful formation, most often cancerous.
- Growth rate. Suvel always grows faster as it is caused by disease. Cap, on the other hand, can grow for decades.
- Texture. The cap has a more complex and interesting texture, since it is created over the years, annual rings and small twigs are woven into it. Suvel looks simpler: its texture is somewhat reminiscent of marble stains.
- Ease of processing. Cutting and processing the burl will be much harder than the suvel. And it is more difficult to find such formations in nature.
- Appearance. The cap is a heterogeneous formation: it has many nodules, bumps, and not fully developed kidneys. Suvel always has an even and smooth surface.
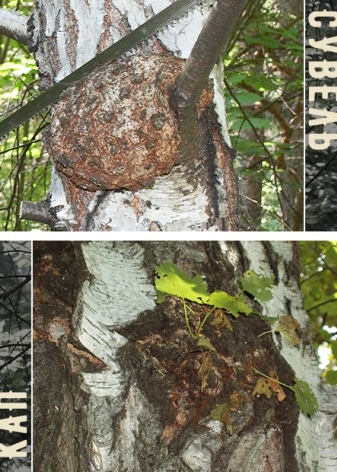
Where to find?
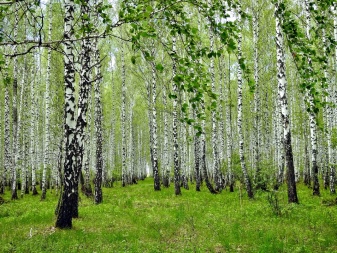
Birch burl is more common than other tree species, so it is quite possible to find it. It is best to do this in the middle of autumn. The best place to search is a birch grove, you can also go to the forest, although it will be a little more difficult there, since you first need to find the birch trees themselves. Often, mouth guards can be found in swampy areas. However, it must be borne in mind that cutting the build-up can cause the death of the tree.
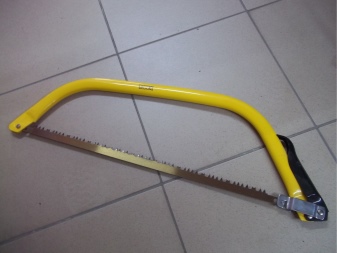
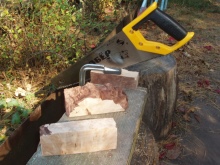
Besides, if a large cap is required, you need to take care of the transport in advance, since it will be problematic to carry even 50 kg in your hands. You will also need a special tool, for example, a bow saw, since mouth guards are usually very hard and it will not work to cut them without effort. In view of all these subtleties, experts recommend looking for mouth guards not in the forest, but at sawmills. The workers there are only interested in wood, so all growths are sent to waste.
And also at logging there are capokroots, which you definitely cannot find in the forest on your own.
What kind of crafts do they do?
The list of products that can be made from a burl is incredibly huge. Let's consider which items will be the most popular:
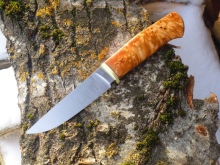
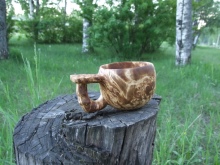
- utensils: bowls, deep bowls, cups, beer glasses, ladles, pushers, napkin holders for the kitchen, etc.;
- jewelry: exquisite carved pendants, beads, earrings and bracelets;
- accessories: cufflinks, hairpins, brooches, key rings, cigarette cases, pens and much more;
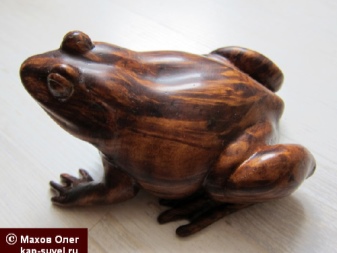
- souvenirs: pipes for smoking, boxes, figurines, vases, board games (chess or backgammon), photo frames;
- other: table legs, knife blocks, cane handles, wooden panels and much more.
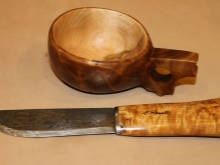
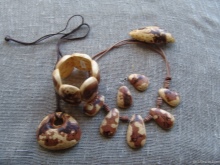
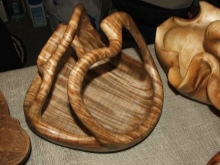
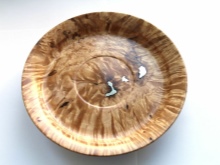
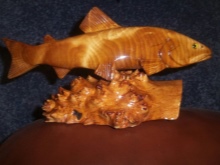
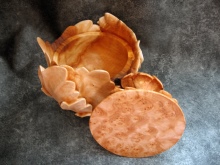
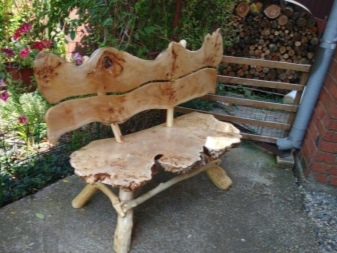
The resulting crafts, with good care, serve for many years and smell deliciously of wood. They will look beautiful in both modern and classic interiors of houses and apartments. Wooden crafts will no less effectively fit into the design of the local area. With the skill and imagination, a wood craftsman will be able to make a real work of art from a large burl: a polished tub sparkling in the sun, an artificial tree stump, a garden gnome, a goblin and any other handicraft that is appropriate in nature.
You can combine a birch burl with materials such as metal, bone, mother of pearl.
Processing features
It is not very difficult to prepare a burl from a birch. Here are some rules for preparing the material.
- It is not recommended to cut down the mouthpieces that encircle the tree or are capokroots. In almost 100 percent of cases, the tree dies after that, and you can also be fined. If such formations are needed, they are taken from logging, with the permission of employees. In other cases, a sharpened tool is used, after which the saw cut is treated with garden pitch.
- It is important to have time to cut the outgrowth before the start of sap flow, this is the very end of August or the beginning of autumn. In addition, there should be no rain on the day of harvesting the material.
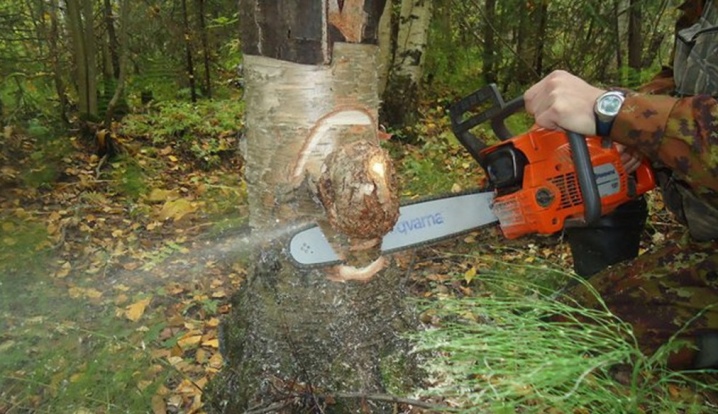
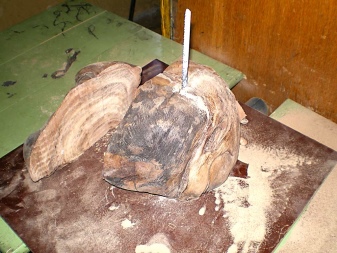
After you have taken out and brought home the cap, it needs to be processed. To do this, the whole piece must be cut into blanks. Their size and thickness are determined based on the parameters of the future product. It is worth noting that sawing the mouthpiece is not an easy procedure, since at first it will be difficult for a beginner to reveal all the beauty hidden in the material. Experts recommend cutting so that as many dormant buds as possible are dissected.
Besides, novice craftsmen can be confused by the pale and expressionless pattern that opens up to their eyes when sawing. However, you should not be intimidated - in the case of a mouth guard, this is a completely ordinary situation.
In order for the woody texture to be filled with life and sparkle with new colors, it will need to go through 2 more processing stages: steaming and drying. Both stages are inseparable from each other.
Drying
You can dry a birch burl with your own hands, but it is worth preparing for the fact that this process will be slow. Let's consider how to properly dry the workpieces.
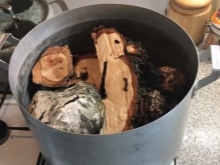
- Take a container that will fit the workpiece along with water. It is better to pick up something old, since it will be very difficult to wash the container later.
- Remove twigs and loose bark from the trap. Fold the blanks in a saucepan and fill with water so that it covers them by no more than 2 centimeters. The temperature of the liquid does not matter.
- After laying the blanks, take ordinary table salt, you can use the cheapest one. You need 2 full tablespoons per liter of water, but it won't do more harm. Pour salt into a container of water.
- In addition to salt and water, sawdust is needed, optimally if it is pine. File two good handfuls of sawdust, preferably tar and fine. Sawdust needs a mouthguard to show the color, and it will also give the material strength. The entire mass of sawdust is immediately poured into the pan.
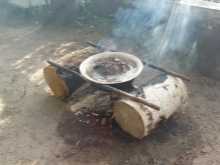
- Turn on the fire and wait until it boils. As soon as the water boils, reduce the heat and let the pan simmer for 7-8 hours. In this case, it is important to ensure that the liquid does not boil away. From time to time it needs to be added, nothing else needs to be added. It is also necessary to promptly remove the appearing scale if you want to keep the container.
- When the allotted time has passed, the pan is removed from the stove and water is poured out of it. Remove the hot drip and put it in a dry place to cool. You don't need to cover it with anything, but it should dry for about a day.
- At the end of the day, the material is steamed according to the above method and dried again for 24 hours. You need to repeat the procedure 2 to 4 times, it all depends on the volume of the cap.
- When the tree is boiled for the last time, you need to peel off all the remaining bark from it, if it has not fallen off by itself by this time. Be careful not to forget to use protective gloves.
- After the last cooking, the caps are again put to dry in a dry place, this time for 14 days. After this period, the material will be completely ready for further processing: grinding, cutting, polishing. You need to process the finished product with oil or wax.
It should be noted that this drying method is only suitable for small pieces. Large pieces will immediately crack and be unusable.
In addition to the described technique, there are several more options that you can pay attention to.
- Paraffinization. This method is also acceptable only for small workpieces. The paraffin is melted, bringing it to a temperature of 40 degrees, the workpieces are dipped in it and kept there for several hours, constantly maintaining the above temperature. After this, the products are dried, the process takes several days.
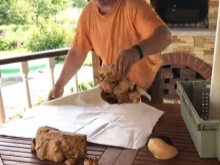
- Use of newspapers. The blanks need to be wrapped in newspapers or newsprint, then folded in a plastic bag, well sealed so that no air comes out. After that, the bundle is placed in a warm (the warmer, the better) place. Every 8 hours, wet newspapers are replaced with dry ones. The drying process takes about 30 days and ends when the newspapers are completely dry 8 hours after the change. Faster drying by increasing the number of newspapers is undesirable - the wood may crack.
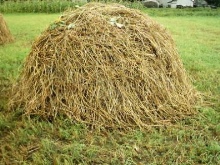
- Using straw. Using this method, you can dry large trays, which are problematic to boil. The workpieces are brought into a room with a canopy, covered with a good layer of straw. There is no need to change it, because the moisture that the tree gives off is evaporated by the straw itself.


The comment was sent successfully.