How and with what to glue the Intex pool?
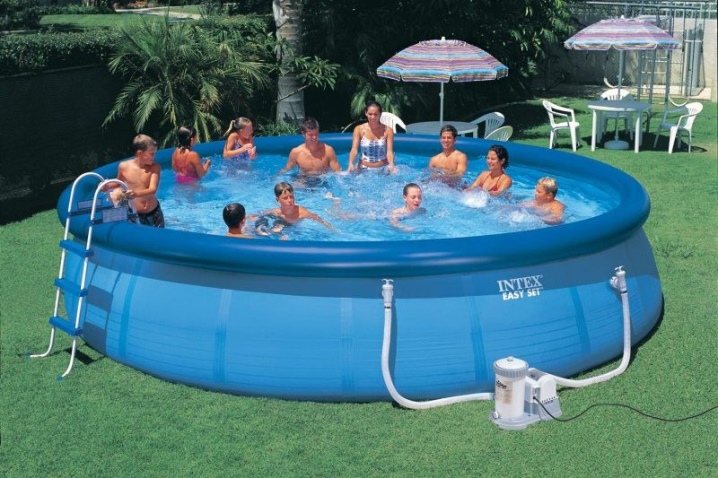
It may seem to some that a swimming pool is an element of luxury that only wealthy people can afford. But in reality, this is not at all the case. Today there are many manufacturers that make inflatable and frame pools, each of which can be bought and installed in the local area or in the country.
Intex is one of the most popular and sought-after pool manufacturers, whose products have proven themselves in the best possible way in the consumer market. She manufactures high quality tanks. For example, problems with the seams of the structure cannot arise, but punctures do happen. In this article, we'll talk about how to glue an inflatable or frame pool from Intex.
Diagnostics
So, you have noticed that the water level in the pool is dropping rapidly. Before starting repair work, you must make sure that the tank is indeed damaged. The thing is that under the influence of direct sunlight, water tends to evaporate.
There are several methods that can be used to determine if there is a puncture in the inflatable pool:
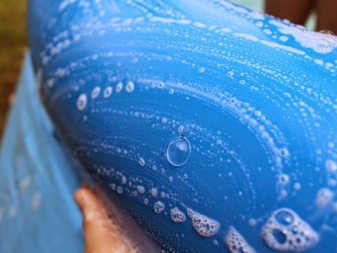
- cover the reservoir with soapy water - if there is a puncture, air will escape at its location;
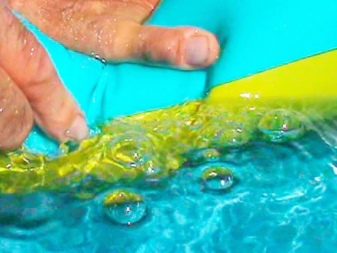
- place the inflated pool in a container of water and carefully watch where the bubbles will appear;
- try to hear with your ears where the pool is letting in.
Several steps must be taken to verify that the structure of the scaffold tank is damaged.
- Visually inspect the structure - walls and bottom.
- If the inspection did not give any results, and the puncture was not visually detected, you will need, for example, a bucket of water. A container with water should be placed next to the pool, which is also filled with liquid. And after 24 hours at least see if the water level has changed both in the bucket and in the pool. If the water in the tank remains at the same level, and its amount in the tank has decreased, there is only one conclusion - the pool structure is damaged.
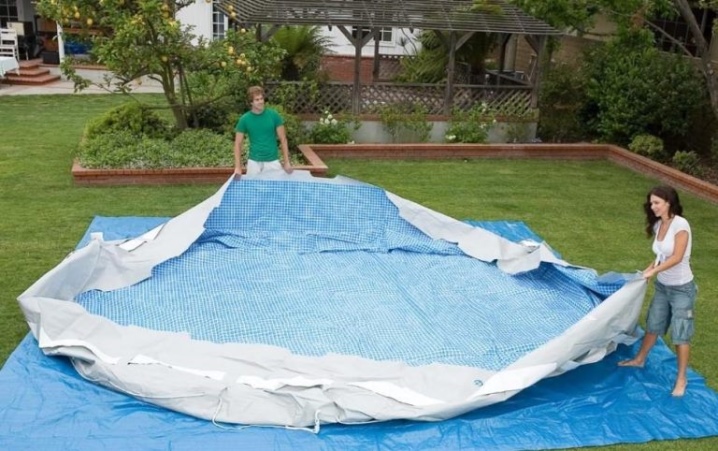
If it has been determined that the frame pool is leaking, you need to find that leak. In the frame structure, the following can occur:
- filter gasket;
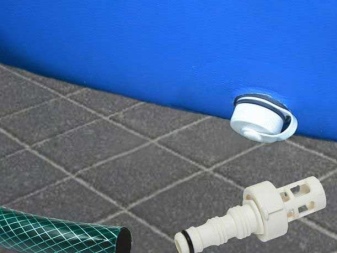
- the place where the pipe connects to the slag separator;
- bowl;
- bottom.
To find the leak in the first two cases, a special coloring pigment will help, which
detects a hole by reacting to increased water flow.
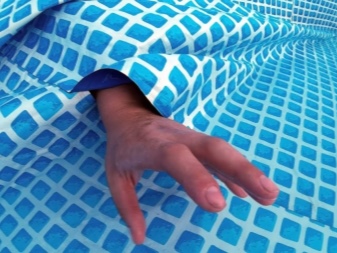
To find a puncture on the walls of the structure, it must be examined in detail. There will most likely be water on the outside. If the bottom of the tank is damaged, dirt will accumulate at the puncture site.
And also after finding a puncture, you need to diagnose the nature and size of the damage, this will help determine the materials for repair.
What to prepare?
If there are gaps in the pool, it is advisable to eliminate them immediately. To do this, you need a material with which you can seal the hole.
To repair an inflatable pool, you need to prepare:
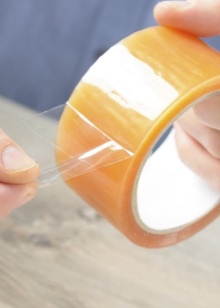
- stationery tape and adhesive plaster - suitable only if the gap is small;
- a special kit for the repair of inflatable structures - it is sold in any store that sells PVC products;
- waterproof glue designed for sealing holes in inflatable pools.
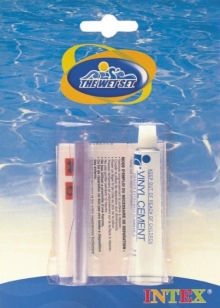
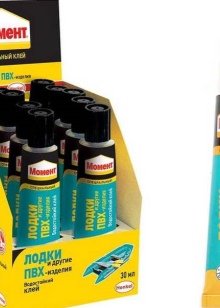
If the puncture on the inflatable pool is small, then you can do without patches - professional glue will be enough.And if the damage is impressive, it is advisable to contact a specialized workshop.
To eliminate a defect in the frame structure, you must have on hand:
- patch;
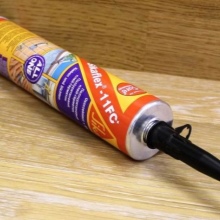
- sealant;
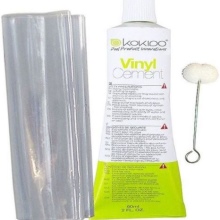
- professional vinyl glue.
If the damage is minor, there will be enough sealant, otherwise you will need a patch in the form of a special film or a piece of PVC.

Step-by-step instruction
The frame pool Intex, just like the inflatable one, can be repaired with your own hands at home. To perform high-quality and long-term repairs, all work must be performed strictly according to the instructions, adhering to the rules and recommendations from the manufacturer.
After you have decided on the size of the hole and decided that you can fix the tank yourself, you need to prepare the material. If you do not have any materials, buy them from a specialist store. What materials will be needed is indicated above in the article.
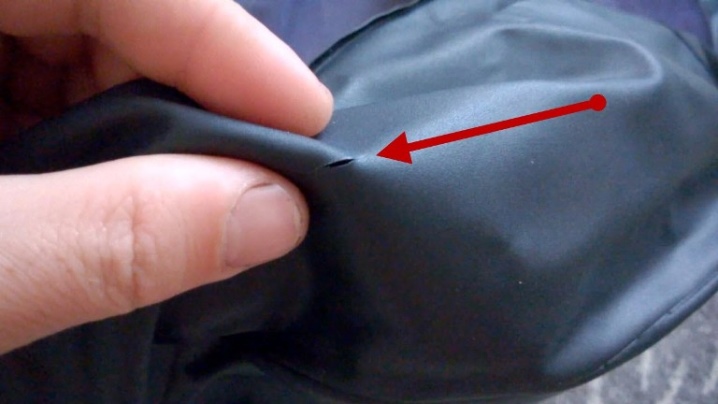
Cleaning up the leak
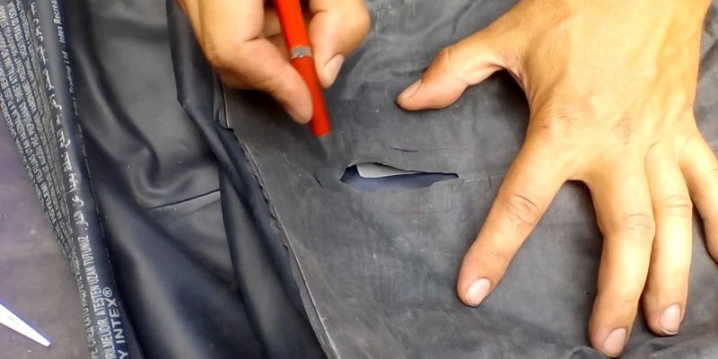
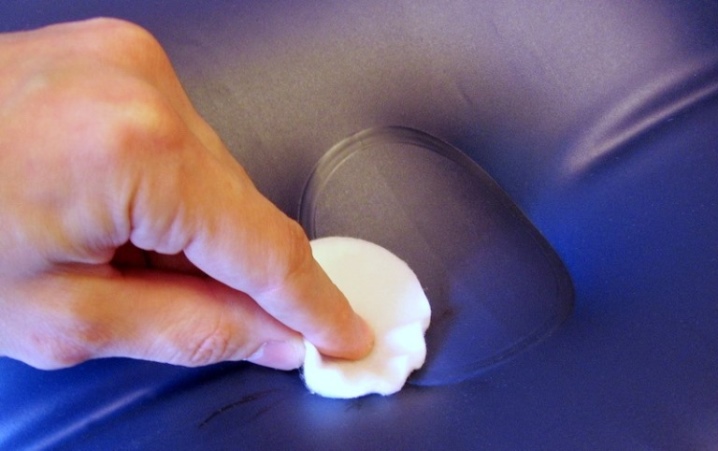
Before proceeding with the application of a layer of glue and installation of the patch, it is necessary to clean the perimeter area around the puncture. And you also need to process the hole itself. To do this, gently, lightly pressing, clean the surface around the cut with sandpaper for several minutes.
Even despite the presence of filters, plaque, dirt and mucus collect on the walls and bottom of the structure. In order for the glue to bond well with the material from which the tank is made, and the patch to set, the surface of the structure must be as clean and grease-free as possible.
Patching
After the surface has been cleaned, you can proceed to the main stage of the repair - applying glue and a patch.
There are two methods for patching a scaffold tank structure.
Method # 1 applies if you use a regular repair kit during the repair process, which consists of a patch, sealant and vinyl adhesive. The repair is carried out in stages.
- Drain the water tank.
- Complete all preparatory work.
- Prepare 2 patches.
- First apply a layer of glue to the inner part, after a few minutes fix the patch on it. After that, do the same manipulation from the outside. When the patches on both sides are dry, they must be sealed from above.
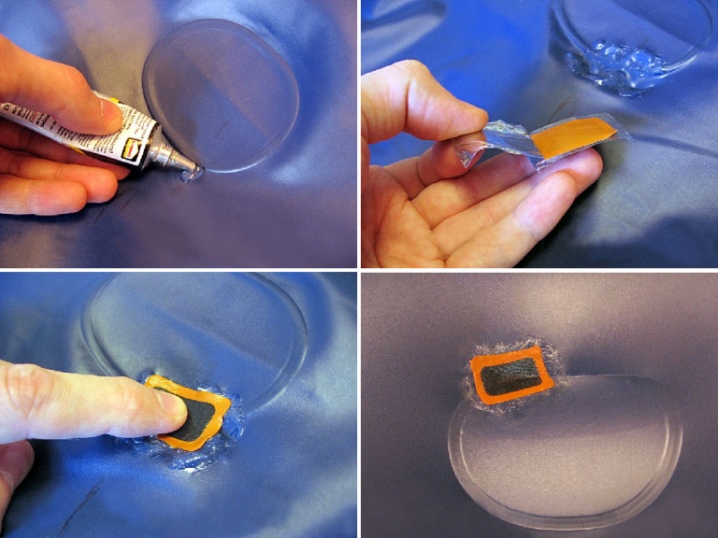
It is prohibited to use the pool, fill it with water and swim during the renovation process. Make sure that no air bubbles form between the patches.
Method number 2 - use of a special waterproof kit. The presence of such a repair kit will allow you to seal the hole both at the bottom of the tank and on its bowl without draining the water. The kit includes professional glue for fast and secure fixation, as well as waterproof patches for underwater work.
The whole process includes a number of steps:
- prepare the pool surface for gluing;
- prepare two patches - one will be applied to the inner surface, the other to the outer part;
- apply glue to patches;
- then the patches are fixed on the puncture.
It is imperative to apply two patches - otherwise, the repair will be very short-lived.
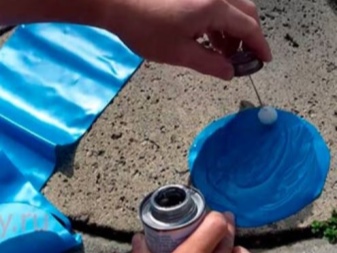
To patch a hole in an inflatable tank, you must:
- make preparatory work;
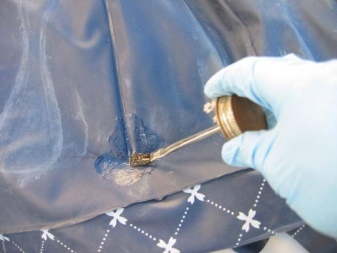
- treat the puncture with glue;
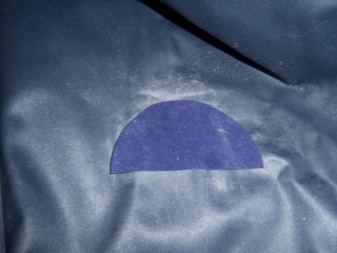
- after 3 minutes, apply a patch to the glue layer and press down - the patch will fix well after a few minutes;
- the patch should dry completely;
- treat with sealant.
12 hours after the patch has been treated with a sealant, it will be possible to fill the tank with water and swim.
Recommendations
Damage to the structure of a pool is difficult to avoid, but it can be minimized. To do this, you need to follow these recommendations:
- while unpacking the inflatable product, it is strongly discouraged to use any sharp object;
- the tank can only be installed in a previously prepared area;
- the structure should not be under the sun for a long time - its prolonged exposure has a detrimental effect on the material from which the pool is made;
- do not allow children to carry toys into the water that could damage the pool;
- be sure to equip the tank with a filtration cleaning system.
Follow these guidelines, take proper care of your pool, and you may be able to avoid punctures.
How to glue an inflatable pool, see the video.


The comment was sent successfully.