Features of the bas-relief and its use in the interior
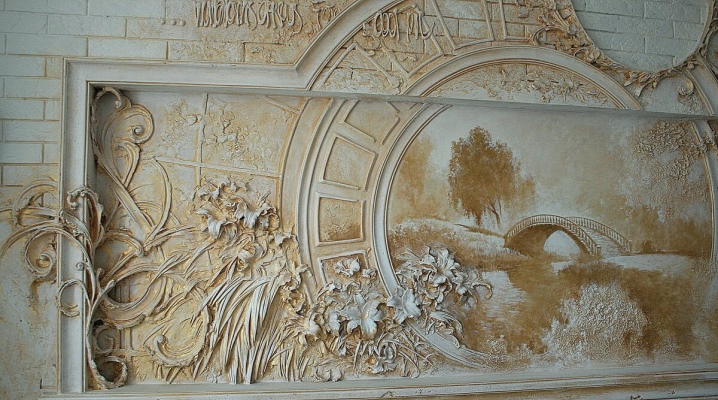
Interior design is a special kind of art. It is very important that the interior space of the house fully corresponds to the tastes and preferences of its inhabitants. Among the wide variety of design solutions existing today, bas-reliefs occupy a special place. In the article, we will talk in detail about what the bas-relief is, what their features are, and also how interior designers use these decorations.
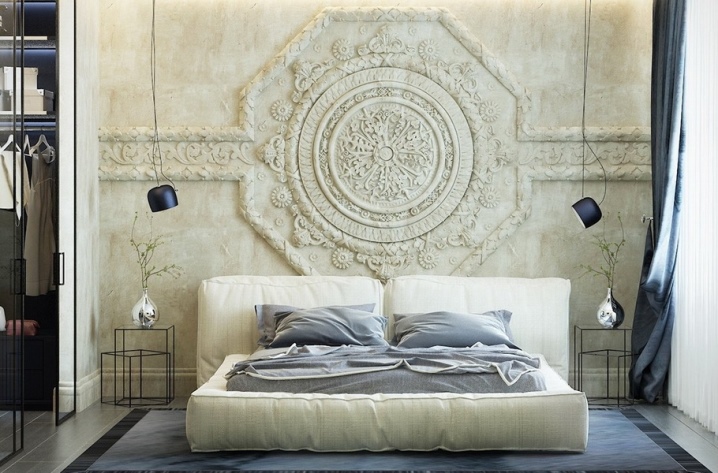
What it is?
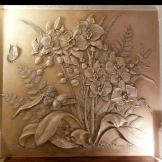
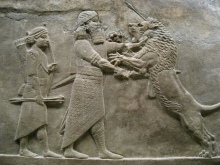
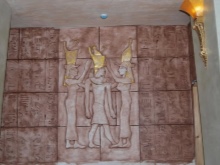
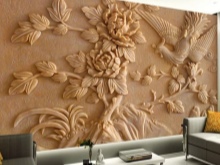
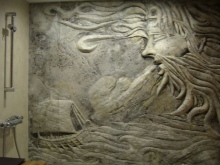
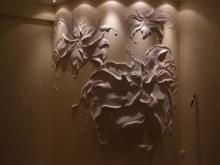
In architecture, a bas-relief is a type of sculpture that is a convex image. However, it is necessary to take into account the fact that this image cannot protrude from the plane of its background by more than 50% (of the total volume). Bas-relief is often also called molding or decorative plaster.... If we analyze the history of the emergence of the bas-relief, then it must be said that the first sculptures of this type can be considered the rock art of primitive man. In ancient times, this technique was used by many peoples, namely: the Egyptians, the inhabitants of Mesopotamia, India and others. Thanks to the development and dissemination of bas-reliefs, modern historians can reconstruct events with sufficient accuracy. Bas-relief forms were especially popular in the ancient territories of states such as Greece and Rome. At that time, they were used to decorate temples.
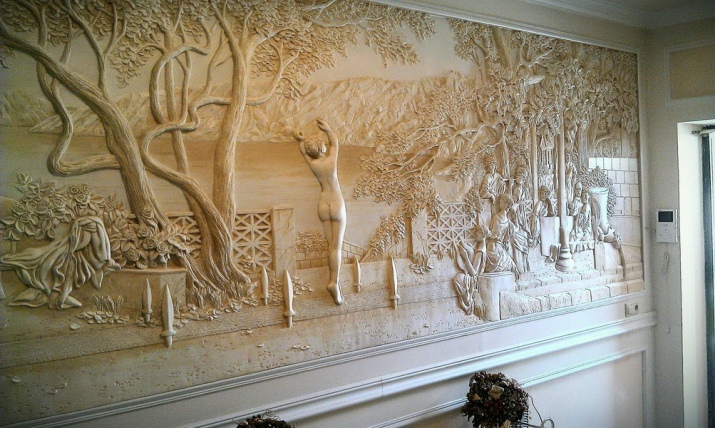
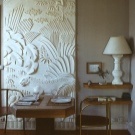
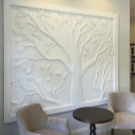
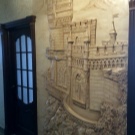
Bas-relief as an interior decoration can be used in a variety of styles, for example, Gothic, Baroque, Art Nouveau. If you want to decorate your home in one of these areas, then you should think about creating a bas-relief.
Advantages and disadvantages
Like any other design solution, the bas-relief is characterized by both positive and negative features. Before creating such a composition in your house or apartment, it is worth evaluating all the pros and cons, so as not to regret your decision in the future. For example, the starting material of manufacture is of great importance. Indeed, depending on the raw materials, the levels of complexity and complexity of creating a bas-relief will vary. The most labor-intensive is the stone bas-relief, as it requires the highest level of skill and professionalism from the sculpture. This is primarily due to the fact that even a small mistake can spoil the overall impression of the composition. To create an interior decoration made of wood, you will need to master the technique of carving. Wherein The most common material is clay - almost everyone can handle it.
And also on what technique of making a composition is used, its mobility depends. If you adhere to traditional methods, then you will not be able to move the composition from place to place, which is, rather, a disadvantage. In the case of using a specially designed canvas stand, where the work will be done, the resulting stucco molding can be moved at will to any place. The ability to make a bas-relief on canvas can be attributed to the plus features of this art form.
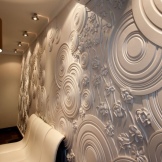
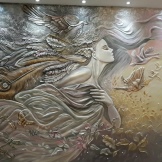
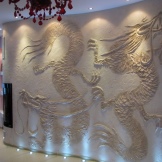
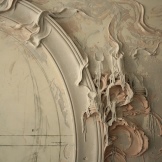
The positive aspects of the bas-relief include the fact that it allows you to maintain a 1: 1 scale, while saving on materials.
Views
The bas-relief can be made from a wide variety of materials, such as wood or putty, using the appropriate technique. In this case, various types of design can be obtained. Let's consider the most popular ones.
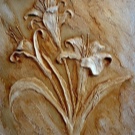
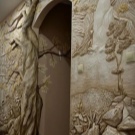
High
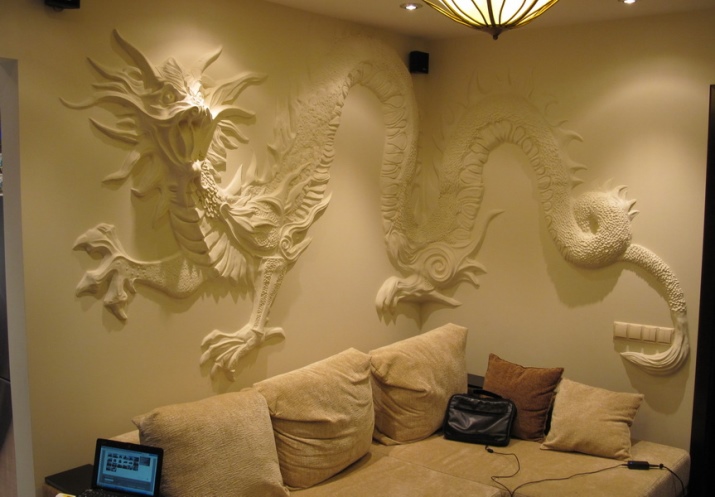
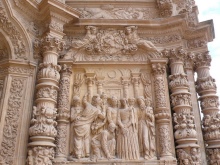
This type of bas-relief is called high relief. Its distinctive feature is that it protrudes significantly from its background plane, creating the height and volume of the composition.
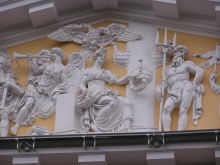
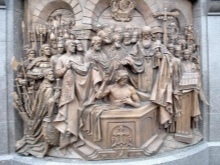
Short
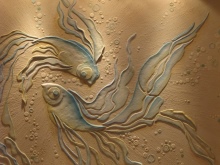
An in-depth view of a bas-relief is called a counter-relief (low relief). Here the image does not protrude above the base plane, but, on the contrary, deepens into it. Often, an in-depth composition is used as a basis for creating cast bas-reliefs.
Mixed
This kind of bas-relief is most common. She combines both in-depth and convex parts in her compositions. Thus, depending on individual taste preferences and the style of the room, you can choose one or another type of bas-relief and start creating unusual sculptural compositions.
Used tools and materials
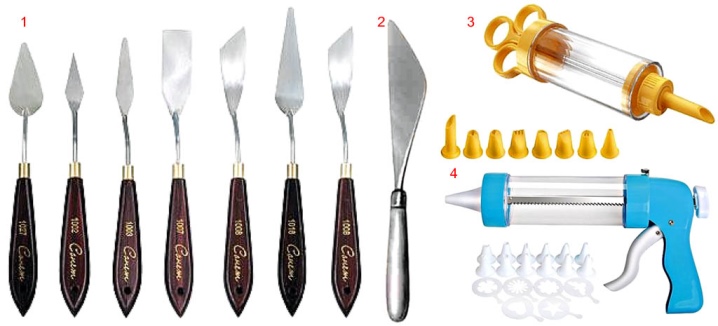
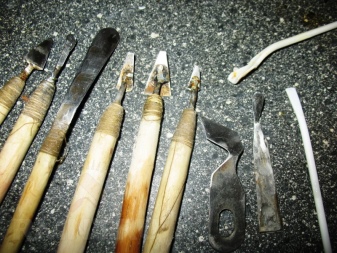
When creating a bas-relief, the final result is greatly influenced by a variety of factors, among which the tools and materials used are of paramount importance. First of all, these should include:
- rubber ball - useful for mixing the original mixtures;
- specialized spatulas for sculpting (or palette knives) - you should prepare spatulas of different sizes in a set;
- convex-concave spatulas;
- art knife;
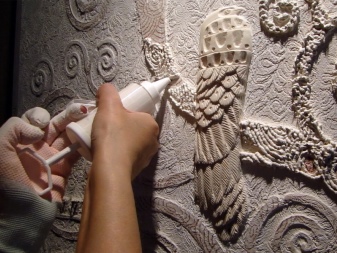
- confectionery syringe with nozzles;
- painting brushes of different sizes;
- sandpaper;
- putty;
- alabaster;
- gypsum;
- dye.
At the same time, it is very important to carefully and carefully approach the selection of tools and materials. It is recommended to follow a number of simple rules when choosing and buying:
- purchase goods from trusted brands and manufacturers who enjoy a good reputation among the professional community;
- study reviews about a particular product in advance;
- choose products of the middle price category, since in this case the optimal ratio of price and quality is observed;
- for the purchase, contact only official stores and dealerships to avoid buying substandard or counterfeit goods.
Work technology
It should be immediately clarified that the bas-reliefs are made by hand. Only in this way can you get a high-quality and aesthetically attractive composition, because, in fact, creating a bas-relief is a separate art form.
Helpful advice: if you do not strive for uniqueness and originality, or create bas-reliefs on a large scale, then you can use special plaster stampings.
It is believed that before creating a relief painting that will decorate your home, you need to do some test work. You can practice on any convenient and available material. At the same time, to create test compositions as a canvas, you can use plywood with a frame made of wooden material. You should start designing a bas-relief directly on a wall or ceiling only after gaining confidence in your abilities and at least a little experience.
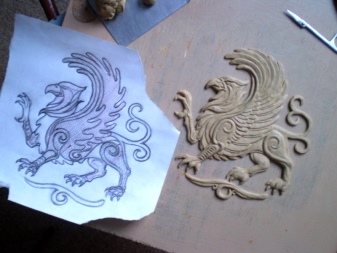
Step by step, the progress of work on the design of the bas-relief is as follows.
- The first stage in creating a bas-relief is a thorough preparation of the base. Most often, ordinary plaster acts as a base. More advanced and experienced craftsmen use a material called Marseilles wax. The selected base must be applied to the canvas (plywood or the immediate surface of the wall or ceiling), leveled and embossed. To create a feeling of relief, you can use almost any available materials (for example, sponge, foam rubber, pieces of fabric).
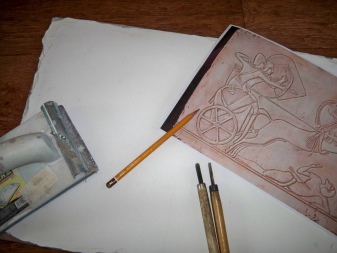
- After preparing the base, you should start transferring the drawing from the stencil to the canvas. To do this, the contour of the drawing must be pressed tightly into the base layer (this must be done before this layer dries out).
- At this stage, the already existing flat blank drawing needs to be given the volume necessary for the bas-relief.To do this, use a specially designed mixture for modeling (alabaster is most often used, since it is characterized by a high level of strength). On the other hand, it is not recommended to use gypsum, which is a very fragile material by its internal characteristics. To create volume, you need to mix dry alabaster powder with water until smooth. After that, applying layer by layer, you can give your drawing the required volume.
- When, in the process of forming the author's composition, it becomes necessary to create a depression, this can be done by scraping out excess material.
- If you need to attach additional elements to the bas-relief, then this is done during that period while the material has not yet dried. In addition, if the work proceeds slowly and the material dries up, it is recommended to periodically moisten it with water.
- You need to be especially careful and careful in the process of creating large-sized details of the bas-relief. To ensure maximum stability, it is recommended to use a wire that will act as a kind of frame.
- After the end of the procedure, you need to wait until the moment when the bas-relief is completely dry. After that, you need to polish the entire composition to obtain a complete composition. The sanding process is recommended to be carried out with sandpaper. The top layer can be a layer of primer or water-based paint.
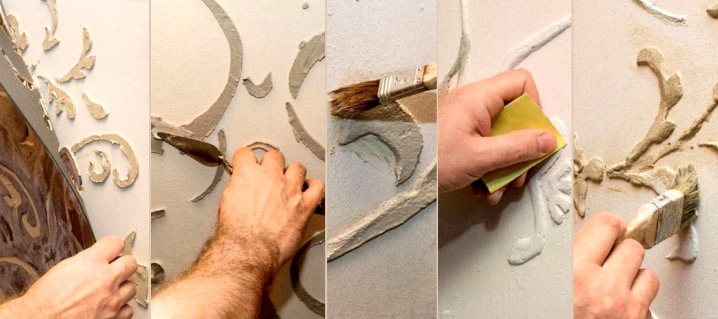
If all stages are followed and the work is diligently performed, taking into account the recommendations of specialists, a high-quality bas-relief should be obtained, which will have an aesthetically attractive appearance and sufficient strength to serve for a long time.
Wall mount
The procedure for attaching the bas-relief to the wall depends on the technique for creating the composition. If the work is done directly on the wall or ceiling, then this question disappears by itself. In other cases, you will have to use additional materials. So, for attaching a bas-relief to the surface, liquid silicone or a special adhesive solution for bas-reliefs is most often used. In addition, if necessary, the joints must be rubbed with putty. This should be done for reliability, as well as to give the composition an attractive appearance.
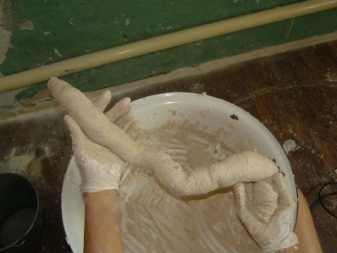
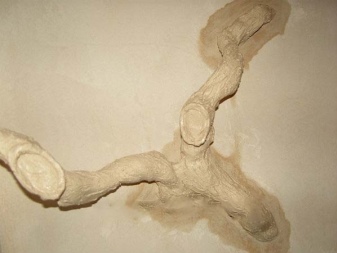
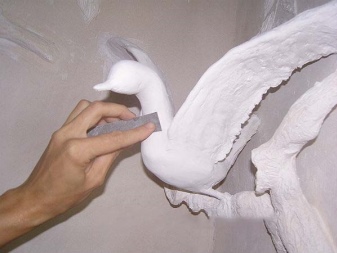
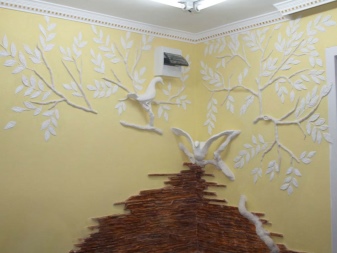
One way or another, the base material for the bas-relief should be as reliable and strong as possible.
Interesting design ideas
When making a bas-relief to decorate the interior of a living space, you can use a traditional or a more original approach, as well as invent your own drawing or use a ready-made stencil. First of all it should be noted that such a design item fits well into almost any room in an apartment or house. It is especially appropriate in the hallway, bedroom, children's room and bathroom.
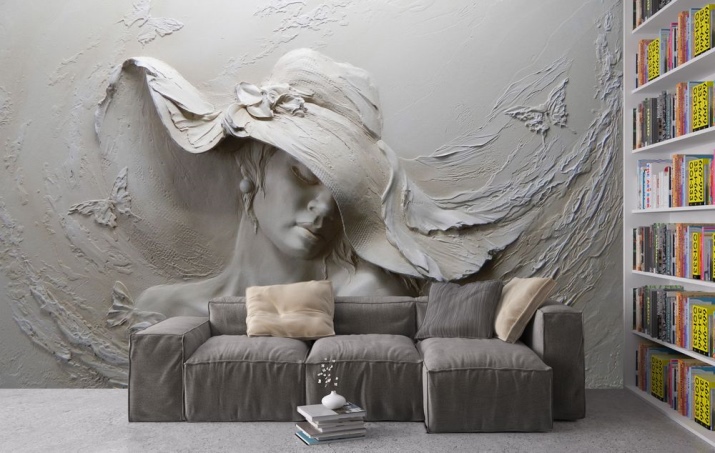
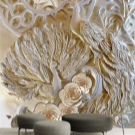
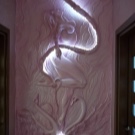
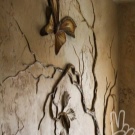
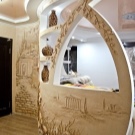
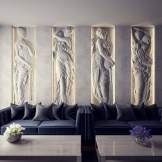
The main thing is that the bas-relief with its image fits the style of the surrounding environment: loft, classic, minimalism, classicism and so on. At the same time, this type of sculpture can be used to decorate fireplaces, arches, as well as create a frame for paintings or even panels. Thus, the bas-relief will become an accent element of the interior. Consider several options for introducing a bas-relief into the interior.
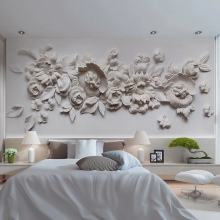
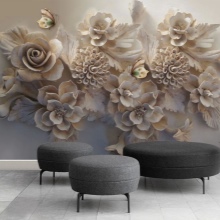
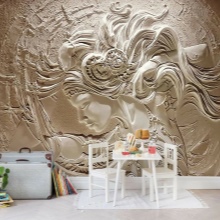
Abstraction
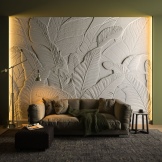
The abstraction bas-relief will perfectly fit into any interior style. It can be created both vertically and horizontally. Depending on the general style of the room, you can highlight the sculpture with a bright and contrasting color or make it invisible - to match the general color palette.
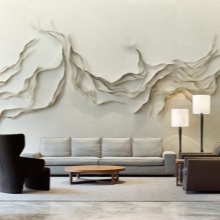
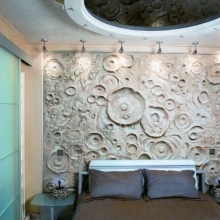
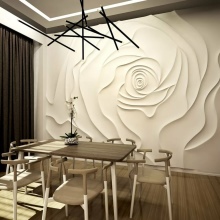
Animal print
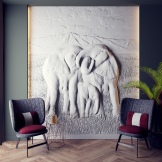
Animal lovers will love the bas-relief in the form of peacocks, lion, fish, birds and other inhabitants of the planet Earth. With this, you can create both a composition of one animal, and a more complete picture (for example, a safari or the seabed). If there is a desire to create such a design in a children's room, then you can use images of cartoon or fabulous animals for this. Older children will love, for example, a bas-relief depicting a snake or even a medieval dragon.
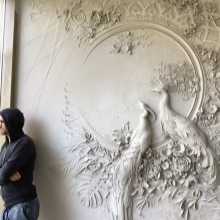
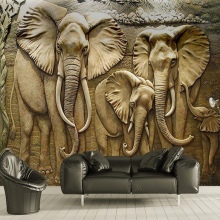
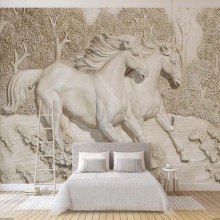
Flora
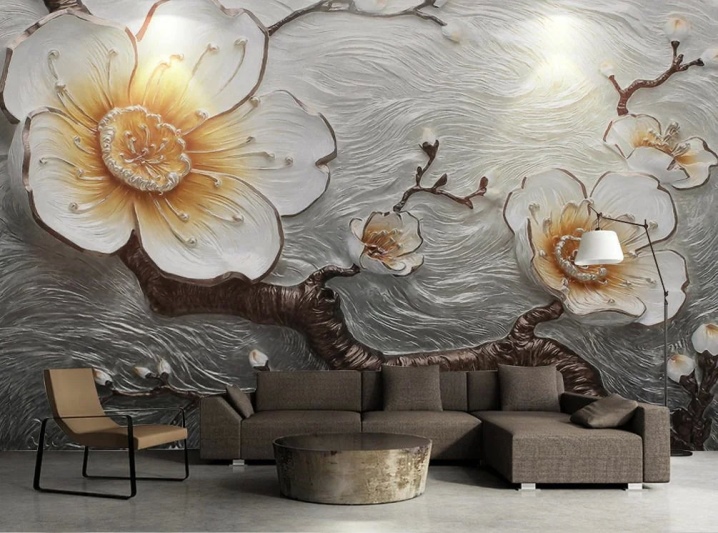
The most popular type of bas-relief is landscape. For example, a floral print with bells and daisies looks great, and a stucco tree or vine is also a good solution. Such compositions will look great in the hallway and in the kitchen.
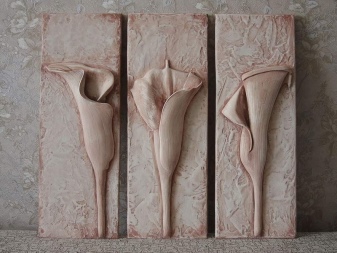
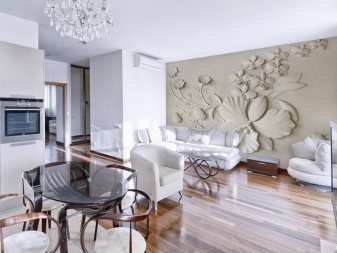
"World map"
Travel lovers are advised to create an unusual and original floor bas-relief with the name "Map of the World". In this case, all continents and oceans should be drawn as clearly as possible. If you wish, you can paint over in a bright color those countries where you have already been lucky (or put symbolic pictures on them, for example, flags).
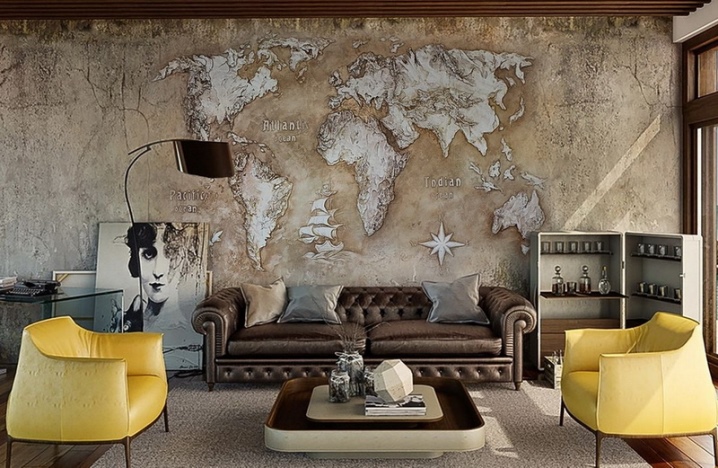
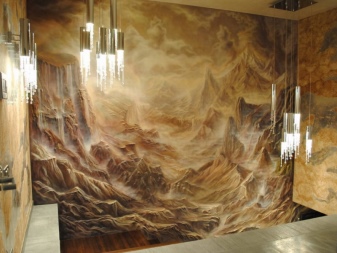
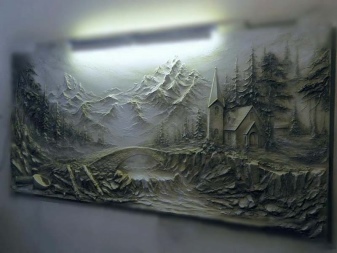
The mountains
The bas-relief in the form of mountains will perfectly fit into the living room or bedroom. In this case, you can create it in color (for example, snow-capped mountains or mountains with green grass) or to match the wall. Besides, you can create a lake or a village at the foot of the mountains.
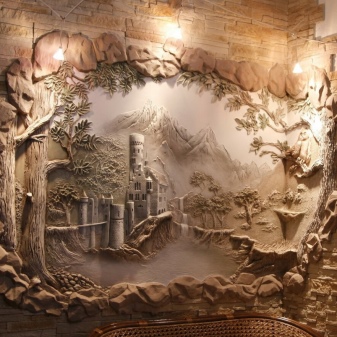
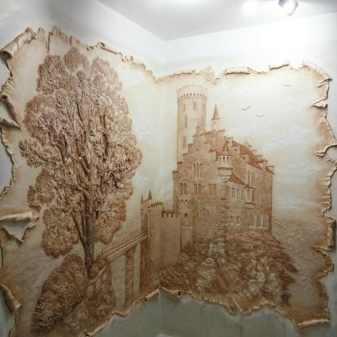
Lock
This image is perfect for a bedroom and decorating a child's room for a girl. In this case, you can create both a fictional and a real-life castle.
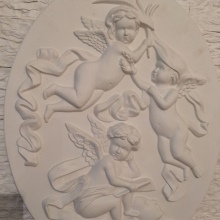
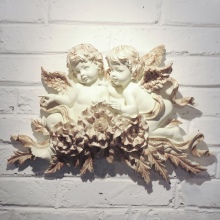
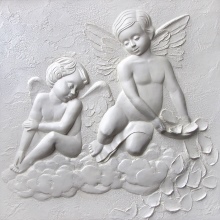
Angels
This option will fit well into the nursery. Depending on the gender of the child, angels can have the appearance of a girl or a boy. At the same time, in this situation, it is recommended to use only pastel and delicate shades, and not bright neon colors.
Ornament
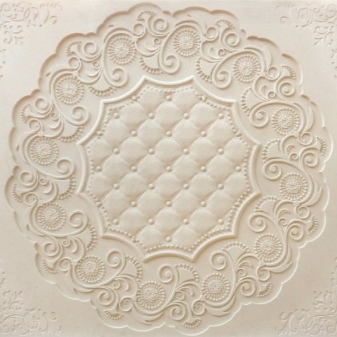
The bas-relief in the form of an ornament is one of the easiest to perform. It is more suitable for classic interior styles.
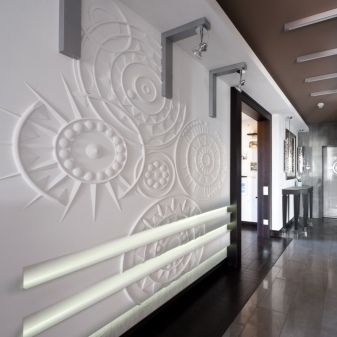
Thus, there are a huge number of options and ideas for a bas-relief that can fit perfectly into any room. But first of all, you need to build on the tastes and preferences of those family members who will live in them. The bas-relief can be made both independently with your own hands, and you can ask for help from professionals.
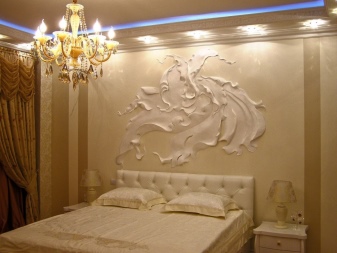
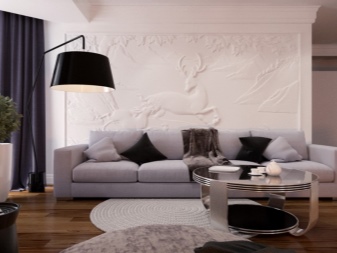
At the same time, it is very important to focus not only on the skill of the performer, but also on the quality of the tools and materials used.
For the basic rules for creating a bas-relief, see the next video.


The comment was sent successfully.