Making bas-reliefs: stages and features
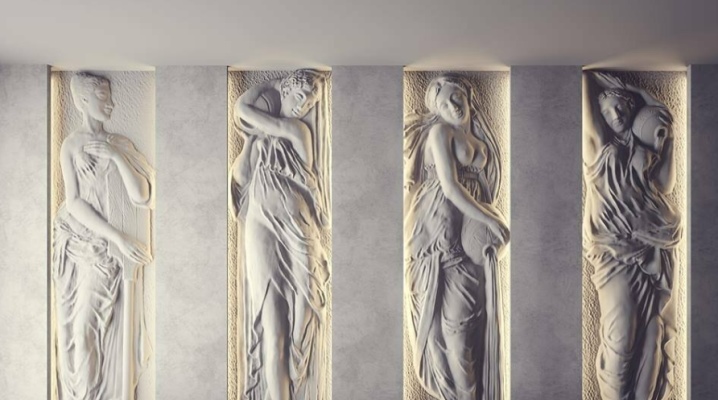
Every person wants his home to be comfortable and beautiful. To achieve this goal, the owners resort to different methods: they choose high-quality finishing materials, buy fashionable textiles and pay due attention to the decorative component of the interior. The latter includes a spectacular bas-relief. In this article, we will learn about its features and manufacturing stages.
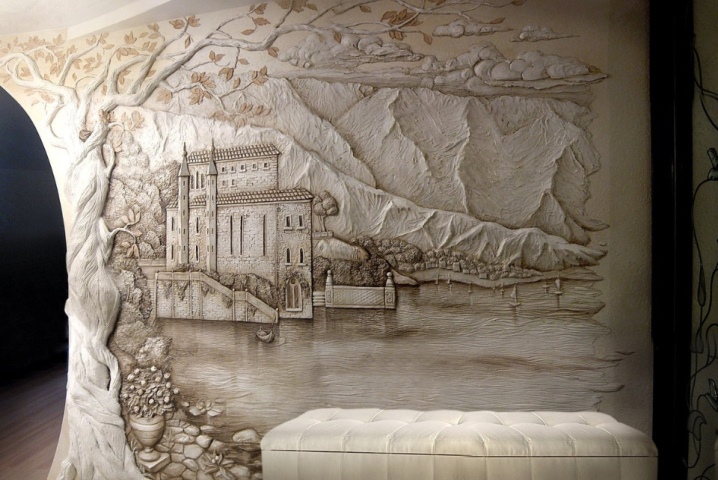
Manufacturing features
The bas-relief is an original and spectacular interior decor that can be made by hand. Many people mistakenly believe that such things are of a prefabricated structure, cast from plaster. In fact, this type of decoration is carried out manually, which can be safely called exclusive. This suggests that in order to produce a high-quality and attractive bas-relief, the master must put in a lot of effort and effort.
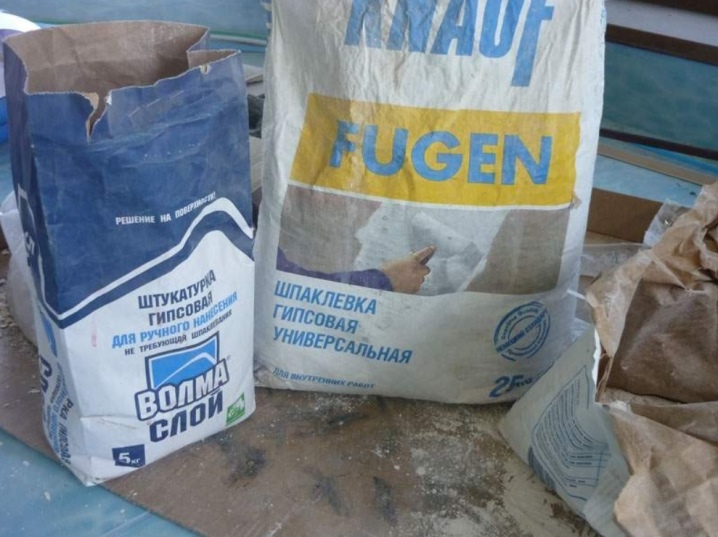
You can make a bas-relief using different materials. Not only gypsum is ideal, but also gypsum plaster, alabaster, clay and other similar options. It is more convenient and easiest for inexperienced craftsmen to work with gypsum and plaster with a gypsum base.
If this is the first experience in creating such a decor, it is recommended to use ordinary plaster.
After choosing the right material, the master needs to prepare the basis for the future product. It is on this structure that the future bas-relief will be created on the wall. As soon as the frame base is ready, the master can proceed to the direct manufacture of the plaster decor itself.
The main thing that the master should take into account during the work is the formation and control of the contour of the future ornament.... Further, it will be filled with a mixture previously prepared for this. The amount of decor should be increased in stages. Each of the layers of the solution must dry out. The master must cut the outlines on the bas-relief base as accurately as possible. For this, film is often used. The surface of the product is covered with it, and after all procedures, it is removed.
Bas-relief decorations have a spectacular appearance and can take on the role of a bright accent in the interior. The main thing is to make such a product as carefully and thoughtfully as possible. It is impossible to rush to carry out the work. The master must necessarily act strictly according to the instructions and be patient - then everything will work out.
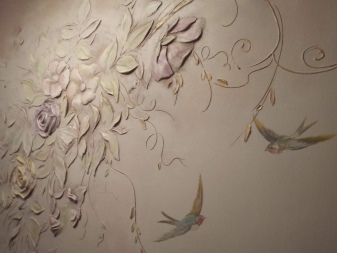
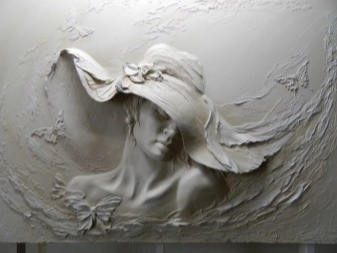
Interesting design ideas
Making a spectacular bas-relief decoration with his own hands, the user can let his imagination go free and build whatever he wants. The product can be as simple and minimalistic as it is very complex, with many small details. Let's consider some interesting and relevant design solutions.
- The bathroom will look gorgeous a bright bas-relief showing the underwater world with colorful marine life. As a frame, you can use a stone (natural or artificial imitation).
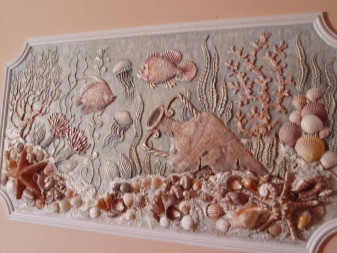
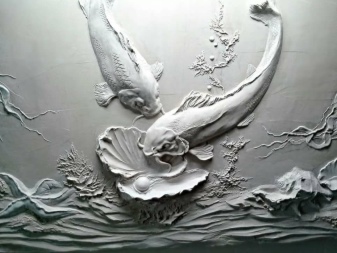
- An elegantly complex bas-relief with many graceful lines will look on a stove or fireplace. Such ideas can be expensive and very difficult to execute, but the results are worth it.
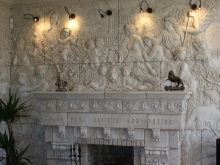
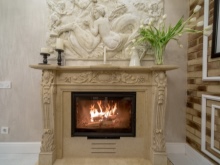
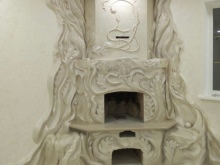
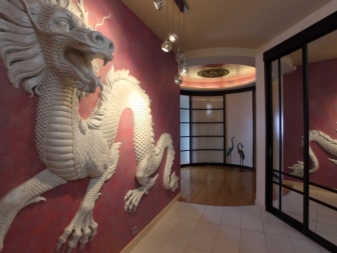
- A bas-relief depicting a large Chinese dragon will look very beautiful in the interior. This decor looks especially harmonious in oriental-style furnishings.
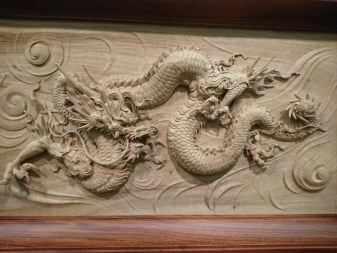
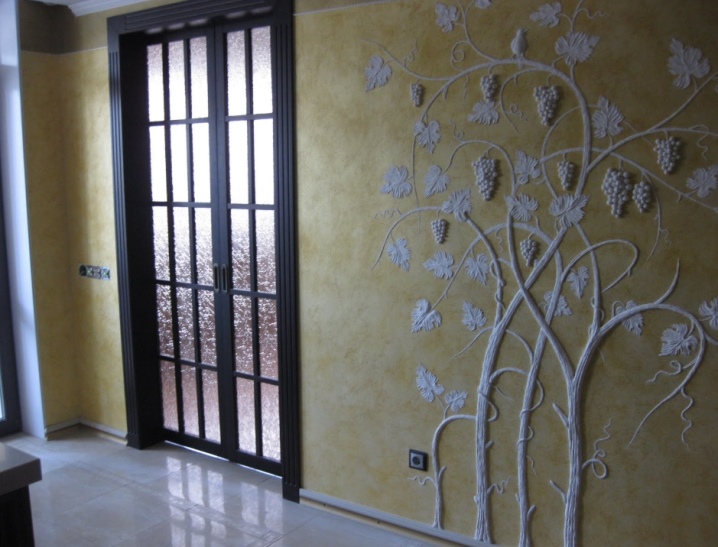
- Nice solution - bas-relief composition, which depicts a vine.
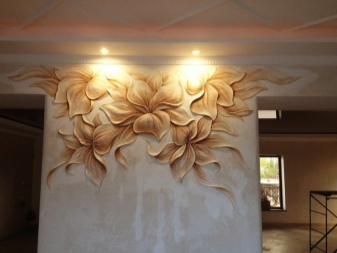
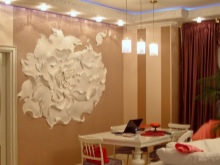
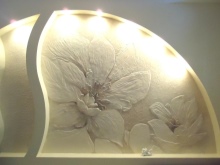
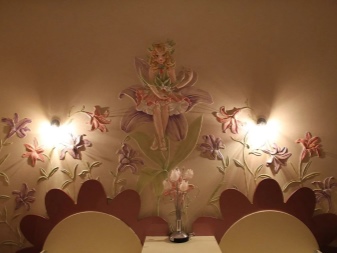
- Many people decide to decorate their homes. bas-relief designs that imitate lush, beautiful flowers... These can be magnolias, irises, roses and many other fancy varieties.
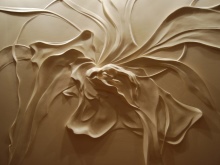
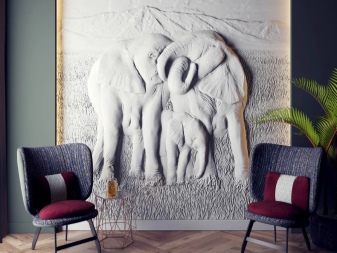
- Bas-reliefs depicting animals are popular. The most popular are the decorations depicting a lion, an eagle, a bear, an elephant.
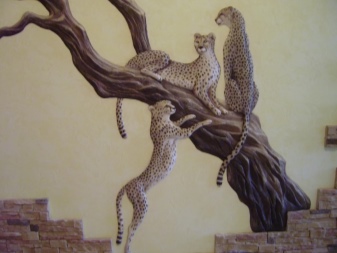
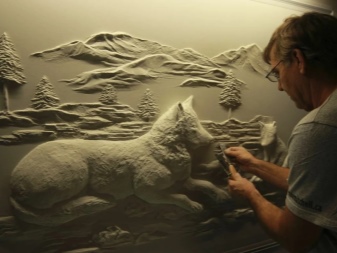
- Natural motives and landscapes will always be relevant... The bas-reliefs, which depict beautiful fluffy forests, where birches, Christmas trees or pines flaunt, will never cease to be popular. It can also be an image of rocky mountains and hills in different seasons - both summer or autumn, and winter.
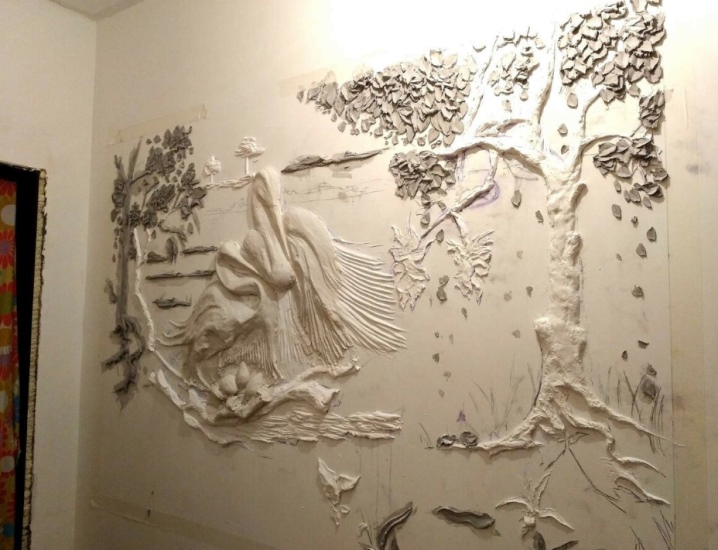
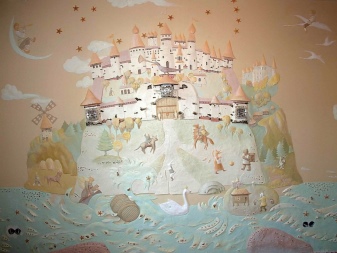
- For a children's room, you can make a luxurious bas-relief depicting castles, princesses, magical plants and animals, as if they came from a fairy tale... For children, this design will be a pleasant surprise.
Decorative bas-reliefs on the wall can differ not only in subject matter, but also in shape. So, products look gorgeous in the form of intricate panels or huge volumetric paintings with many small, complex details. Such decor will never get lost in the interior and will always attract a lot of attention.
Materials and tools
Each master decides for himself in advance what kind of decoration he wants to make using the bas-relief technique. In addition, it is important to prepare in advance all the necessary tools and materials, without which work will be impossible. Let's highlight the list of all the components that will be needed to make a bas-relief:
- a bucket, a basin and any other container in which you can prepare the mixtures and solutions necessary for work;
- sponges made of abrasive materials;
- paints;
- brushes and knives with sharp blades;
- sandpaper;
- trowel;
- special palette knives that are useful for creating voluminous compositions;
- polyethylene film;
- marker, pencil and pen;
- masking tape;
- putty knife;
- scrapers;
- soil mixture;
- gloves;
- adhesive solution (PVA, silicone-based);
- stencils.

Consider what instruments of the "second group" the master should prepare:
- sculptural stacks;
- carpentry chisels;
- cream injector.
Surgical scalpels of various types are often used by professional craftsmen. They are used to finish drawing certain details that need maximum precision. Decide what you will make the future bas-relief from. It was already mentioned above that gypsum, gypsum plaster or alabaster is most often used for this, but it is also possible to build a beautiful decor from such positions:
- from clay;
- papier mache;
- putties;
- polyurethane;
- and even salty dough.
Manufacturing steps
If all the necessary materials and devices are at hand, the master can begin work on the manufacture of a luxurious bas-relief. The main thing is to clearly follow the step-by-step instructions. You should not neglect any of the listed steps, so as not to be disappointed in the result.
Preparatory work
If you decide to build a beautiful decor at home, it is important not to forget about the preparatory measures. Don't underestimate the importance of this process. Let us analyze in stages how to properly deal with the preparatory work.
- Take a pencil and use it to transfer the drawing of the future product to the wall where the decoration will be located. The surface of the base must first be leveled and primed.
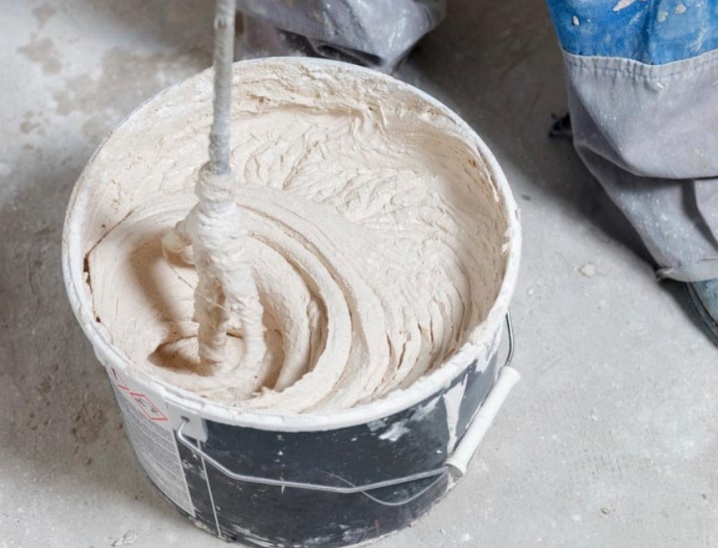
- It is necessary to dilute the gypsum plaster. Many masters use Shitrok solutions. When preparing such a composition, you need to add less water. For 1 kg, 0.5 liters of liquid is enough. The result is a slightly harsh mixture, but this is the optimal solution for making embossed decorations.
- Mix a small amount of mortar immediately, as gypsum plaster soon loses its elasticity. For the first time, you need to prepare a 300-400 gram of solution, lay it out and give it a certain shape.
- If in the course of action you realize that you can “master” a more impressive volume, prepare more solution.
Creation of small details
After completing the preparatory work, the master can proceed to the direct formation of small details of the bas-relief. We will analyze a detailed master class on how to correctly make small decorative elements.
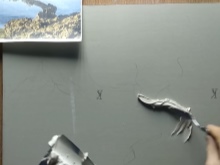
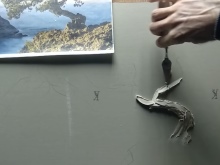
- It is recommended to start with shallow terrain. When forming small parts of the product, it is worth taking a small amount of solution on a trowel, then laying it on the desired area. Try to thoroughly spread a portion of the mixture so that the solution adheres well to the wall base.
- If there is a layer of primer on the wall, which "helps" the adhesion of materials, then no problems should arise at this stage.
- If you are making very small details, for example, the tentacles of a jellyfish, then the solution will be much more convenient to lay using a palette knife.
- After placing the mixed portion of the solution on the wall, immediately proceed to leveling and creating a relief. Use the sharp part of the trowel, chisels, knives or scalpels.
- If in the process you notice that the part has already dried up, but has not yet been finalized, you can moisten it with a spray bottle and try to process it again, but after a few minutes.
- When you achieve your planned results, clean the mixing tank from the remnants of the old mixture and prepare a new batch of the solution.
Accuracy and accuracy are very important here.
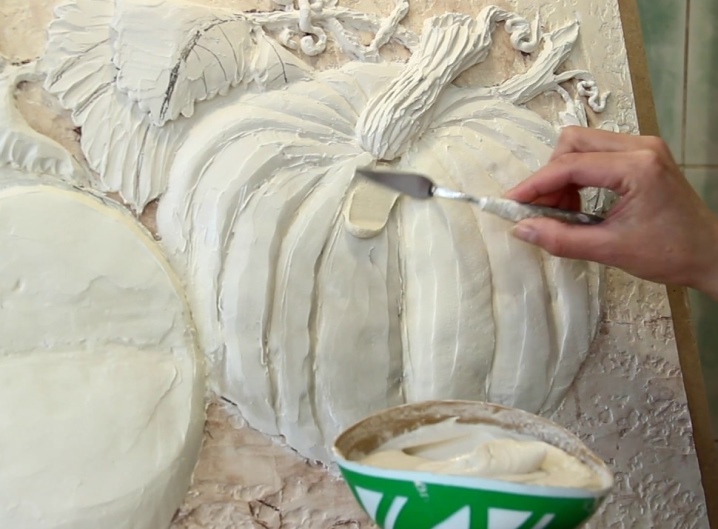
Formation of the main relief
When making a bas-relief with your own hands, which protrudes in front of the wall by about a couple of centimeters, there is no need to prepare reinforcing structures. If the thickness of the decor turns out to be more impressive, in areas where a layer thicker than 2 cm is planned, it is advisable to screw in self-tapping screws. The master will be able to navigate by the fasteners when laying the plaster, they will also support the solution, not allowing it to slide down the wall.
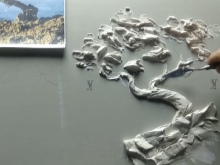
In those areas where a deeper relief is planned, the solution can be applied more than once - in several layers. There is no need to smooth them out. The more uneven the surface, the easier it will be for the next applied layer to fix on it.... When in some place you achieve the desired volume, you can move on to the smaller details of the bas-relief composition. When processing small decoration elements, it is necessary to knead no more than 100-200 g of the solution. While you are cutting, the leveling will gradually set, so do not cook large portions at once.
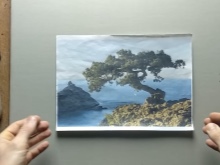
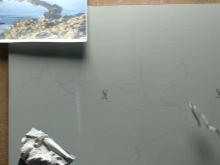
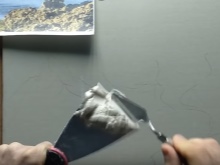
When the drawings from the plaster putty on the wall are completed and ready, they will need to be left for about a couple of days to wait until they are completely dry.... Only after that the master can proceed to grinding the resulting product. You will need to take a sheet of sandpaper with medium grains on the surface and process the resulting decoration to achieve perfect smoothness. When the relief work is completed, it is recommended to finalize it with fine-grain emery.
Parts that have a deeper relief can dry out for more than two days. Small components usually dry out much faster. While you are finishing certain details of the decor, more complex components will also have time to dry out. When you are finished sanding, remove all dust using a thick brush. You can use a vacuum cleaner if you want.
Then cover the decorative item with a deep penetration primer. The final step in making a bas-relief is painting it. How to paint the product, the master must decide for himself.
You can use water-based paint. Some masters buy a special set for painting in advance.
Helpful hints and tips
If you have planned to make a beautiful and neat bas-relief with your own hands, it is worth taking on board a few useful tips and tricks.
- If you want to make a convex structure, inside the most prominent figures wire reinforcement can be placed, which will link all elements of the composition to the base. Reinforcement will significantly extend the service life of the product.
- Inexperienced craftsmen are advised to make simpler decorations. For example, many first start with a plaster photo frame - they get acquainted with the material and its characteristics, and then proceed to the bas-relief. It is recommended for a novice needlewoman to make decorations of simple shapes.
- Working with solutions be sure to wear a respirator... It is advisable to use special protective goggles and gloves. Do not neglect safety rules.
- To make the mixture more durable, PVA glue can be additionally added to it.
- It is not recommended to build too large and heavy bas-relief on a base that does not have sufficient reliability. From such a surface, the decor runs the risk of falling soon.
- If you are making a bas-relief from putty, but you do not have a lot of experience, it is better to purchase a ready-made composition immediately. Beginners often make mistakes when mixing a dry product.
- In order to dilute the solution, experienced craftsmen advise using a rubber ball cut into 2 halves. The walls of such an unusual "capacity" are very easily and quickly cleaned of the remnants of the building mixture.
- If you want to bring a bright touch to the interior that will delight your household and guests, you can complement a large intricate bas-relief with lighting of a suitable color.
- You can make a spectacular three-dimensional drawing on the wall by casting a solid shape... You can assemble a decoration from several isolated parts, but this is a completely different technology.
- Try to treat all surfaces until they are completely dry. It is much more difficult to work with such details, so you cannot waste time in vain, but unnecessary haste is undesirable.
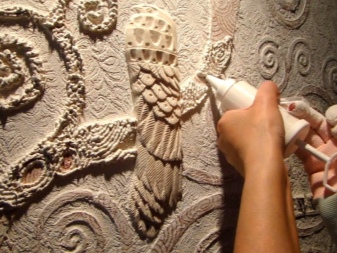
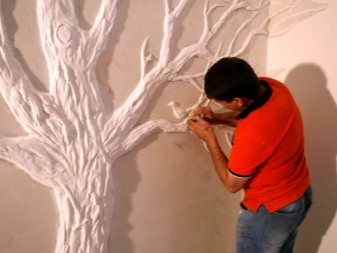
The following video shows the step-by-step creation of a do-it-yourself bas-relief.


The comment was sent successfully.