Features of the botanical bas-relief
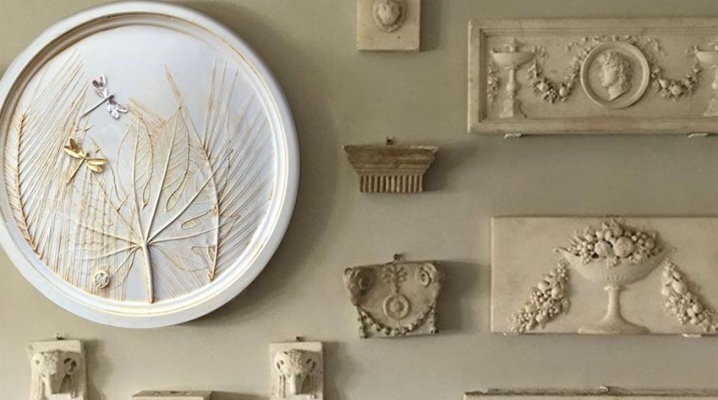
Having mastered the technology of botanical bas-relief, you can get a very unusual item for interior decoration. A feature of this handicraft art is the preservation of all the features of natural material.
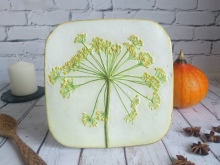
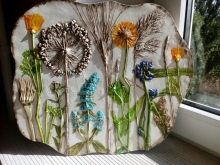
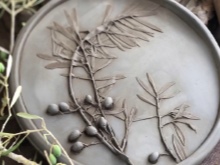
What it is?
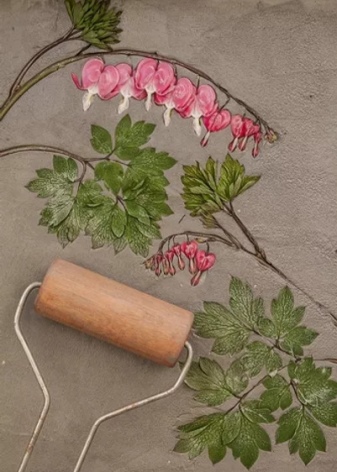
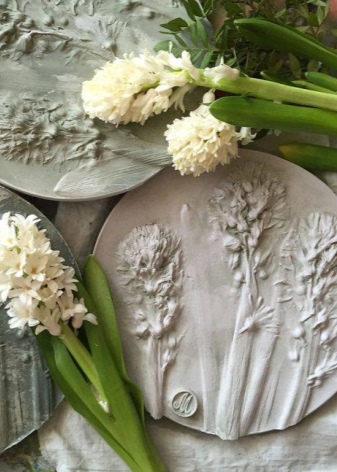
A botanical bas-relief is a kind of man-made art, the essence of which is to obtain volumetric prints of plants on a plaster surface. The process is as follows: first, a blank is formed from raw clay, into which flowers, leaves or driftwood are pressed to form a print. In the next step, the clay mold is filled with plaster mortar.
It should be mentioned that bas-relief botany implies the use of only natural elements in their natural form. If during the process the master corrected the resulting prints with his fingers or a tool, then his creation can no longer be called a botanical bas-relief. Without being able to transform technology, the artist, however, can create an unusual concept of combining plants. Before starting work, it is necessary not only to form a composition on a plane, but also to determine the shape of the bas-relief itself.
Materials (edit)
As already mentioned, to create a botanical bas-relief, in addition to the plants themselves, you will need clay for modeling, gypsum for sculptural work, a wooden rolling pin and, possibly, tweezers. The loop for hanging the composition on the wall will be easy to build from a piece of wire. It is more convenient to create the shape of the bas-relief using a sliding baking dish.
How to do it yourself?
Only step-by-step instructions for creating a botanical bas-relief will allow you to master the not quite simple manufacturing technique.
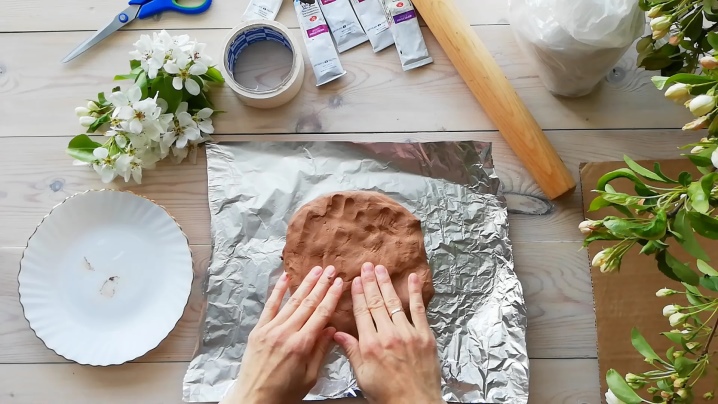
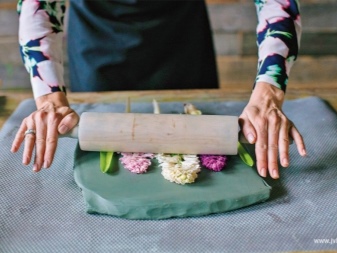
The work begins with the fact that a wooden rolling pin is rolled out about 2.5 kg of clay. The tool should move both clockwise and counterclockwise. At the end of the first step, a layer should be formed, the thickness of which is approximately 1.5 cm. Fresh flowers are arranged on clay, according to a well-thought-out composition. It is important to remember that when creating a print, everything that was on the right will be on the left side.
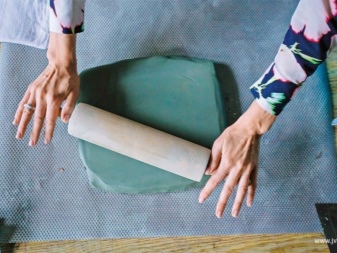
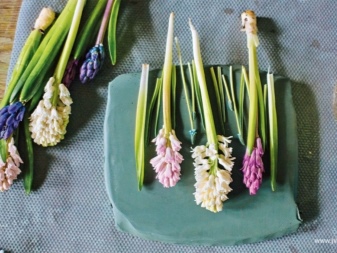
Further, holding the flowers, it is necessary to press the botanical elements into the clay surface with a rolling pin located in the center. Once this is done, the flowers can be gently removed with tweezers.
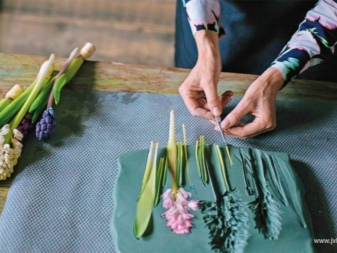
A detachable baking dish with a diameter of about 23 cm is pressed into the clay. It is better to smear the edges additionally so that no gaps are formed. About 0.5 kg of gypsum in a separate container is mixed with 0.5 liters of water. After mixing the mixture until completely homogeneous, you can pour it into the mold.
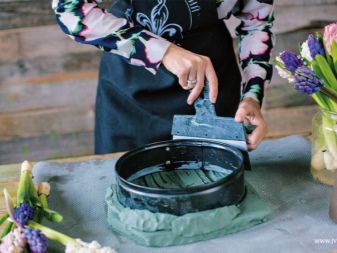
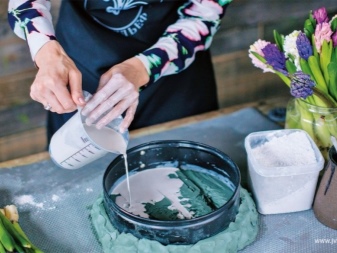
After about 10 minutes, a wire loop is immersed in the plaster of Paris. Once the plaster has set, you will need to use a spatula to separate the edges of the clay from the baking dish. Its remains are washed off the bas-relief with a sponge, after which the surface is cleaned with the hard side of the same tool. The plaster decor will have to dry out for the next week.
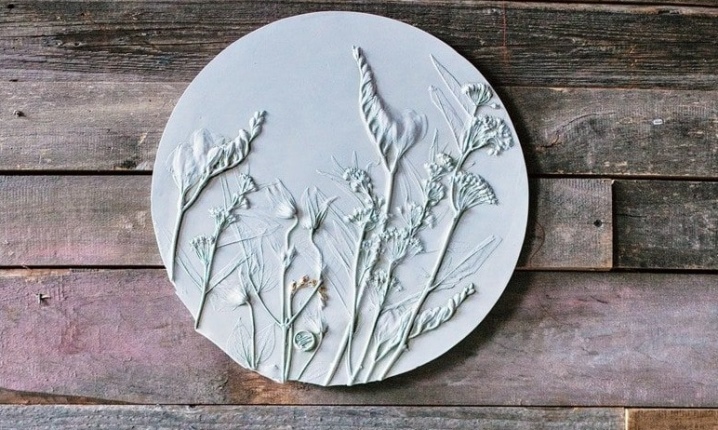
Beautiful examples
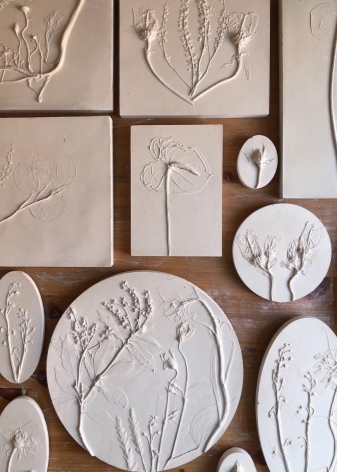
The interior can easily combine botanical bas-reliefs of different shapes and sizes. For example, the same wall can accommodate miniature ovals, medium square structures and large round compositions.
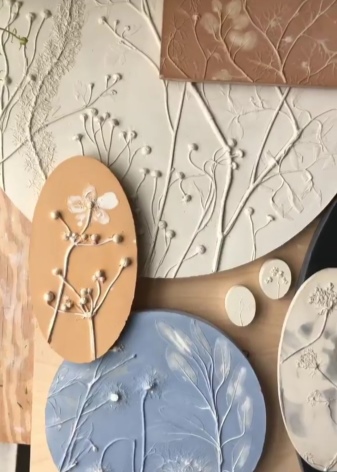
Besides, the finished bas-relief can be painted in any color you like, however, it is better to leave the plant elements themselves white. And also we must not forget that the plant combination can be arranged in a frame. For contrast with white plaster, it is better to use laconic wooden "frames" in natural shades.
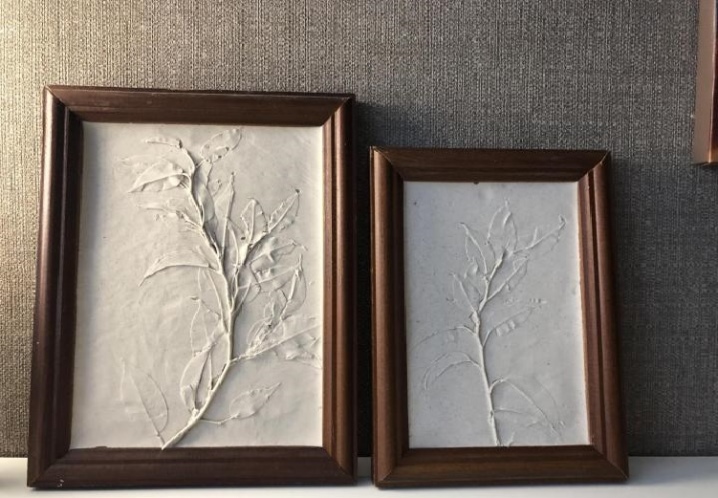
For information on how to make a botanical bas-relief with your own hands, see the next video.


The comment was sent successfully.