All about the rafters for the bath

Every owner of a private house or summer cottage dreams of a good-quality bathhouse on the site. Often, construction is carried out on their own without the involvement of specialists. Indeed, it is not difficult to do this, but you need to have some knowledge in this area.
The article discusses the most common options for a bath roof, describes their main features, advantages and disadvantages. And also attention is paid to the procedure for installing the rafter system for the main types of roof.
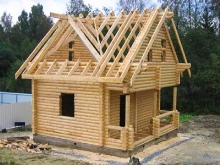
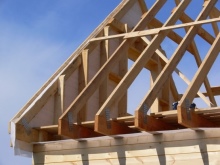
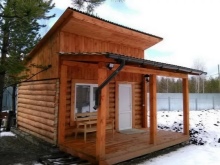
Which roof to choose?
When building a bath, special attention must be paid to its roof. It must be strong, withstand well the condensation of steam that rises from the steam room and settles on the inside of the roof. In order for the roof to last as long as possible, it makes sense to lay a hydro or vapor barrier. Modern manufacturers offer a large selection of quality building materials that can be used for this purpose.
However, the shape of the sauna roof also plays an important role. Since most modern saunas are built from timber, they can be covered with any type of roof. When choosing a roof shape, the following characteristics should be considered:
- the proximity of the bath to the living quarters;
- weather conditions and temperature regimes of the area in which the building will be located;
- type of soil and strength of the bath foundation;
- technical characteristics of the building.
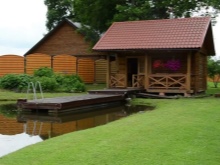
Species overview
In the process of building a bath, the question of choosing the type of roof will arise. This is one of the main building elements, therefore special technical requirements are imposed on it. The shape of the roof for a bath can be:
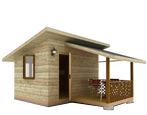
- single-slope;
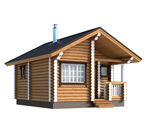
- gable;
- multi-slope.
Each of the listed options has its own characteristics that should be considered during construction. Currently, the most common are the first 2 types.
Such roofs do not cause difficulties during construction; they perform well their main functions of protecting against moisture from the outside and retaining heat from the inside.
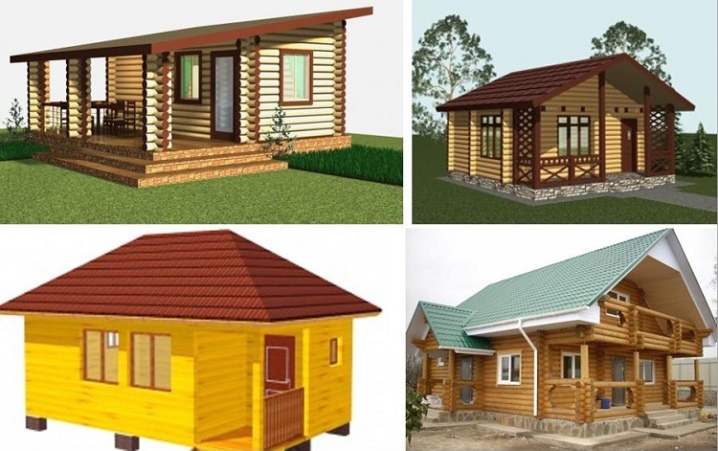
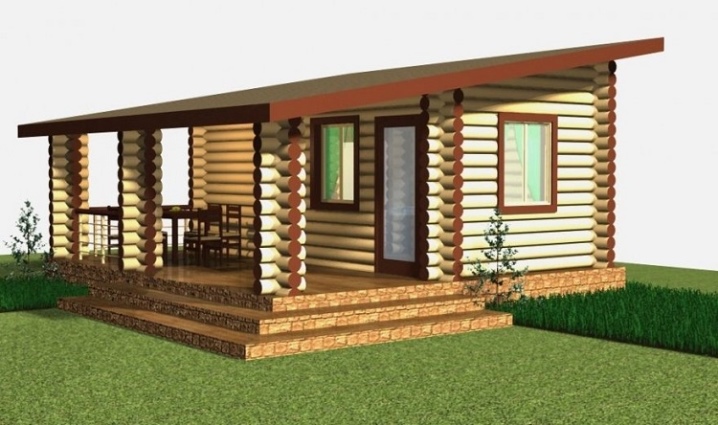
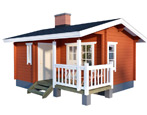
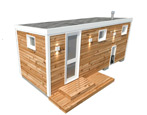
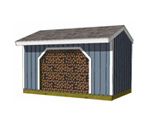
The appearance of a single-slope bath is a plane located at an inclination of 10-20 degrees. Such a roof does not have a ridge. The construction of a pitched roof is not difficult; it can be done quite quickly. A significant advantage will also be that this option is the most budgetary and requires minimal financial costs.
This type of roof will be optimal for small rooms or baths located in the immediate vicinity or adjacent to the house. The only drawback is that due to the formed angle, the attic space will be significantly reduced. And also in terms of heat-saving properties, it will be inferior to other types of roofing.
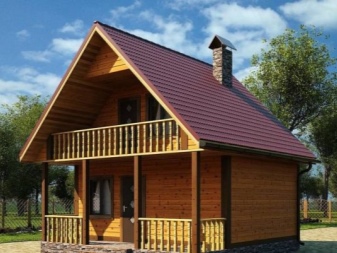
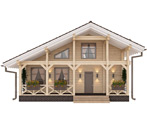
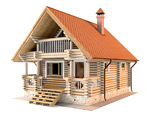
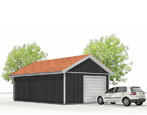
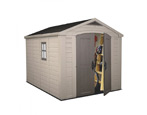
A gable roof is considered standard for a bath. It effectively fulfills its purpose and is easy to manufacture. The costs for such a roof are also low - you just need to choose high-quality material. The gable roof is distinguished by the location of the ridge. It can be located exactly in the middle or shift in any direction. Such a roof is not suitable for small rooms, it will look cumbersome and not very appropriate. For standard or large baths, a gable roof is the best option.
The multi-slope form is almost never used when building a bath on your own, since it is rather problematic to create it on your own, many technical mistakes can be made, which ultimately will lead to the need to attract specialists.
Installing the rafter system
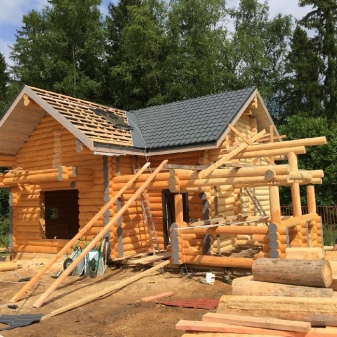
For the construction of bath walls, it is advisable to use a log house from a log or from a bar. Wood is the most practical, durable and natural material for a bath. It is easy to make such a basis with your own hands, having previously cleared and prepared the site.The blockhouse can be assembled from ready-made materials or you can independently process every detail of the future bath. When preparing wooden parts for a log house, it is necessary to pay attention to whether they are impregnated with a special protective agent.
If the manufacturer has not done this, it will not be difficult to process the wood yourself. This is required so that the material is not negatively affected by high temperatures and moisture. At this stage, it is important to set up a reliable support for further attaching the roof to it. Numerous reference books and diagrams will help to correctly establish the foundation and put the log house.
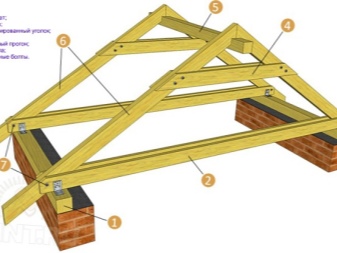
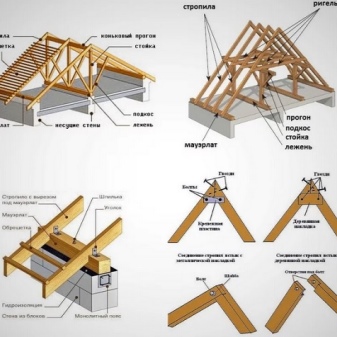
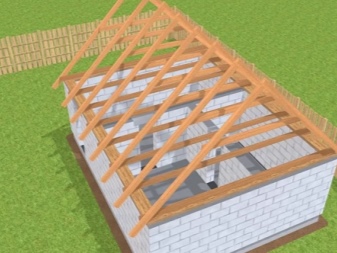
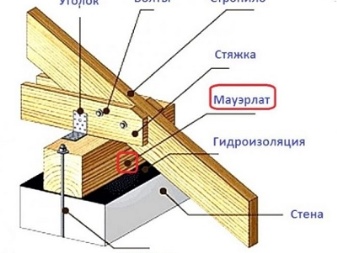
When the foundation and walls are installed, it is necessary to decide on the type of roof of the future bath, and then proceed with the preparation of the frame base. The question often arises of how to attach a truss system to a chopped bath. You need to understand that it should rest on the base - the Mauerlat, which, in turn, is attached directly to the tops of the walls. It should be made of planks or thick wooden beams. This is the only way to evenly distribute the load on the walls and foundation of the building. For greater stability of the roof, it is required to attach a special reinforced belt to the walls, into which special fasteners for the Mauerlat are mounted.
It can be dispensed with only if the bath is compact in size and its roof is made of lightweight materials. Instead of an armored belt, anchor bolts are sometimes used, which also perform well the function of additional support. For greater reliability, you can use additional parts - tightening, posts, jumpers and much more. It is recommended to assemble on the ground - this way the work will be faster and safer.
So that the process of making a bath does not drag on, it makes sense not to work alone, but to involve 2-3 assistants.
Mono-pitched
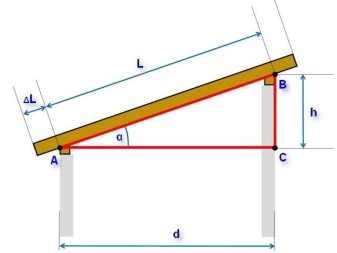
When choosing this type of roof, you need to correctly calculate the angle of its slope. Snow should not accumulate on the roof or water stagnant, as sooner or later unnecessary moisture will seep into the building. If the bath is located in an area where precipitation rarely falls, then you can get by with a slope of 30-35 degrees, if snowfalls and showers are frequent, then the angle should be increased to 45-50 degrees. In any case, the slope should not be absolutely flat or tilted at an obtuse angle.
The fastening of the rafters to the walls of the bath should be carried out as follows: first of all, it is necessary to calculate in advance what the slope of the roof will be, and to build a supporting structure with the required difference in height. Next, it is necessary to install girders under the rafters - horizontal beams, which will simultaneously give rigidity to the structure and distribute the load on the supports.
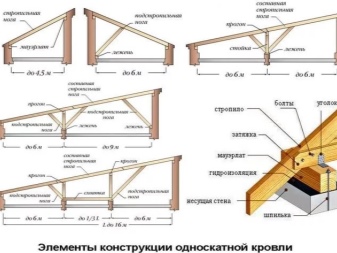
The rafters must cover the entire span of the building. Additional supports can be omitted if the bath area is less than 4.5 m2. Otherwise, it is necessary to use the so-called rafter leg - a beveled beam that additionally supports the roof. The rafters are fixed to the supporting wall from below and from above. To ensure a tighter contact between the parts, you can make special cutouts on them.
Long steel nails and stiff wire are used for the connection. When building a pitched roof, it is necessary to make sure that the roof extends beyond the boundaries of the walls by a few centimeters. This will protect the log house from unnecessary moisture and sunlight.
Gable
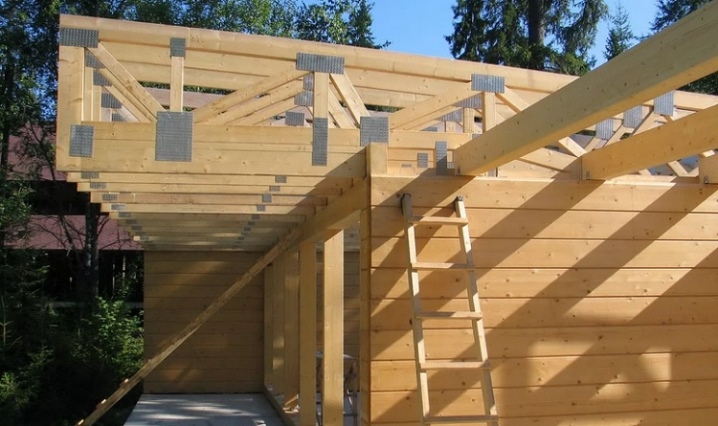
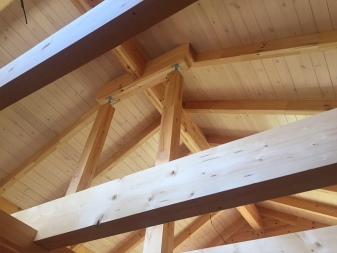
Before building such a roof, you need to decide how the rafters will be applied. The easiest to manufacture are hanging or layered rafters. For a bathhouse, inside which a load-bearing wall is located, it makes sense to choose a layered type. The top of the rafters is attached to the girder or ridge bar. For the stability of the structure, at this stage, it makes sense to use support posts, correctly distributing them in height.
First, the supports are attached to the walls of the building, then along a horizontal strip. The rafters are nailed to the ridge of the roof. Excessive openings in the lower part of the roof should be avoided, as they will negatively affect the timber frame in the future. Therefore, it is better to attach the rafters to the walls using the cutting method with one or two teeth (spikes).
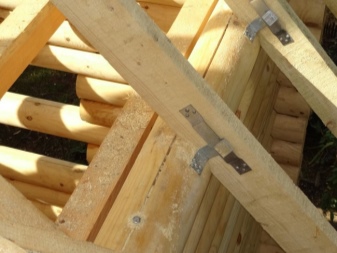
So that the parts do not move to the side, it is worth additionally installing metal corners.
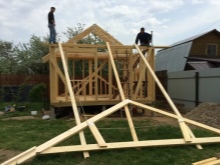
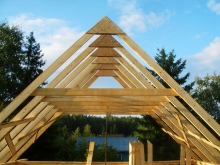
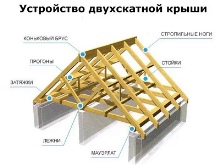
For to build a suspended rafter structure, you need to make several rods (building trusses) and attach them to the base of the roof. Their size and number depend on the area of the building and the angle of inclination. After that, the rafters are installed one by one, fixed to the ridge crossbar end-to-end by cutting or screwed in with bolts. When building hanging trusses, additional tools should be used - tightening and lintels.
They will add additional rigidity and stability to the roof. The rafters are attached to the bathhouse from the log house using sliding supports - special parts that securely attach the roof to the base, but at the same time allow you to leave a small space for the shrinkage of the building. This will help to avoid deformation of the bath, which can occur over time. The roof is attached to the upper beam with hinges or special bolts.
For information on how to properly install the rafters on the bath, see the next video.














The comment was sent successfully.