How to build a sauna with your own hands?
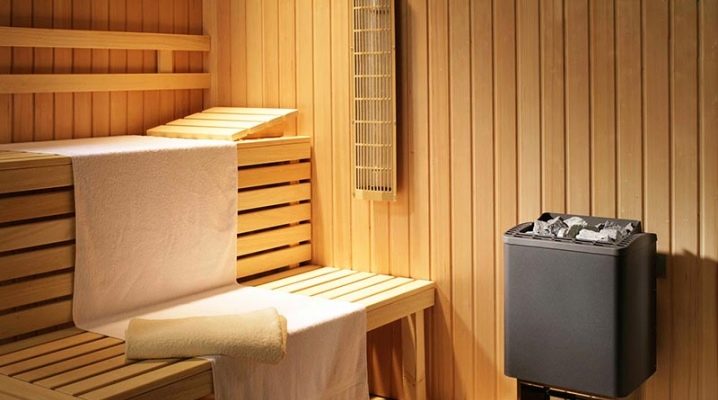
Who hasn't dreamed of having their own sauna nearby? The answer, of course, is yes, because the benefits of a home sauna are obvious. First of all, it is rest and relaxation. In addition, in the steam room you can perfectly sit with a friend, get pleasure, besides, the healing effect of the steam room is indisputable.
Peculiarities
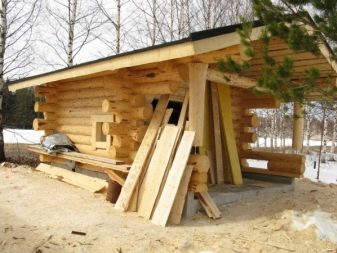
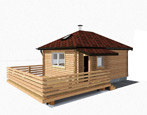
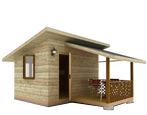
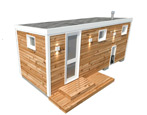
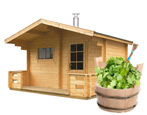
In the modern period, there is no need to go out of town or visit public places for such a vacation, because you can equip a steam room nearby. It is not required to do this in a separate building. Sauna of small size may well fit in a living room or in the country. A sauna located at home is usually built in the form of a cabin made of wooden materials and is finished in such a way as to better keep heat and create steam. But if desired, the steam room can be located in a separate building.
Twin configurations can also be different. But at the same time, it is necessary to build structures with different configurations according to the same principle and following the same order. And you can cope with such work on your own, without resorting to the help of specialists.
It is enough to choose a room suitable for the steam room - it must be closed and dry. It is also necessary that water and electricity be supplied to the room, ventilation is encouraged. In this case, it is possible to place a steam room cabin in it. It remains to stock up on a decisive attitude, tools and materials, study the theory and begin the practical implementation of your plan.
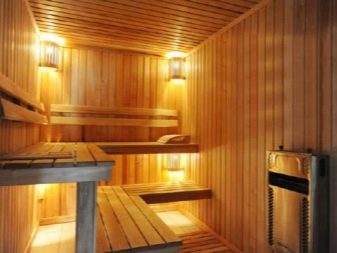
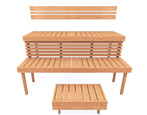
When building a sauna, you will need to take into account a number of features that a sauna design has. They determine the reliability of the building and the time of its service. And this is quite important, so let's list them. Firstly, when the arrangement of the benches is tiered, there should be at least 40 centimeters from one bench to another. This distance is the most convenient for those who will take a steam bath. Secondly, the corners of the steam room need to be equipped with lighting fixtures. The light will fall so that almost the entire area of the steam room will be illuminated.
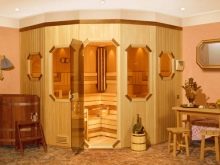
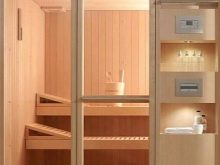
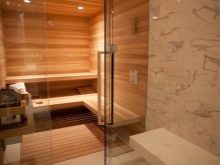
For convenience, benches need to be equipped with backs or vertical sheathing. This will provide comfort to all visitors and allow you to relax as much as possible. It is better to cover the floors with tiles made of ceramics or other material, the main thing is that it is able to withstand high temperatures, as well as constant moisture. Only such a floor can serve for a long time. But it should be noted that the places along which it is supposed to move must be wooden. The tree does not heat up much, so it will be possible to move around the steam room with the greatest comfort.
If you decide to make such a device at home, then all standards must be met. Appropriate permission must be obtained.
Style and design
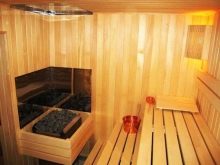
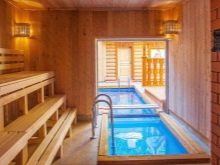
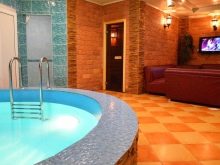
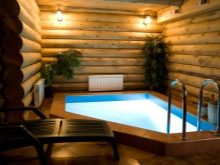
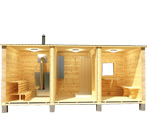
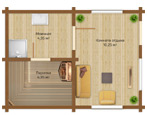
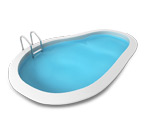
The style and design of the steam room certainly needs to be thought out to the smallest detail. First you need to consider the layout of the room. Usually a classic version of a steam room of three rooms is used - a dressing room or changing room, a washing or shower room and the steam room itself. Traditional Russian baths usually include two rooms, since the steam room and shower are usually combined. Therefore, when choosing a steam room in the Russian style, this fact must be taken into account. If you wish and if you have money, you can add a number of optional rooms to the sauna.For example, it is possible to equip a font or pool, a game room - a billiard room or similar rooms, you can also add a kitchen, a recreation area, a restroom or a smoking room.
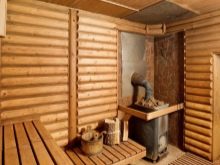

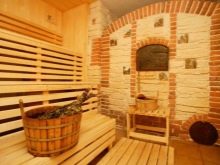
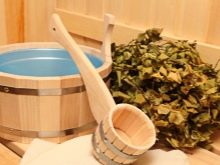
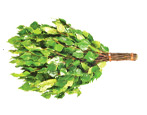
At the same time, the style solution of the sauna can also be different. For example, the Russian style, which was already mentioned earlier. It is distinguished by restraint and conciseness in details. As a rule, this is a massive table, many benches and couches, birch brooms, wooden barrels and ladles. Such an interior can be made modern with the help of billiards or, for example, a TV.
The old style is also popular for decorating a steam room. Often it is accompanied by forged items, wooden utensils and other similar items. Also characteristic of this style is the presence of intricate carvings on wooden elements. In addition, you can hang oak or birch brooms on the wall. They can also be represented by fragrant grass. All this can be used in practice and steamed or saved as decorative elements.
What to build from?
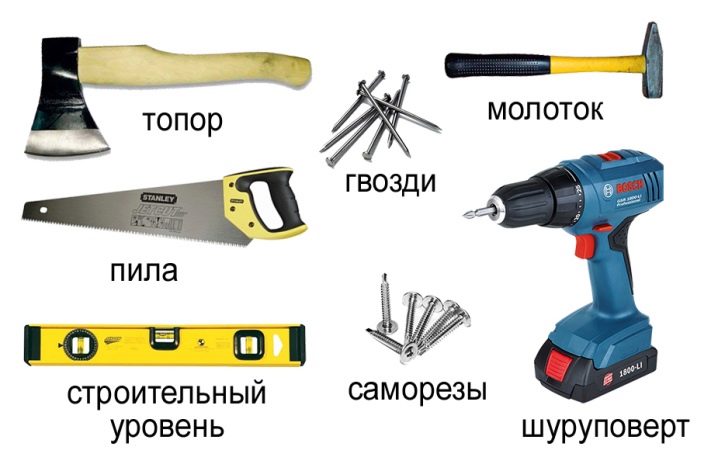
You need to build a sauna if you have a certain set of tools and materials. It is necessary to have a carpentry tool, a wheelbarrow, a shovel, a concrete mixer, a trowel, a building level and a container in which the solution will be prepared. In this case, manual mixing of the solution will require the use of a metal container and a shovel. Alternatively, you can use a construction mixer, as well as an electric drill. This will require a lot of power and a special nozzle. In addition, in the process of building a steam room, you will have to use an electric jigsaw. Thanks to him, you can make a cut, cut and the like. They can be used for practical purposes or as decorative items.
You will also need varnish, impregnation and paint. The same is necessary for decoration.
If we talk about materials, then you need to pay attention to the fact that you cannot do without wood when building a sauna, especially if you have a wood-fired boiler that has a thermostat. This is the most optimal material that is usually used in baths, steam rooms and saunas. The best saunas are made of linden, abasha and aspen. Such wood is also suitable for equipping a steam room right in the living room. It is worth noting that you cannot use different types of wood. But everyone can choose the breed that suits him.

Wood can be suitable for a sauna.
- Scandinavian pine. A special feature is the shade of pink, which creates some decorative effect. At the same time, pine wood has almost no knots, but a pattern in the form of rings is clearly visible. But at the same time, over time, the tree begins to darken and ages quickly. Therefore, not everyone considers pine as a suitable option.
- Alder. This tree is characterized by high density, as well as the presence of a light pink-brown hue. Also, wood will delight the eye with an intricate ring pattern. But usually the outer surface in the steam room is trimmed with alder.
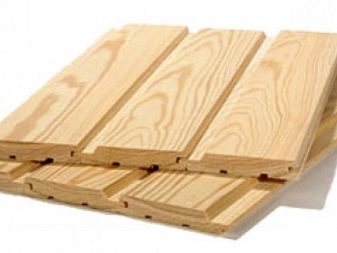
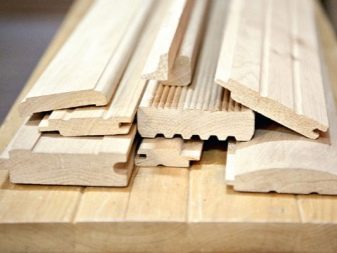
- Hemlock. This type of wood is characterized by a pink-brown hue. Also, the tree has no resin and knots. But there is a pattern - parallel lines.
- Scandinavian spruce. The shade is light yellow. At the same time, small knots are often found on the wood.
- Lindens. Linden wood has no knots and no resin. And this is undoubtedly a plus. This material can be used in any heater that has a regulator.
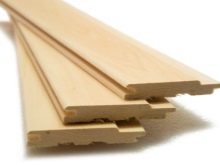
- Aspen. This tree will also not be resinous. In addition, the aspen wood will not rot. Also, aspen is distinguished by a light beige color.
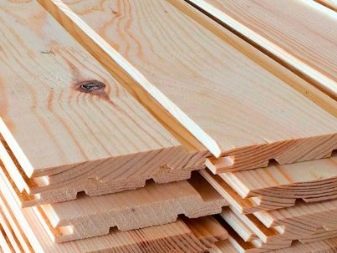
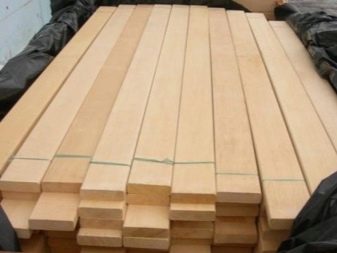
- Abashi. This is African oak wood, which is distinguished by its density, even structure, low level of thermal conductivity, as well as light brown shades and dark points.
How to do it yourself?
The construction of the steam room itself should be preceded by the drafting of its project. You can make it to order, draw it yourself, or look for a ready-made prototype.In order not to make design mistakes, it is recommended to decide how many people the sauna will be designed for. It should be remembered that one person will need about 2 square meters on average. Therefore, when calculating for six guests, on average, you will need 12 square meters of the total area.
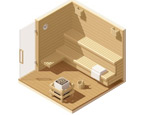
Based on the calculation of the total area, it is determined what level of power of the heating equipment will be required in order to achieve the desired temperature in the steam room. It is also better when planning to provide for how the bath shelves will be placed. It should be about a meter from them to the oven. It is also a good idea to think over and calculate the optimal distance from shelf to shelf and to the bench when planning. It is equally important to determine the location of the pipes supplying water, vents and drains. When connecting all these systems, you must be extremely careful.
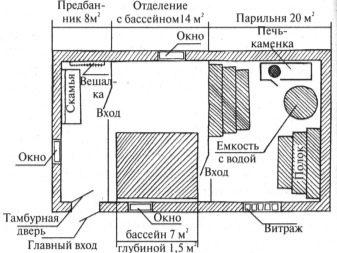

It is recommended to include lighting in this list, as well as taking into account the area for rooms with additional functions. An infrared lamp can be added additionally. Sketching of sketches and drawings should be carried out in accordance with the layout.
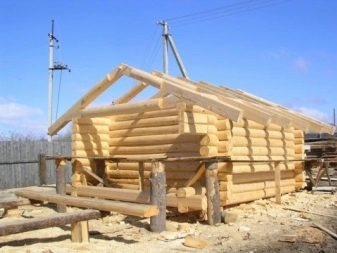
Regardless of the location of the sauna, you first need to lay the foundation - pour the foundation or the floor. If it is supposed to pour a concrete floor, then it must be remembered that such a layer must dry to the end before any other work can be carried out in the room. As a rule, complete drying occurs in four weeks. Further, roofing material is laid on the concrete surface in several layers. In this case, before pouring, it is possible to provide for the presence of ventilation pipes for further ventilation equipment.

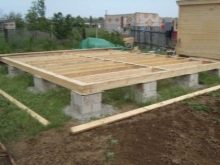

Next, we install the bars. Recommended sizes are 15 by 15 or 20 by 20 centimeters. It is better to exclude the contact of the beams and the foundation, therefore, first the rail is laid on the concrete, then the beam. The empty space between the wooden elements must be filled with heat-insulating material, for example, you can use foam or jute seals. It is important to securely connect the bars to each other. Therefore, it is not recommended to use metal fasteners - they do not interact well with high temperature and humidity. But it is quite possible to use grooves and pins.
On top of the beams, it is necessary to fix strong boards and roofing material. After that, it is recommended not to touch anything for 0.5 year, to let the wood sit down. Next, you can make door and window openings and mount them. It should be noted that expensive high quality timber does not take time to shrink.
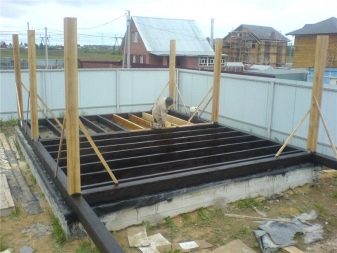
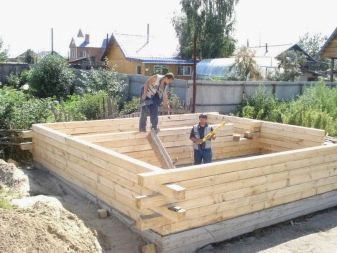
It is important not to forget about the antiseptic and fire-retardant treatment of wood, otherwise the breed will not be resistant to moisture. These are impregnating agents that can be used on the material or already on finished walls, floors, ceilings and shelves.
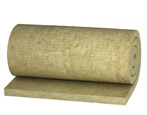
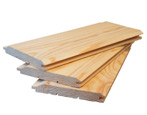
The finishing of the premises should be carried out with wood panels. - cedar or spruce lining. The choice of this particular material will be the most optimal. In this case, it is advisable to choose a material on which there will be no resin and knots. In this case, the ceiling and walls, even before the finishing of the steam room, must be insulated, isolated from steam with mineral wool and another layer of insulation. Then you can already use the lining.
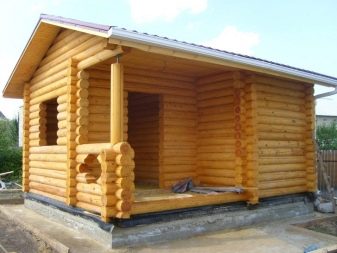
The floors must be finished with a special material, which must be chosen according to the ability to withstand high temperature and humidity, which is indispensable in a steam room. For example, ceramic tiles or similar materials are a good choice. Installation of tiles is carried out using a standard scheme. First, the base is leveled, then the tiles are fixed. For this, it is best to use a special binder.
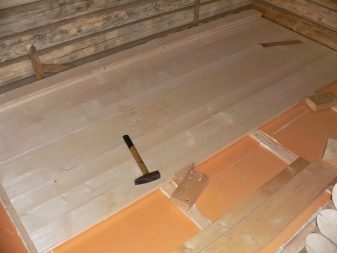
It is advisable to make the sauna floor wooden or with wooden elements. Using wooden planks is a good option.In this case, logs are used as fasteners. It is more optimal to use boards five centimeters thick. To make the liquid go away faster, you can leave a small distance between the boards or spend time building a separate hatch, which will be closed by a perforated grate. You can also build outflows to the sewer.
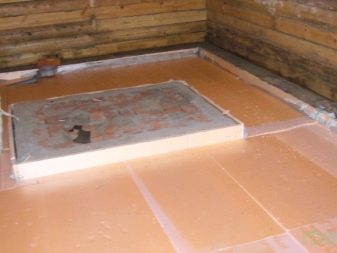
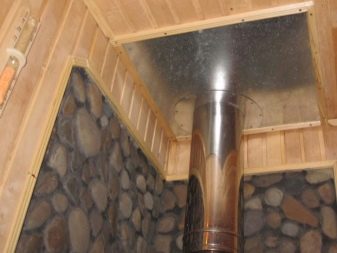
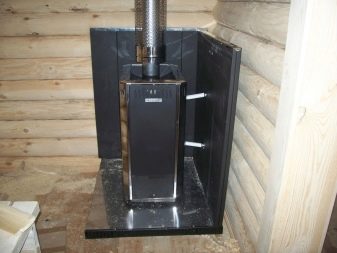
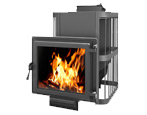
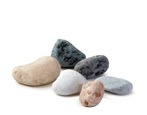
When the floor in the sauna is ready, you can think about the main element of the steam room - the stove. It is worth noting that before installing the furnace, you need to start arranging the base. Foundations vary in type and size. You can choose the right one, taking into account the individual characteristics of the heating equipment. The best choice would be to purchase a small metal oven. It is best to use river boulders as a heater. This choice will primarily be due to the fact that the cobblestone is accessible to everyone, withstands rather high temperatures and does not begin to crack at the same time.
Making a Finnish sauna at home in the country is unlikely to be very different from the above., with the exception of taking into account the characteristics of the soil, purpose and frequency of visits. In general, the principles remain the same. You can also equip it step by step directly in the country house, for example, in the bathroom or on the basement floor or in a free-standing room. Be sure to insulate the walls and organize a high-quality drainage system in the second case.
Useful little things
It is better to equip the sauna with ventilation holes. At the same time, each of the rooms in the steam room should be ventilated. The simplest way to equip it is to create an exhaust hole almost at the ceiling itself, as well as create an inlet channel next to the floor. You can make ventilation in another way. Also, don't forget to arrange the furniture correctly.
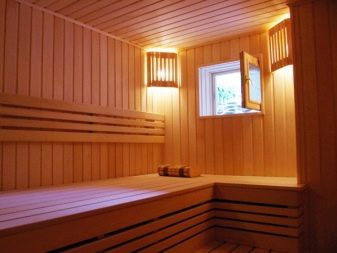
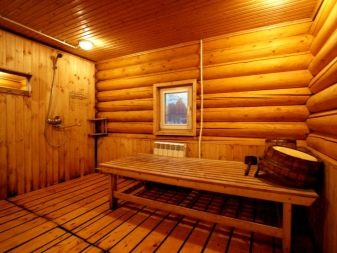
The presence of lamps in the steam room will also be useful. This can create a special, incomparable atmosphere in the steam room. It is better to equip them with special frames to protect them from high humidity and temperature. For the same purpose, the luminaire is closed with a sealed cap.
It is also useful to pay attention to the resistance classes when buying, which should be indicated on the packaging or in the instructions.
You need to be careful and choose the right lamps. It is advisable to maintain a distance of 30 centimeters from the ceiling to the luminaire. And it is generally forbidden to install lamps above the heating device.
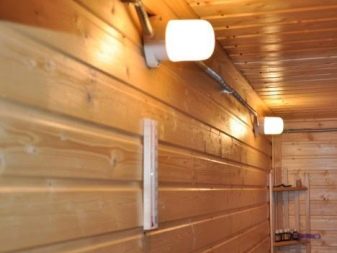
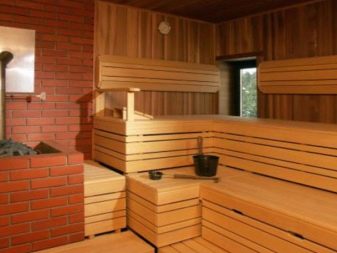
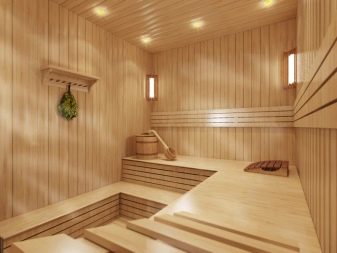
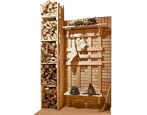
Vertical shelves can also be useful. Brooms, buckets, containers, accessories and other utensils can be placed on them. They can be made using wooden blocks. It is also not recommended to use metal fasteners here. According to the Russian tradition, the shelves should be placed on the wall opposite the stove. The shelves must also be sheathed with wood, preserving the cracks in order for the moisture to dry out faster. A footrest or headrest will also be a useful little thing.
Tips & Tricks
Even before using the steam room, you should familiarize yourself with the rules that will allow you to visit it without harm to your health.
The guidelines will be the following rules:
- before you start steaming, you should not refuse to use a warm shower without soap;
- you cannot immediately be placed on the upper shelf, as this will negatively affect the skin, it must be prepared for temperature changes;
- steaming while standing or sitting is unhealthy; for maximum satisfaction, it is better to do it while lying down;
- at the slightest discomfort from the steam room, it is better to leave immediately, the consequences may be irreversible;
- Sitting in the sauna for more than fifteen minutes is categorically not recommended, it is unhealthy;
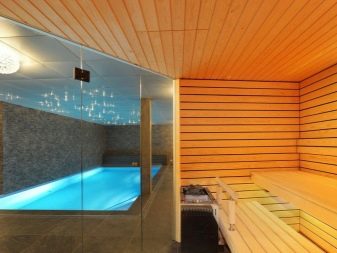
- right after the sauna, it is best to take a shower to wash off the sweat, after which you can immediately use the pool;
- after the steam room, it is useful to use the services of a massage therapist, thanks to which you can improve blood circulation;
- it is useful to drink water, and the more, the better;
- drinking alcohol in the sauna will only lead to negative consequences, so it is better to refuse it;
- you should not put on clothes for the first twenty minutes, since the body needs to be given time to dry.
Also, do not forget that children who are under four years old cannot be sent to the steam room. Take care of your health and the health of people close to you.
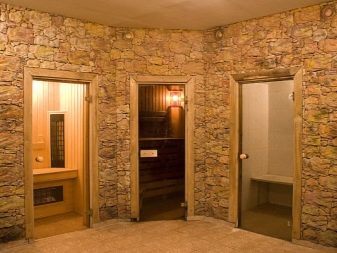
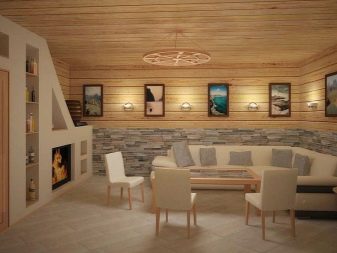
Successful examples and options
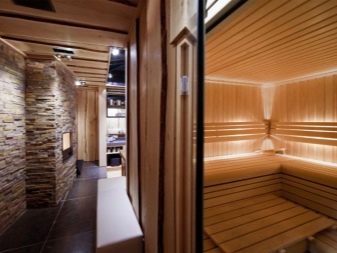
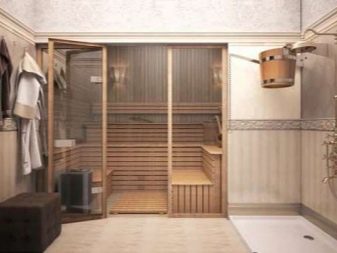
One of the successful examples of placing a steam room is next to a shower in a city apartment. This option is especially convenient for those who want to relax in the steam room on weekdays after work.
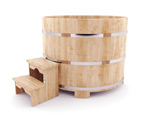
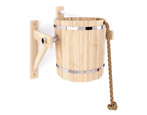
Of course, it is better to build a sauna from wood. Moreover, all shelves and containers - buckets, barrels, etc. are also better to choose from natural materials.
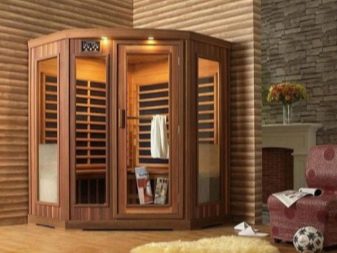

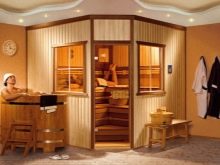
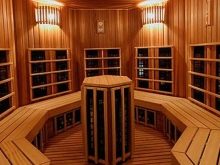
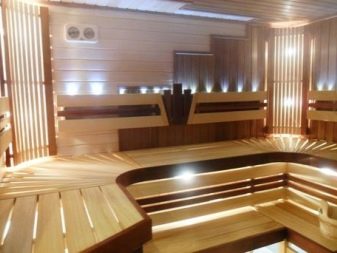
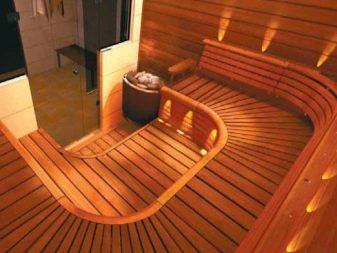
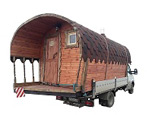
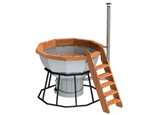
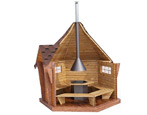
When building a bath with your own hands, you can show outstanding design skills. Sauna can become a real platform for the implementation of artistic ideas. So, for example, you can arrange the walls in a circle, as in the photo.
It is worth noting that the range of options is huge, so only you have to make a choice. At the same time, take into account your own desires, needs, and also do not forget about the available financial opportunities.
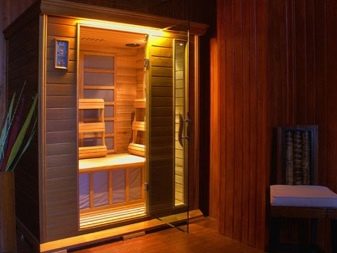
So, building a sauna yourself is an intricate business, in which expert advice will not interfere. However, following the instructions above, it is quite possible to build your own sauna next to your home or right in it. You just need to be patient, buy quality materials and get to work. The result will certainly delight you, as you will get a great place to relax, unwind and meet your loved ones.
In the next video, see how to build a sauna with your own hands.














The comment was sent successfully.