When and how to plant eggplants for seedlings?
Eggplant is a common vegetable that is popular with domestic gardeners of various levels. Within the framework of the country's climate, eggplant can only be successfully grown by seedlings. It is important not only to accurately determine the optimal planting time, taking into account the region, but also to competently prepare seeds, soil, containers or other containers. An equally serious point is growing seedlings and caring for them.
Sowing dates
You can choose favorable days to plant eggplants for seedlings at home according to different criteria. Since this vegetable belongs to the thermophilic, and the growing season is long, you need to responsibly approach some factors. Home conditions are suitable for growing quality seedlings, but you need to know exactly when it is best to start sowing seed material. The fact is that both too early and late dates will lead to a deterioration in the quality of seedlings and a decrease in the yield in general.
The plant will either mature too early for planting in open ground, or it will not have time to develop before the fall.
In Russia, the conventional sowing time is one and a half to two months before the end of the frost. It is necessary to assess the ripeness of the variety, the climate of the region, the weather conditions of the season. Regarding the regions, the following conditional planting dates are recommended:
- in the Kuban, Adygea and other southern regions, seeds are sown in February, until the 15th;
- in the middle lane (in the Moscow region, the Volga region), the procedure begins at the end of February or March;
- in the Urals, the optimal dates vary from the first week of March to the 20th of the same month;
- in Siberia, the period shifts to the second half of March - April.
Do not forget that the month of planting seedlings in an apartment should also take into account the rate of ripening of the variety:
- early varieties take up to 65 days;
- medium ripening fit within 70 days;
- late varieties - up to 80 days.
It is also worth taking away a certain number of days, taking into account the transfer to an open area or greenhouse room:
- germination period of the material - from 7 to 25 days;
- adaptation period after picking - from 5 to 10 days;
- maturity of finished seedlings - from 2 months to 80 days.
The lunar calendar is another landmark used by gardeners. For example, do not sow material on full moon or new moon days.
Preparation
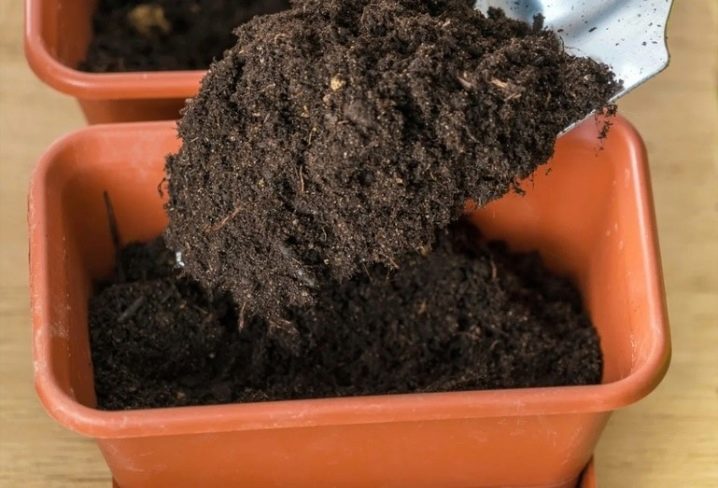
After the date is selected, you need to prepare for planting eggplant seeds. A container or other container, soil mixture and the seeds themselves are being prepared.
Capacity
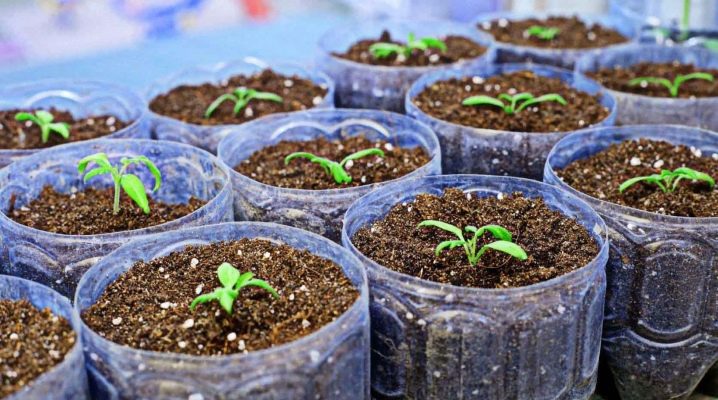
The choice is large enough. You can use ordinary plastic glasses, but you will first have to rinse them in a manganese solution... Also, seeds are planted in peat glasses, tablets, cassettes. Please note that the root system of this vegetable does not particularly like picking, therefore these container options are preferable. The day before planting, the container is filled with soil mixture and qualitatively moistened.
Priming
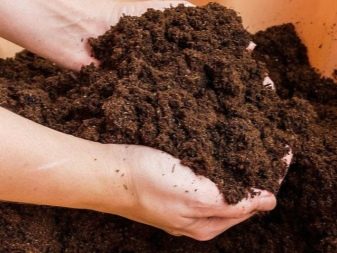
The soil for this vegetable is loose, fertile, but light, with neutral acidity. Ready-made substrates are sold in specialty stores, but you can create a soil mixture yourself. You need to connect:
- part of the sand;
- 4 parts of lowland peat;
- 3 parts of humus (compost).
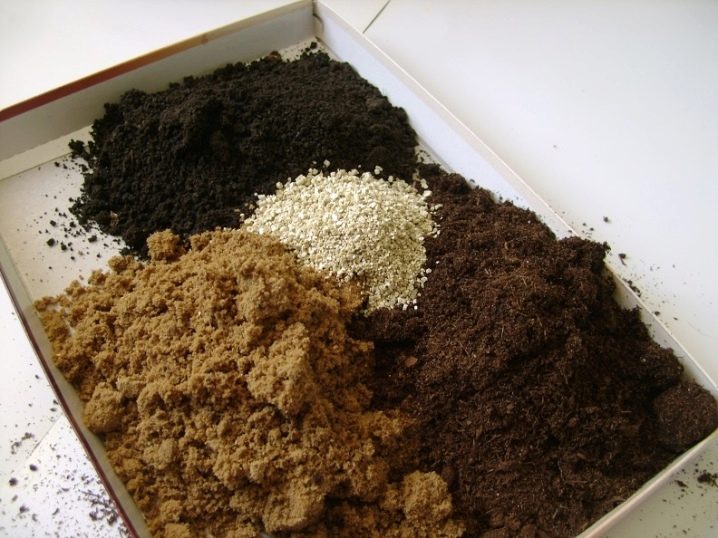
The soil is sterilized, after which wood ash is introduced into it - 1 cup per 10 liters or potassium sulfate - ½ cup per 10 liters. It is important to mix the mixture thoroughly so that it is smooth. Eggplant soil can be prepared using a different recipe:
- 1 part rotted mullein;
- 2 pieces of land with turf;
- 8 parts of humus.

After the sterilization process, superphosphates and urea are introduced. Regardless of the type of soil chosen, it must be calcined. To do this, the soil is determined in an oven for 50 minutes or placed in a water bath for the same time. You can just use boiling water. It is also necessary to feed the soil for planting, it is recommended to enter into one bucket:
- ammonium sulfate - 12 g;
- superphosphates or potassium salt - 40 g.


The finished soil mixture should stand for about 2 weeks in a warm place, during this period the bacteria necessary for plants are formed in it.
Planting material
The seeds are prepared for the planting procedure in several stages.
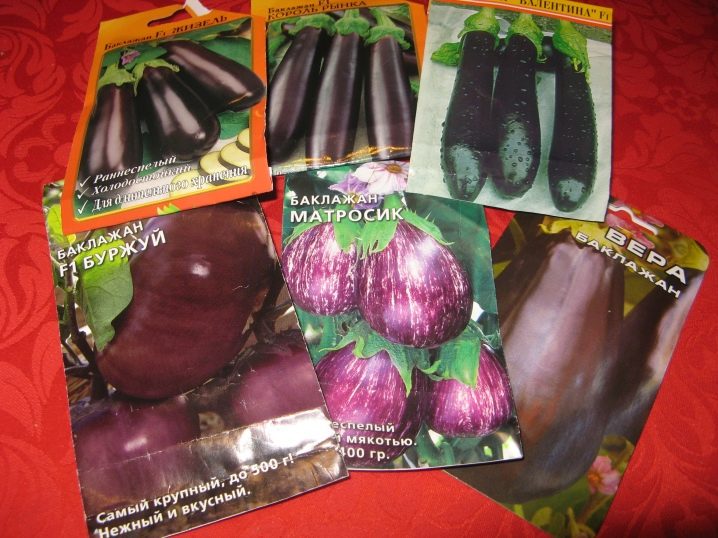
- The choice of material. It is recommended to buy seed from reputable specialized stores. Packaged seeds are the best choice, they have already passed all the necessary stages of processing, you just need to sow them. It is important to take into account the characteristics of the varieties and the climate of the region.
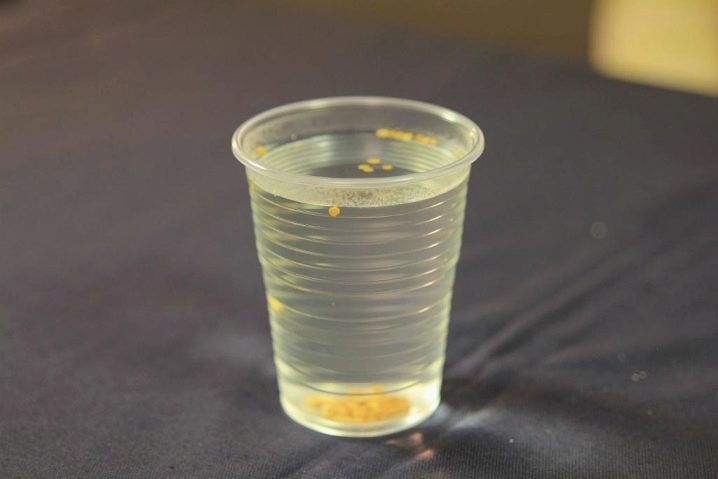
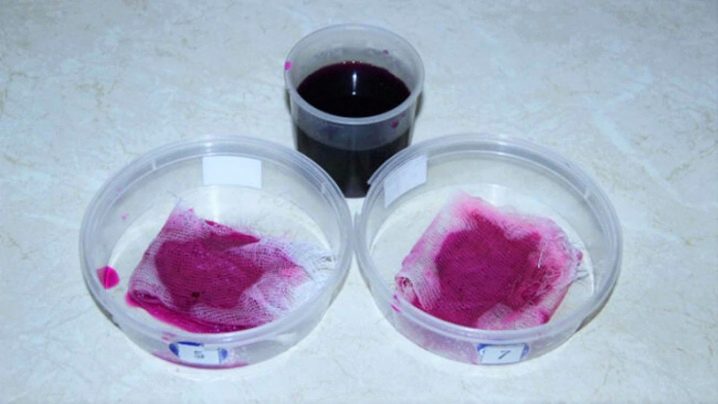
- Calibration... If the material is not properly processed, you need to sort it out, removing all small or unhealthy seeds. Next, a germination test is carried out: the seeds are placed in a salt solution, a 3% composition is suitable. Everything that has surfaced will have to be thrown away, since there are no necessary embryos inside. Bottom specimens are washed and dried and must be completely dry.
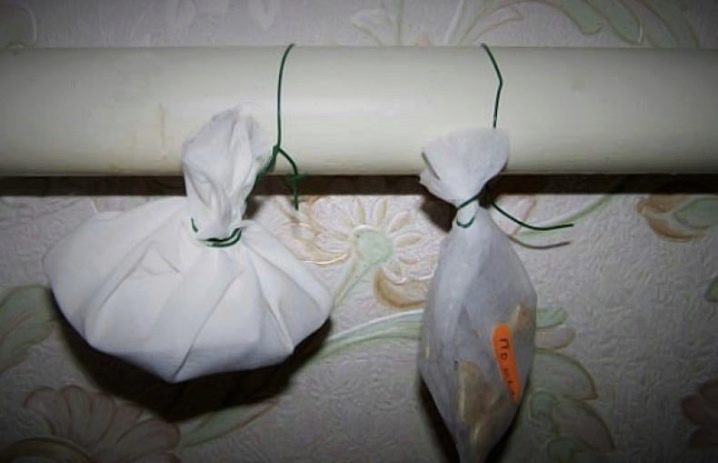
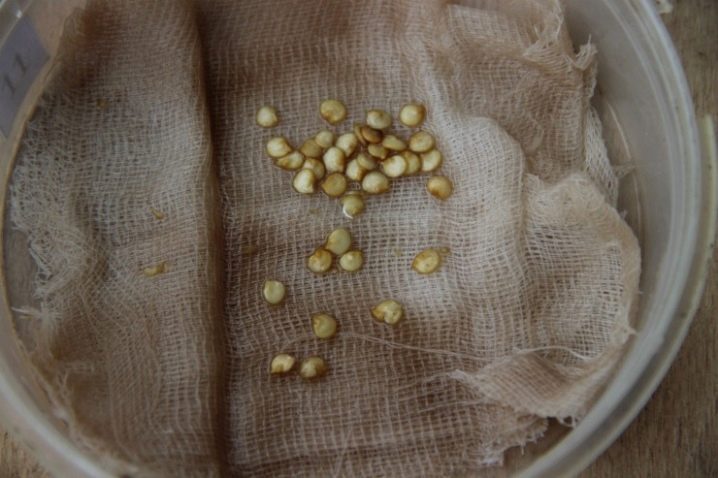
- Warming up... The prepared seeds are placed in a cloth bag and warmed up, it is more convenient to do this on a heating device. The optimum temperature is about 50 degrees, the procedure time is about half an hour. If the batteries are too hot, use a gauze pad folded several times. At the end of the procedure, the bag is immersed in cold water for 3-4 minutes.
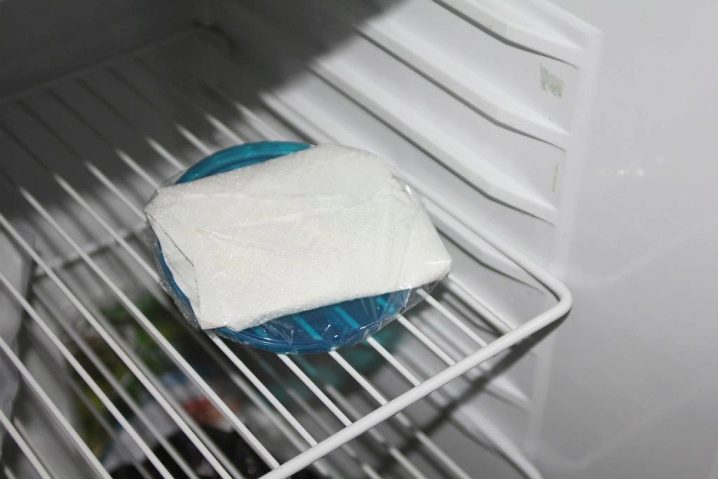
- Hardening... Wet material is placed in the cold for 2 days, the optimum temperature is around zero. After that, the seeds are dried.
- Disinfection... Seeds can be disinfected by immersion in a 1% manganese solution for a quarter of an hour.
It is not worth prolonging the procedure in time, as the seeds can get burned. Shortening disinfection will also not give the desired result.
- Stimulation... After all this, the seeds must be soaked in a special stimulating-type solution. The soaking period and concentration depend on the choice of the drug, it is better to focus on the information from the instructions.
Landing methods
After the preparatory stage, the planting procedure begins, which has its own rules. To properly plant eggplants for seedlings, you need to decide on the method.

Traditional
The most common method for sowing material into the ground. It is divided into a dive and a non-dive method. The option involving a subsequent pick is carried out according to the following algorithm:
- seeds are placed in a common container, which is filled with soil to the top;
- the earth is watered and at this stage settles, which gives the necessary distance for moistening without loss;
- furrows are formed to a depth of about 1 cm;
- it is enough to leave about 3 cm between the rows;
- the seed is laid out in formed rows at a distance of 1.5 cm from each other;
- soil is poured from above, which is sprayed with a spray bottle;
- the container is closed with a film, it will need to be removed after the sprouts appear;
- periodically you need to water and ventilate the container;
- transplanting into separate containers is carried out after the formation of full-fledged sheets.

As for the procedure that does not involve diving, it differs only initially in separate containers for each seed. You can take a common container, but plant the seeds at a distance of 4 cm from each other, the row spacing must be made identical. Otherwise, all landing procedures without picking are similar to the previous ones.
Into boiling water
To plant seedlings in this way, you need to take care of purchasing a plastic container with a lid.
The algorithm is as follows:
- soil is introduced into the container, height - 4 cm;
- seeds are distributed over the soil so that there is 1 to 2 cm between them;
- after that, the seeds are poured with boiling water, without eroding the material and protecting your hands from burns;
- close the lid and put the container in a warm place, after about 3 days, shoots will appear.
Without land
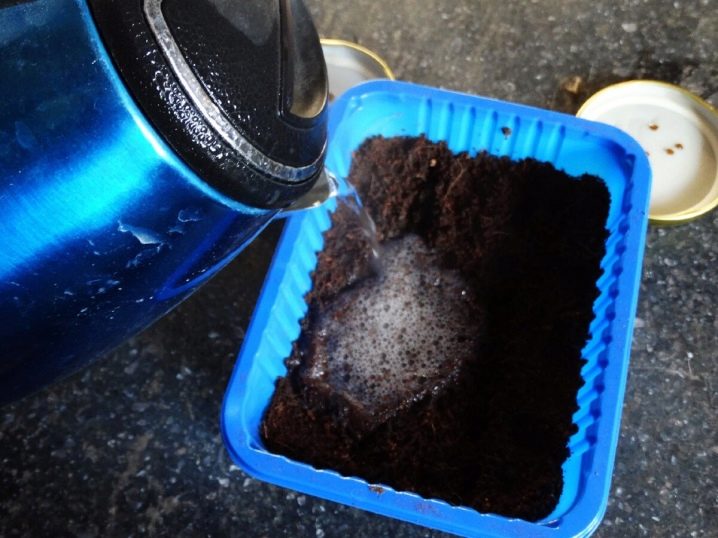
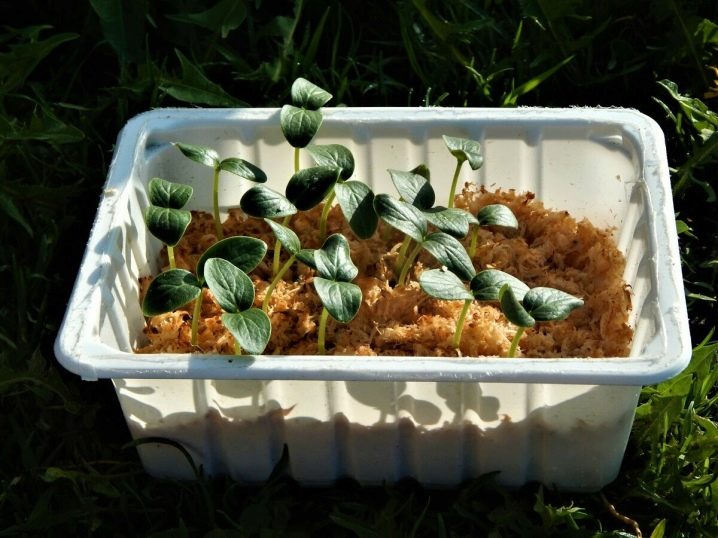
The landless method is also often used; in an apartment, these methods are especially comfortable. But it is important to take into account such a nuance: the seedlings must be quickly transplanted into individual containers. Without soil, seeds may lack nutrients. Most often, seeds are planted in sawdust:
- small sawdust is scalded with hot water, you need to let them stand for 6 minutes, then remove the water (if this is not done, essential oils will remain in the base);
- the sawdust should be poured into the container with a layer of up to 4 cm, heated water should be poured so that its level remains in the middle of the sawdust;
- the base needs to be allowed to swell (it usually takes about 3.5 hours), while sometimes it needs to be stirred;
- seeds with a slight deepening are laid out on the wet surface of the base;
- the distance between seeds and rows is one and a half centimeters;
- the seeds can be sprinkled with wet sawdust or not, in the latter case, you will have to spray twice every day;
- the container is covered with a film (glass can be used) and sent to a lighted warm place;
- when foliage is formed, the seedlings are planted in separate containers.
The second landless method is carried out on toilet paper:
- paper is folded in several layers in a container, impregnated with an aqueous solution with stimulants;
- seeds are located on the surface, covered with paper in one layer;
- with the help of a spray gun, spraying is carried out, and the rest of the activities do not differ from planting in sawdust.
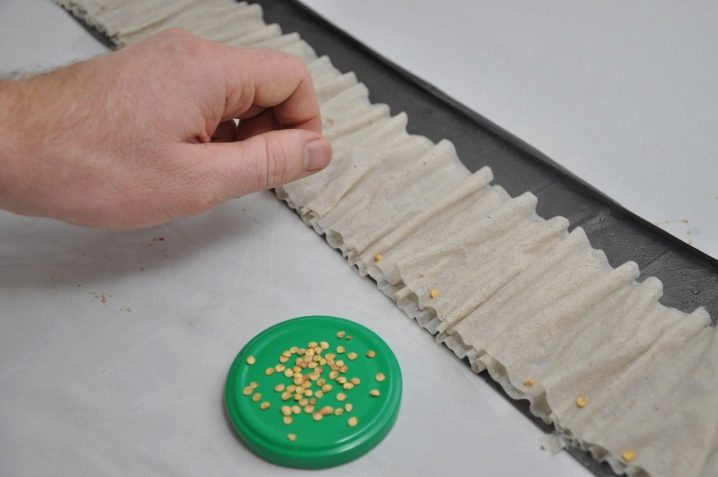
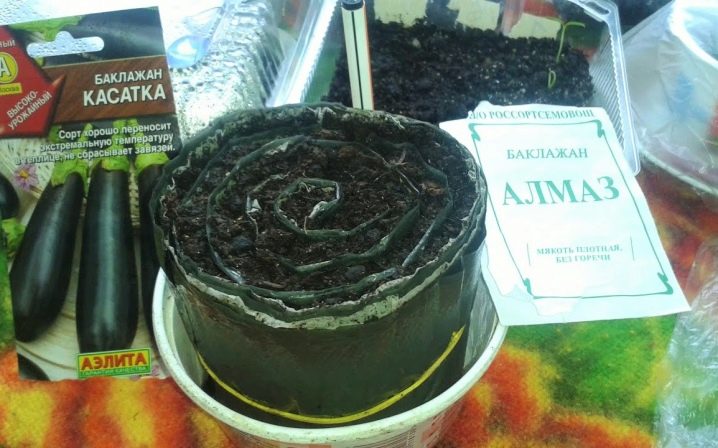
Into the "snail"
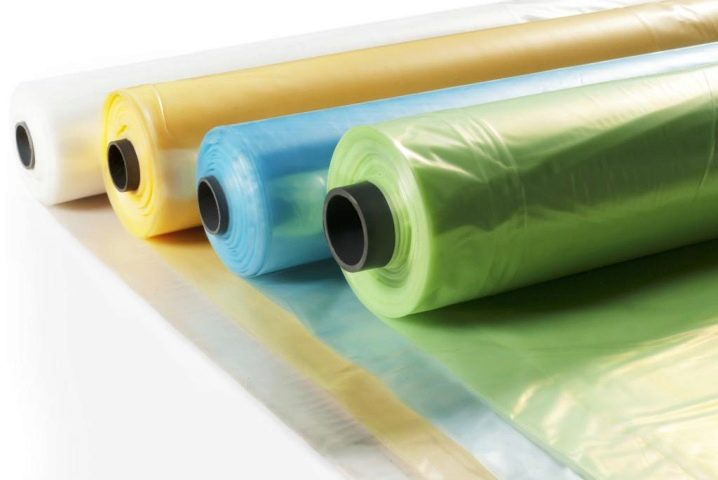
The snail sowing method is also widespread. To form a "snail", you can use a polyethylene sheet.
The work algorithm is as follows:
- polyethylene is cut into ten-centimeter strips, the length is selected according to the amount of seed (on average, it varies from 70 cm to one meter);
- the strip is laid out, soil is applied to it with a layer of about one and a half centimeters, the layer must be tamped;
- the strip is rolled up and fastened with rubber bands from the stationery set;
- The "snail" is placed vertically, poured with heated water;
- after the soil has settled, half a centimeter should remain from the top of the free space, the soil can be refilled as needed;
- the seeds are laid out and deepened slightly, the distance between them is about 4.5 cm, no less, otherwise you will have to transplant separately;
- a polyethylene film is placed on top, you can take a regular bag;
- The snail is placed in a warm place with good lighting;
- you need to ventilate the soil every day, it is recommended to water as needed;
- when the seedlings sprout, the film on top can be removed.
This method allows planting without soil, it is replaced by toilet paper with growth stimulants.
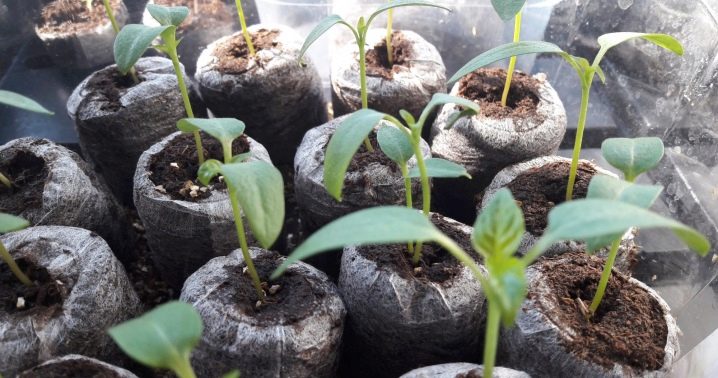
In peat tablets
This method is quite comfortable and safe, therefore it is in great demand. Peat tablets do not pose a threat to the environment, the walls do not restrain the growth of roots, and they are not threatened with deformation. This base can be stored as long as you like. Other obvious advantages - the tablets already contain stimulating substances, disinfection has been carried out, there are even anti-stress components. Accordingly, the germination rate with this method is very high, a pick is not needed.
The landing algorithm is as follows:
- tablets larger than 4 cm are prepared;
- they are placed in a deep container, heated water is poured in and left to swell;
- after increasing to a maximum, the rest of the water is removed;
- the tablets are placed upside down for the introduction of seed;
- the seeds can not be additionally processed, since the containers have already gone through all the necessary procedures;
- a couple of seeds are introduced into the recesses, they are drowned in peat, the holes are closed;
- then the tablets are placed in a container with transparent walls and holes for drainage;
- a polyethylene film is placed on top, the container is placed on a pallet;
- it is best to install the container in a well-lit area, in a warm place;
- the soil is ventilated every day, periodically moistened.
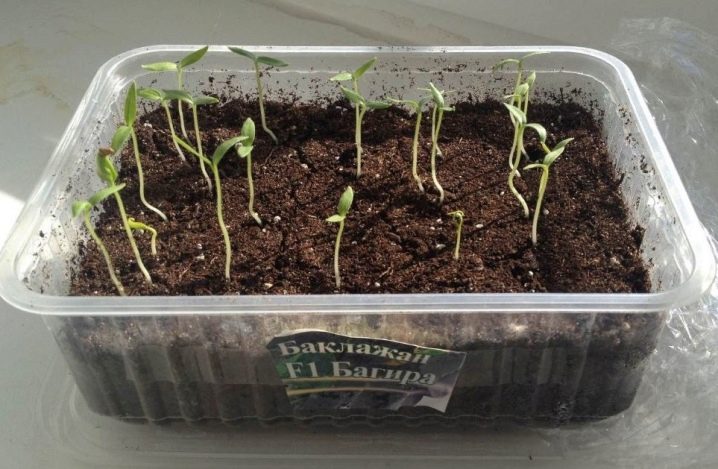
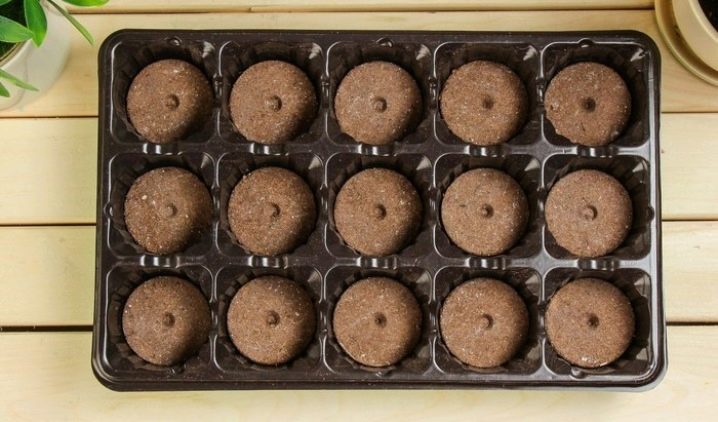
In cassettes
Another effective way to form seedlings. It is optimal to select a cassette with large compartments, then there is no need for a pick.
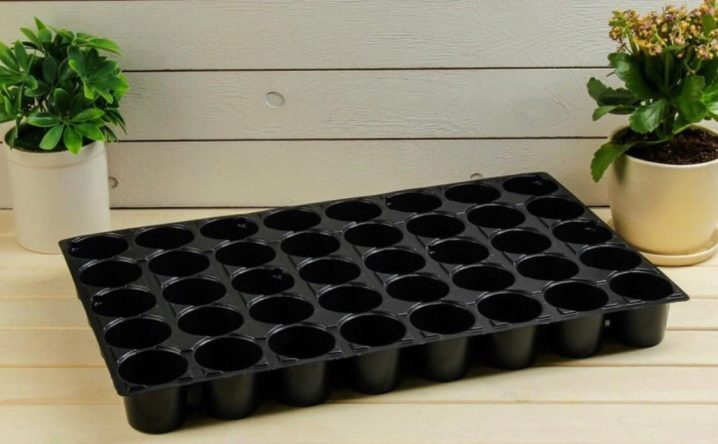
Algorithm of actions:
- the cassette is placed in a pallet, the soil mixture is introduced into the compartments and thoroughly moistened;
- seeds are placed in the center of the cells, this can be done with a stick made of wood;
- the material deepens a couple of centimeters, the holes fall asleep;
- you can cover the container with any transparent material, after which it is placed in a warm place;
- if the cells of the cassette are small, it will be necessary to transplant the seedlings with a clod of earth into separate containers.
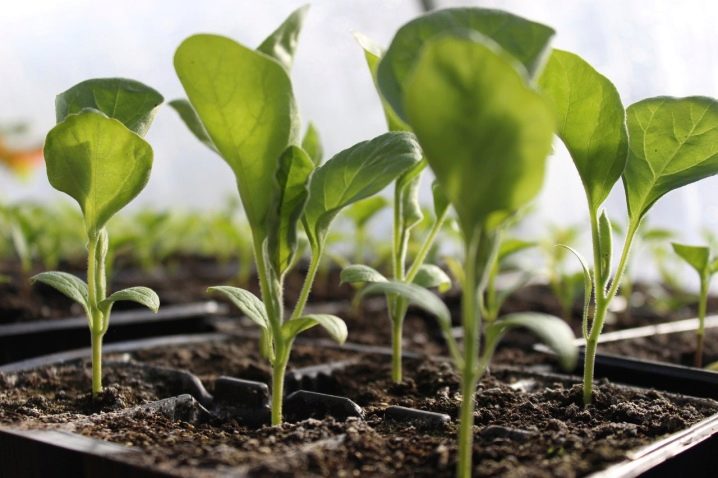
The nuances of aftercare
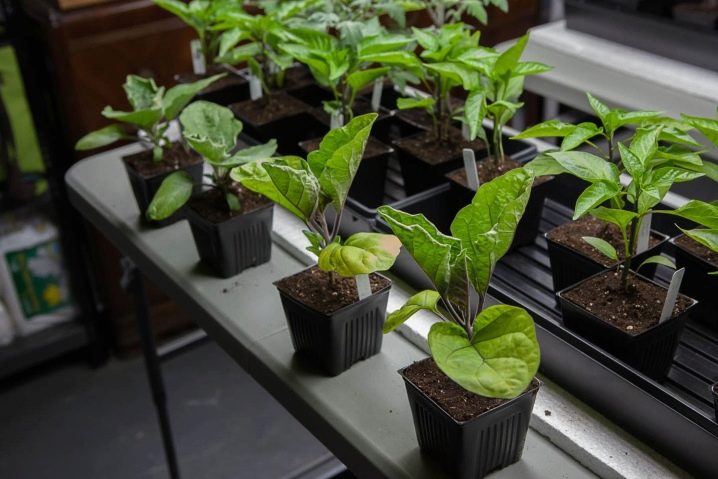
Growing eggplant seedlings has a number of nuances that should be known and implemented.
Temperature regime
After the seedlings appear, they are opened, you also need to try to lower the temperature. During the day, the optimal mode is about 15 degrees, at night - about 11, so that the root system is strong at this stage. If the temperature is high, the seedlings will grow in height very quickly. After 7 days, you can raise the temperature to 26 during the day and about 13 at night. Make sure that the temperature is different during the day and night, otherwise the sprouts will not get used to close to natural conditions.

Periodically, the containers are turned, and in case of high dry air, a polyethylene film will help.
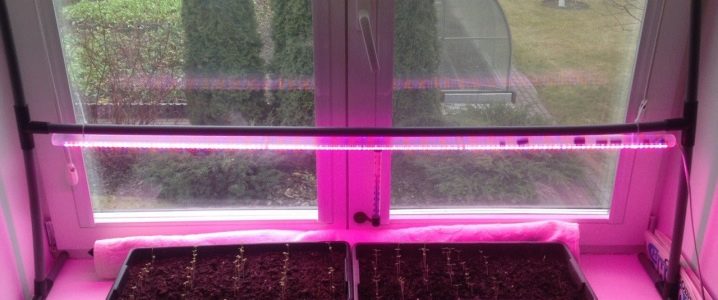
Lighting
In mid-spring, containers with seedlings will have enough sunlight when placed on a windowsill. But if the landing was carried out in winter, you need to take care of an additional light device. The daylight hours required for sprouts cannot be less than 12 hours. Accordingly, you need to turn on the phytolamp for the amount of time that is missing. For the first three days, it is recommended not to turn off the lighting device at all, leaving it overnight. The phytolamp is installed 50 cm from the sprouts. Devices of the fluorescent, LED type are excellent. The main thing is that there is enough power for the entire surface of the seedlings.
Moisturizing
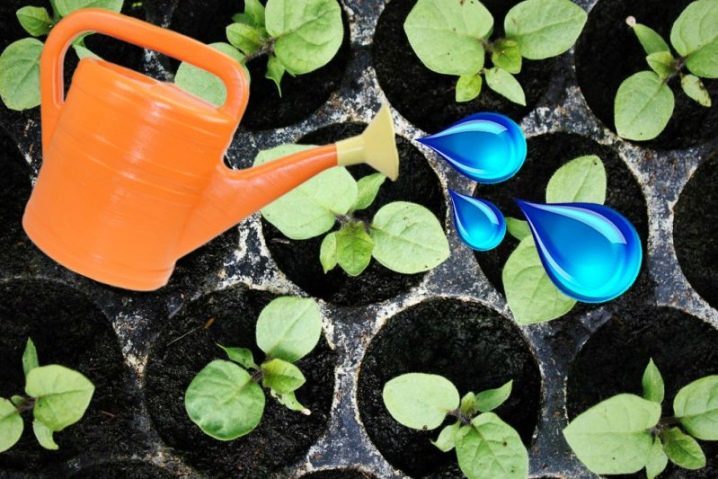
Timely watering is another important procedure that ensures the healthy development of seedlings. Moisturizing should be carried out regularly and do not spare moisture.... The soil must be constantly moistened; dryness of the soil must not be allowed. If there is little moisture, the trunks will begin to grow stiff ahead of time. The result is a low yield level.
On the other hand, you should not overmoisten the soil, because this provokes the development of mold and other diseases. The best way to irrigate is to spray with water that has been previously settled from a spray bottle. Cold water cannot be used. Loosening is carried out after watering, extremely carefully.
Fertilizer
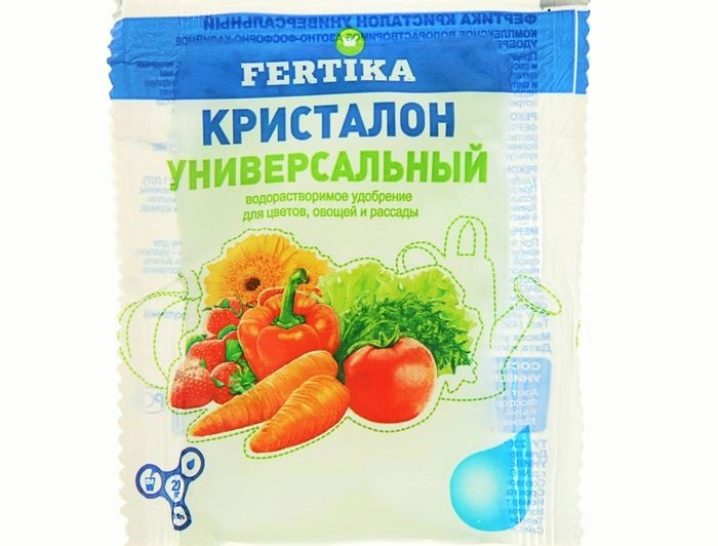
Top dressing is applied to the soil initially at planting, but this is not enough. After a week and a half, you need to feed the sprouts if they do not dive. If the picking procedure is necessary, the plants are fed after it. Fertilize seedlings with "Kristalon" diluted in water. After feeding, the plants are moistened, otherwise the roots can be burned.


The comment was sent successfully.