How to transplant azalea at home?
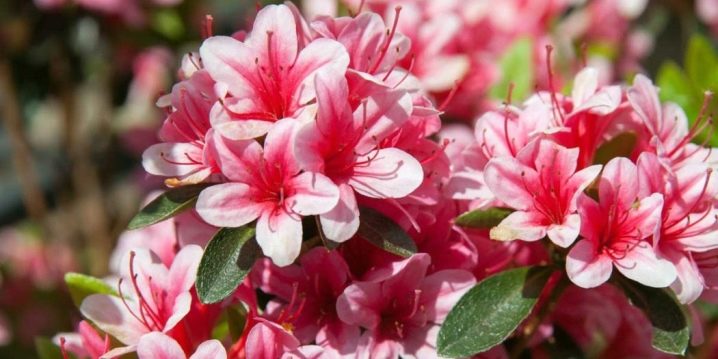
In the heather family, there is an exotic flowering shrub called azalea. In the wild, it grows in Asia, Europe, and North America. The Japanese have a special attitude towards him. They call it a "lust-intoxicating" plant for its seductive and sensual scent. Thanks to the work of breeders, azalea is grown not only in botanical gardens and nurseries, but also at home, resigned to its capriciousness.

Appointment
The shrub is highly branched. It has lanceolate, elliptical, ovoid leaves. They are pubescent on both sides. Depending on which species the azaleas belong to, they can have one-color - white, pink, red, purple, purple, dark red - or variegated buds. They can be terry or plain.
Azalea is one of the plants that are finicky and moody. In warm regions, it is grown in the garden, and in cold regions - on the window. Florists breed it to enjoy the extraordinarily beautiful flowering.
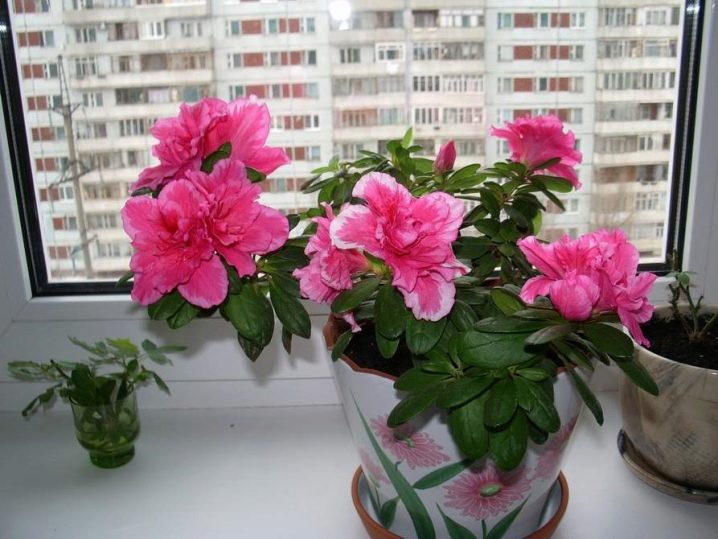
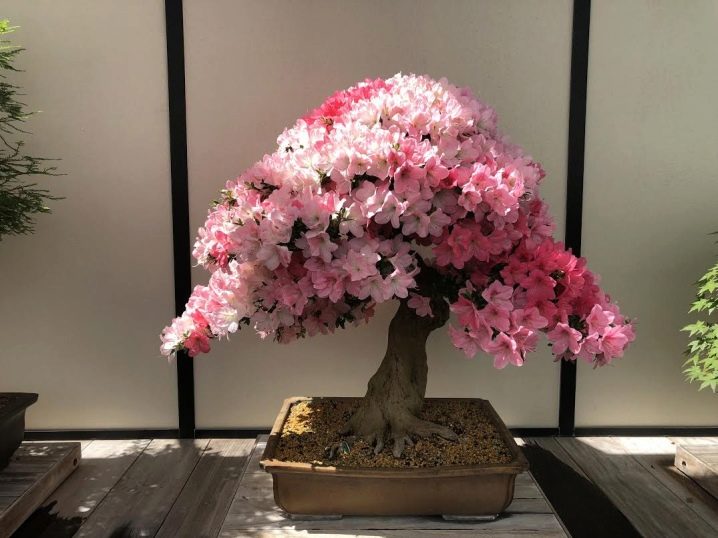
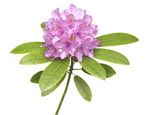
A representative of the genus rhododendron is a valuable ornamental plant that is formed as a standard tree or as a dwarf tree. It has a long flowering period. Florists use azalea in their bouquets.
Plant care after purchase
It depends on how the adaptation period passes, whether the azalea will grow and bloom well. To make it go well, they examine her at home. Find out if there are traces of mold on the ground. If they are, process the potting soil. antifungal drugs ("Fundazol", paste "Fitosporin-M", "Trichodermin").

After examining the plant and making sure that there is no fungus, the pot is placed to the north or east window. Shade it from direct sunlight
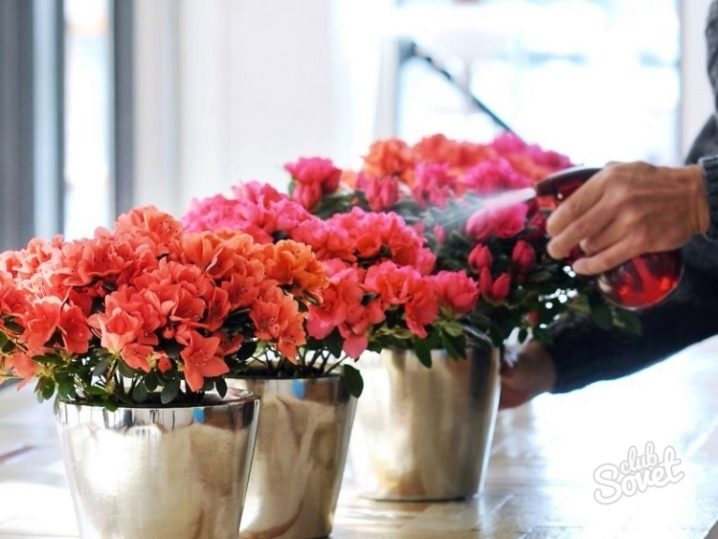
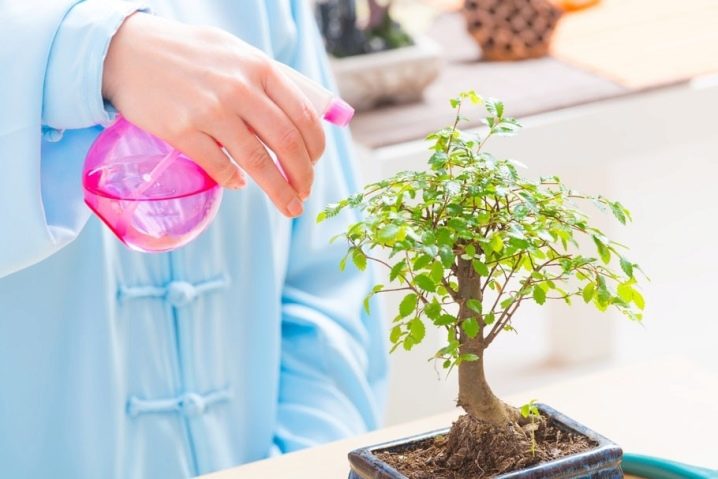
In a new place, where the temperature should be up to + 18 ° C, at first azalea should not have "neighbors": good appearance does not mean its health and the absence of pests. Maintain high humidity by spraying the flower with a spray bottle or placing an air humidifier in close proximity to it.
In order not to infect all indoor plants, the azalea is kept in quarantine for 14 days. If during this time ticks, whiteflies and aphids have not appeared, rearrange the pot to other crops.
Transplant features
When growing azaleas for sale on farms, chemical stimulants are used. Shrubs, planted in cardboard cups with a small amount of peat mixture, are treated with a synthetic substance called a retardant, which puts them into hibernation. In addition to them, fertilizing with prolonged action is added to the soil, thereby maintaining a blooming and fresh appearance of the azalea for two to three months.

With this approach to cultivation, buds are obtained even on small sprouts, but the roots and leaves do not develop. After purchase, flower growers do not use these preparations.
So that the azalea does not die in a couple of weeks, and the root system develops normally, it is transplanted at home, but after a period of adaptation. In this case, do not wait until she drops the buds. Some of the blossoming corollas and buds are cut off, and then the flower is transferred to a new substrate. Otherwise, he will experience severe and irreparable stress. For the same reason, a transplant is carried out in the future after flowering.
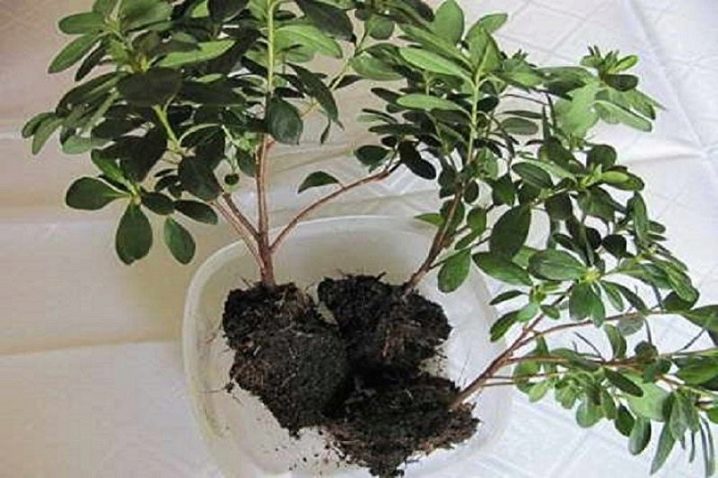
Experienced growers do not transplant a flower in winter due to the fact that it is dormant. All natural processes are inhibited in him. The right time for transplanting is the resumption of vegetation processes. The best way is to transfer the flower to new soil.
Preparation
The growth and appearance of buds on azaleas depend on how meticulously the grower prepared for the transplant.
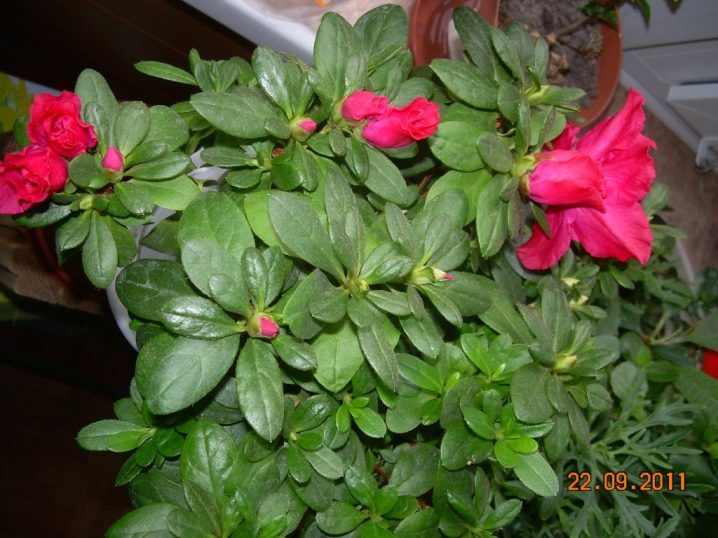
Soil selection and preparation
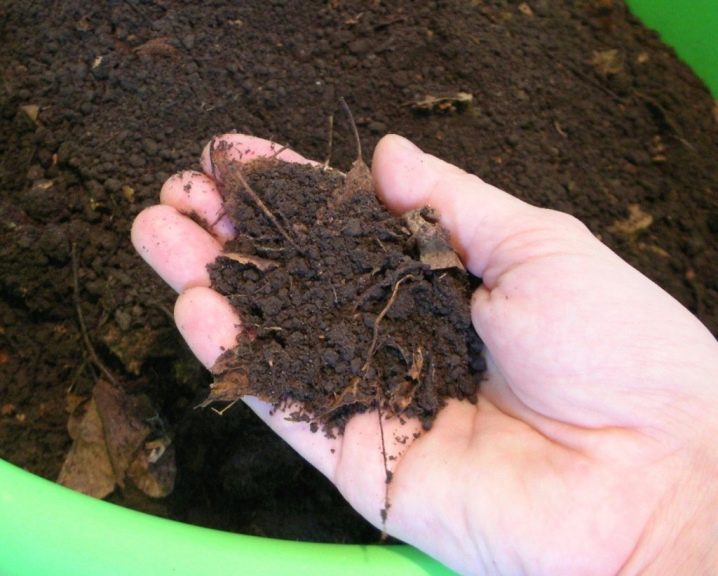
The optimal level of soil acidity for azaleas is 3.5-5.5 pH. There are two ways to prepare it: buying ready-made azalea soil at a flower shop and preparing the substrate yourself.
Ready soil
Newcomers to floriculture transplant the azalea into store-bought soil: Fasco, Udmurttorf or Permagrobusiness. This method of transplanting is safe for a flower, but on condition that coniferous earth is present in the composition, among other components. Ready soil for azaleas has all the necessary components for healthy root development and flowering
Carefully study the label before buying. If the composition of the substrate includes a complex of trace elements and minerals, do not fertilize the flower for 2-3 months after transplanting. This potting mix is suitable for an adult plant. Young or vegetatively propagated flowers are planted in a land where nutrients are scarce.
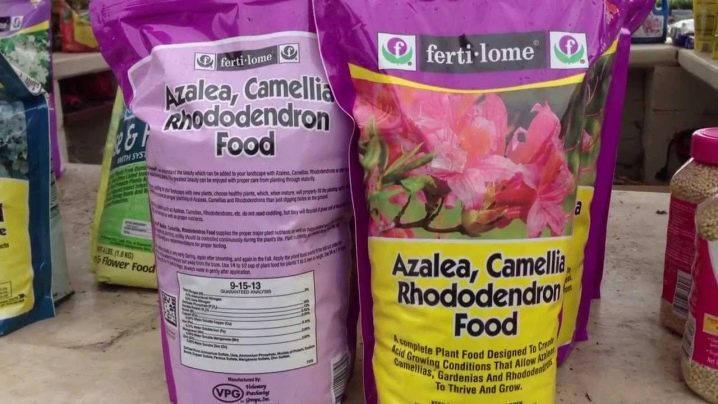
The date of manufacture is recognized by the inscriptions on the label. This information will not hurt if the grower buys soil for future use: the fresher it is, the better.
DIY soil preparation
Experienced flower growers plant the azalea in the soil mixture prepared on their own. It must be crumbly to allow air to pass to the root system. There are three recipes for good soil:
- 1 part of sand and peat, 2 parts of coniferous land;
- 1 part of sand and deciduous humus, 2 parts of humus from fallen needles of spruce, fir, larch, pine and 3 parts of peat collected during the decomposition of sphagnum or cotton grass moss with the participation of moisture;
- in equal proportions, take special soil for azaleas, sphagnum moss, steamed bark, vermiculite, charcoal, perlite.
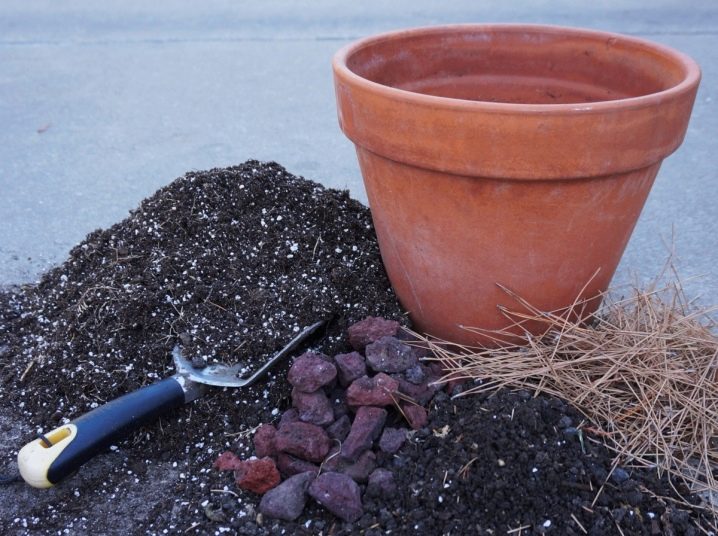
Whichever method of preparation of the substrate you choose, before transplanting, remove all excess from it (twigs, pebbles, pieces of polyethylene) and disinfect it. To do this, use "Fitosporin", fry it in the oven or steamed in a water bath for 30 minutes with occasional stirring. Without disinfecting it, they are faced with the defeat of the plant by pests and fungal diseases.
Without taking care of the cleanliness of the soil in advance, you can either face the death of the flower, or treat it for a long time.
Pot selection
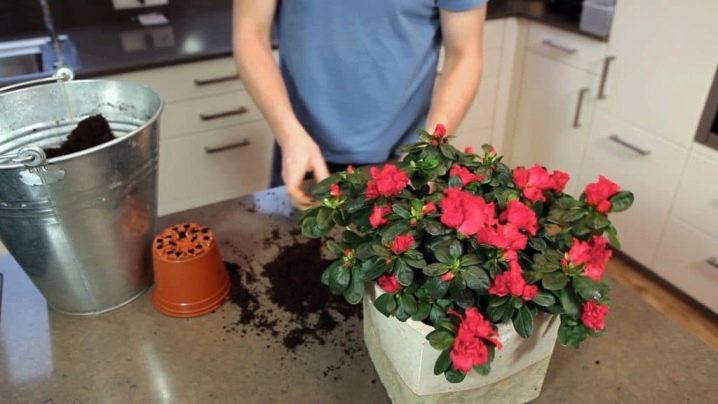
Choose it according to the size of the root system. It should be wider and larger than the previous one.
Step-by-step instruction
So that the azalea takes root in a new place and does not dry out, transplant it in accordance with the sequence below.
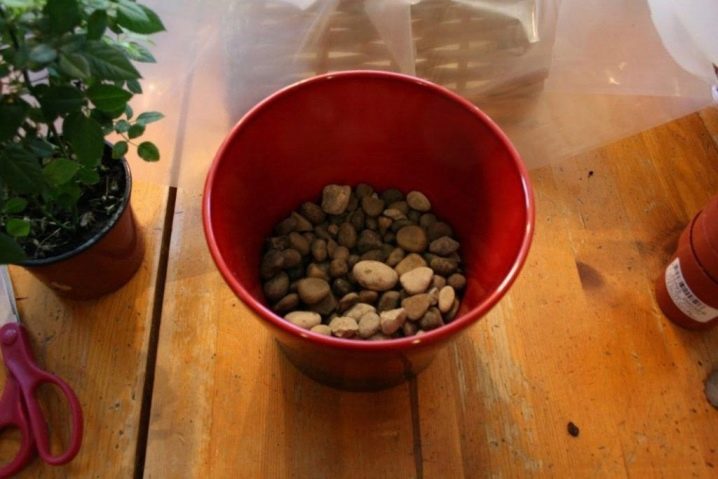
- Before transplanting, holes are made in the pot to drain the water. A 3-5 cm drainage layer is placed on the bottom. For this, pebbles, gravel or broken shards are used. Pine bark is poured on top to increase the acidity of the soil mixture, and prepared and disinfected soil.
- Take out the azalea from the old container. The soil mixture in it must be dry. If the container is plastic, it is easier to remove it by crushing the walls.
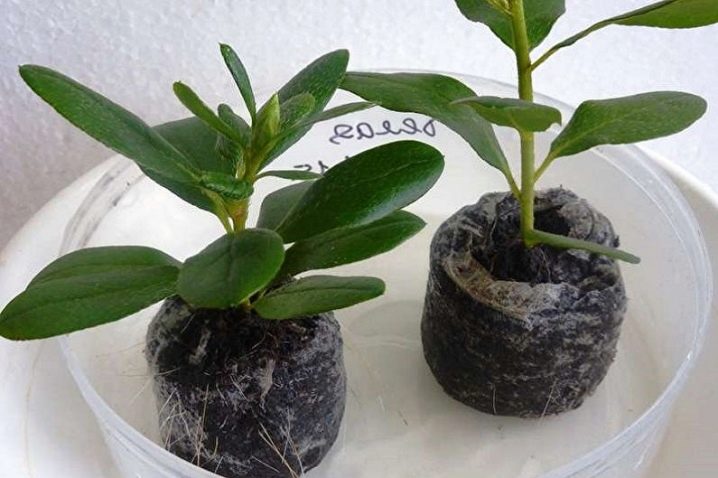
- After removing from the pot, the roots are pruned one centimeter from the bottom, along the sides and at the root collar. To do this, scissors are disinfected in alcohol. This is done to improve the access of water and oxygen to the roots. And also remove the broken, rotten or podoprevshie roots in the old container. Places of cuts are treated with folk remedies (crushed charcoal) or purchased biostimulants ("Kornevin" or "Heteroauxin").
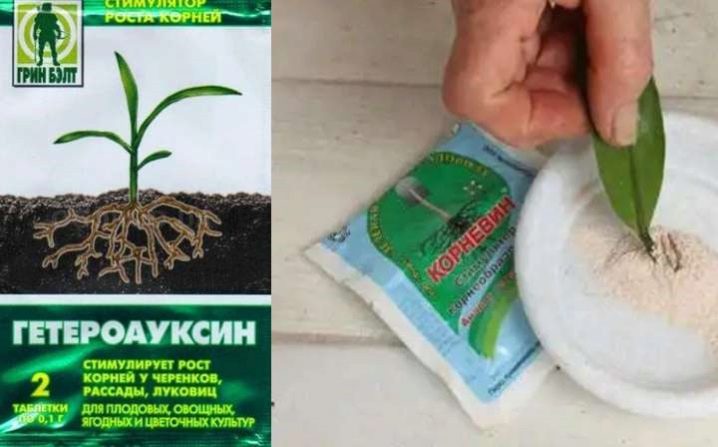
- Place the plant with a lump of roots in boiled or filtered water with a pitcher filter. A growth stimulant is added to it. By holding the flower in water, the old soil is partially removed. This is done to remove excess salt deposits.
In order for the transshipment to go well, and the water is absorbed, cuts of 5 millimeters are made in the coma of earth - from the bottom, from the side and from the top. The beneficial ingredients from the stimulant will saturate all parts of the plant.

- Take the azalea out of the water. They are waiting for all the water to drain.
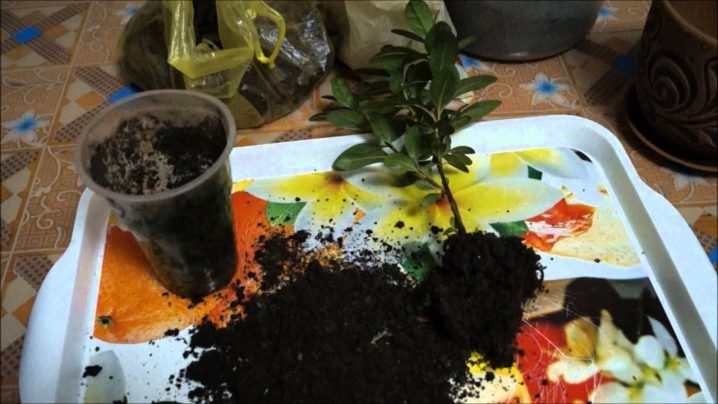
- If necessary, the plant is divided. This is done if it has grown, or different types of crops grow in the same pot (during flowering they interfere with each other). The bushes are separated after cutting the roots.
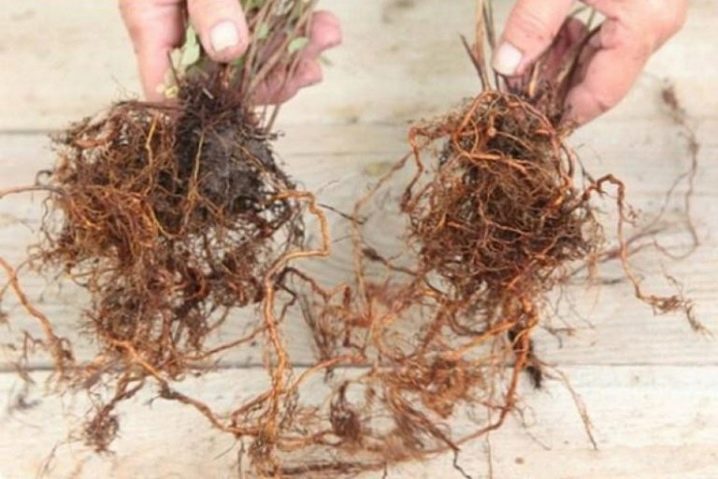
- The bush is placed in the center of the new pot. The crown is pruned, the young shoots are pinched and a few pairs of leaves are left. Sprinkle the roots with a pre-prepared potting mixture and tamp them gently with your fingers. Make sure that there is no soil on the root collar - it should be at the same level with it.
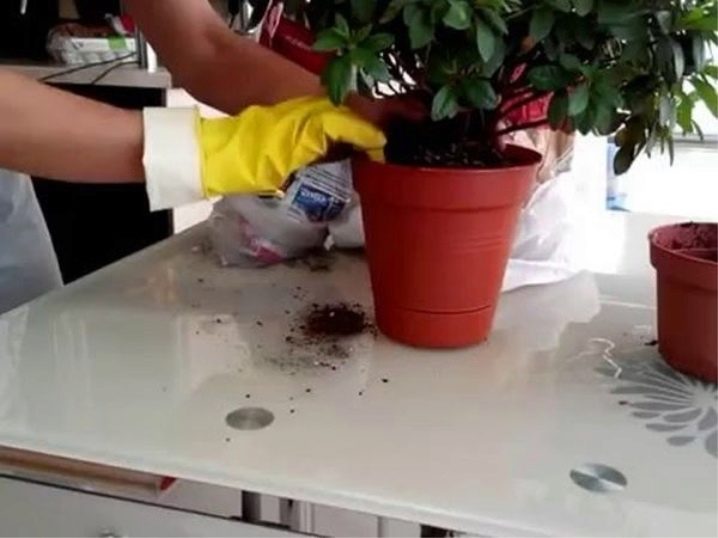
- Water the plant with the solution that was used for soaking.
Follow-up care
The growth, development and flowering of azaleas depend on whether the grower followed the steps from the step-by-step instructions or not, and whether he organized quality care for successful acclimatization.
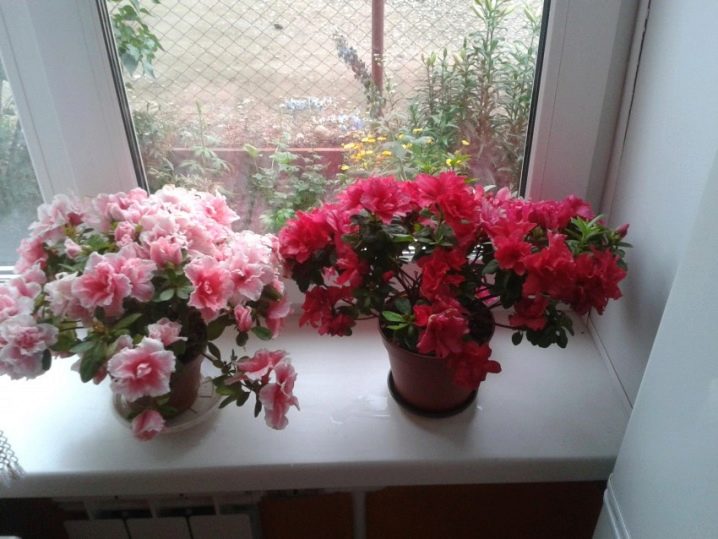
After transplanting the flower is placed on a window where there is enough sunlight.... It is not placed on the south window, since it will die from the onslaught of direct sunlight, if there is nowhere to put it, they shade the azalea from them.
It is undesirable to place the pot near convectors, radiators and other heating devices. Avoid drafts.
In the next 3-4 days, do not water the flower. The soil is simply moistened by spraying from a spray bottle. Both for watering and for moistening, melt, rain, settled or filtered water is used.
Acclimatization lasts up to two months. To make the plant feel better and help the plant get used to life in a new pot as soon as possible, experienced flower growers water it with water. with the addition of "Zircon"... Add 4 drops of this solution purchased in the store to 1 liter and water the plant with it, alternating with watering with filtered or settled water.
With the help of "Zircon" they have a stimulating, strengthening and depressing effect for pathogens. It protects the plant from powdery mildew, root rot, late blight, bacteriosis.

Carefully monitor the condition of the azalea. If it was transplanted correctly, the kidneys sleeping on the trunk will hatch on it.
Azalea is a beautiful but moody shrub. Beginners in floriculture rarely buy a beauty, preferring less whimsical plants, but in vain.
With proper care and strict observance of the points from the step-by-step instructions, it will take root and will delight the household with its extraordinary flowering.
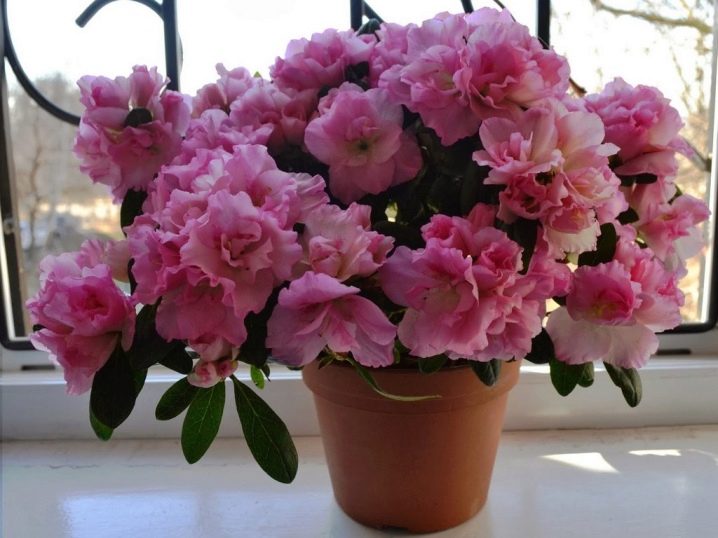
For a video on how to transplant an azalea at home, see below.
















The comment was sent successfully.