Planting and caring for aster
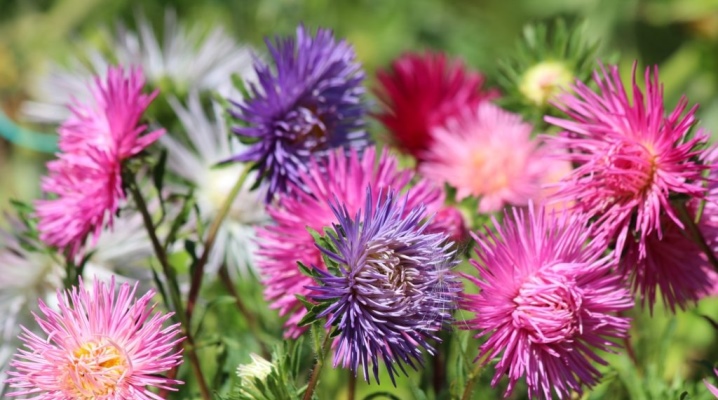
One of the most popular flowers on the backyard is aster. It attracts gardeners with a wide variety of shapes, sizes and a wide range of colors. The methods of planting a flower are quite simple, and care does not cause much trouble.
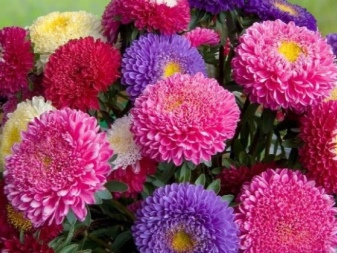
The right time to disembark
The choice of a favorable time for planting asters in open ground depends on the chosen method. They can be planted by seed and seedlings.
In the spring, early varieties can be sown in early March, then their flowering will fall on the last days of June and July. Sowing of medium and late varieties can be started when stable warm days come: at the end of April - mid-May. They will bloom towards the end of summer and autumn.
Planting seeds is also permissible in late autumn (it is possible before winter). Sowing late has the advantage that the plants germinated the next year develop a stronger root system and are less susceptible to various diseases.
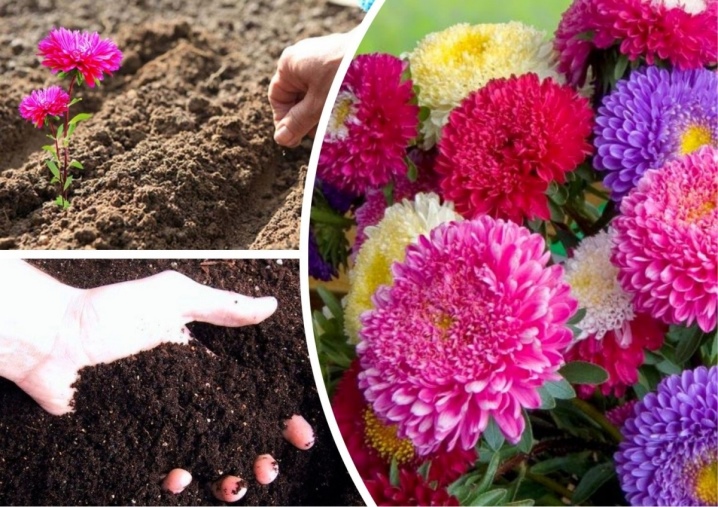
Seedling in open soil is carried out in April and May. When 6–8 leaves appear, the sprouts will take root well and will be able to withstand night frosts. Planting in this way is good in that the timing of the appearance of flowers comes earlier than with seed planting.
Site selection and soil preparation
Asters will undoubtedly decorate any flower bed in the garden or in the front garden near the house. For the formation of healthy buds and lush flowering, you need to choose the right place for their planting. These beautiful flowers love open and sunny areas, although they also feel quite comfortable in partial shade. It is better to form a flowerbed in a high place protected from the wind, so that there is no prolonged stagnation of moisture.
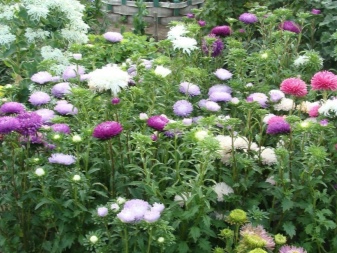
The land must be prepared in advance, simple digging is not enough, since the flowers need fertile soil. Already in the fall, it is worth deciding on the place of landing of asters in the spring. To increase fertility, humus or peat mixed with sand should be added to the soil. They will also promote drainage and good breathability. In the spring, the site must again be dug up and fertilized with a small amount of superphosphate, potassium salt and ammonium sulfate.
If planting is carried out in the fall, then the soil is prepared using the same technology - with the addition of peat or humus. It is possible to sow only after 5-7 days, when the acidity of the soil from the introduced humus is neutralized. If you immediately plant asters, then there is a high probability of infection with fungal fusarium. Immediately before sowing, it is advisable to add the same complex of fertilizers.
In the same place, it is permissible to grow flowers for 5-6 years. After this time, it is recommended to change it. You can return to it in 3-4 years. Asters take root well in places where calendula and marigolds used to grow.
It is not recommended to plant on summer cottage areas where there were previously plantings of vegetable crops - tomatoes, potatoes - and in place of flower beds of gladioli, carnations and levkoy, in order to avoid fungal infections.
How to plant?
There are no difficulties in the peculiarities of planting asters by seed or seedling method. Experienced growers recommend using both methods, adhering to certain rules.
Planting seeds in open ground
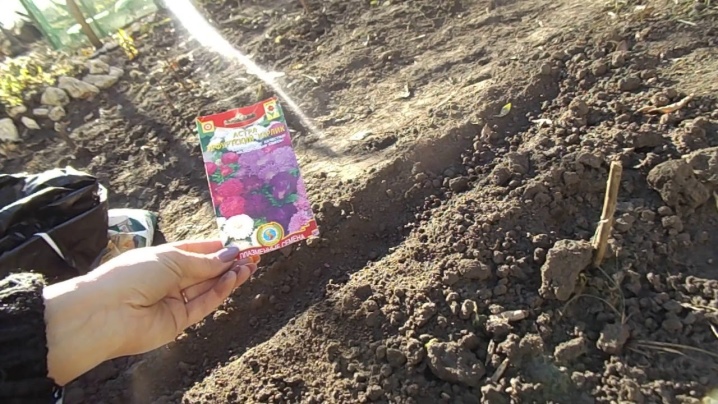
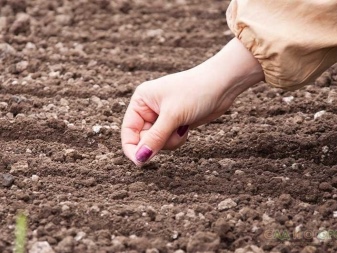
Planting in this way is possible in spring and autumn. Several rows of grooves are made in the prepared soil, approximately 1–3 cm deep. It is easiest to arrange them with the edge of the palm of your hand, of course, after putting on a glove on your hand, or draw a row with some improvised means (with a stick, a handle from a child's shoulder blade, etc.). Water the rows well. Place seeds in them at a distance of 1.5–2 cm from each other and cover them with earth. For easier sowing, they can be mixed with a small amount of dry sand (no more than 1 handful). To accelerate germination, you need to cover the crops with plastic wrap, securing it around the edges with some kind of load (bricks, stones, boards, etc.).
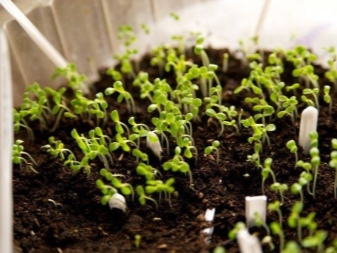
When sprouts appear, the film is removed. If the seedlings have sprouted too densely, then when 2-3 leaves appear, they should be thinned out. The optimum distance between shoots should be 10–12 cm. The seedlings to be removed can be planted elsewhere.
Sowing seeds for seedlings
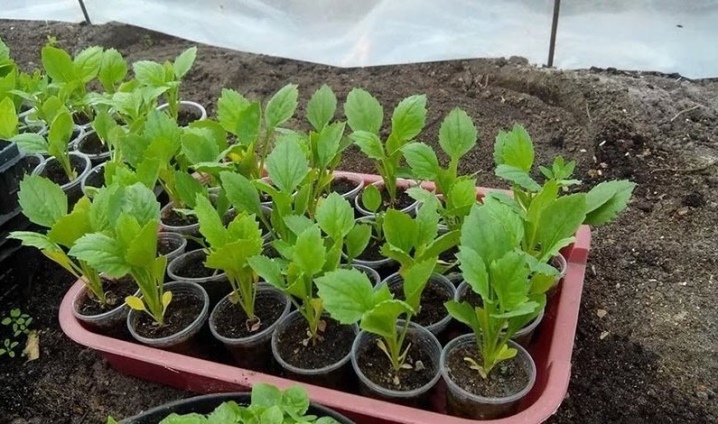
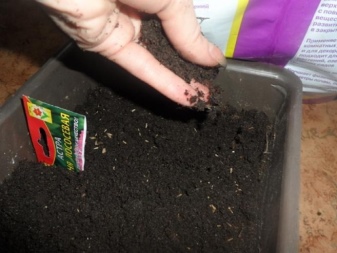
It is best to sow seeds for seedlings in March. To do this, soil is poured into containers, mixing it with humus, and grooves are made in them, 0.5-1 cm deep every 2 cm. The earth is watered and seeds are placed in the grooves. From above, they are covered with earth. The container is covered with foil or glass.
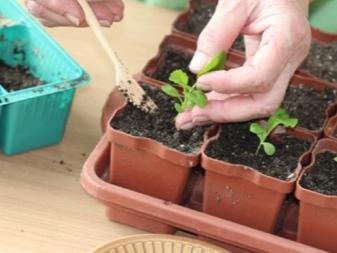
At room temperature 22-25 ºC, seedlings will appear in 1-1.5 weeks. When the first two leaves are formed, the seedlings can be dived (each transplanted into a separate small container). To prevent the risk of fusarium disease, small seedlings can be treated with a weak solution of potassium permanganate before transplanting.
With the formation of a strong dense stem, the appearance of 5-6 leaves, the seedlings can be transplanted to a permanent place in the open ground.
Planting seedlings
It is advisable to prepare seedlings for transplanting into outdoor conditions in 2 weeks. In the daytime, containers are taken out into the open air for several hours (when living in an apartment, they can be put on the balcony, having previously opened its windows). In the absence of frost, you can leave them overnight on the balcony or unheated veranda after a week. It will be easier for hardened plants to take root in the garden and tolerate possible frosts.
In late April - mid-May, the seedlings are ready for transplantation. You need to plant in the evening or in cloudy weather in pre-prepared soil.
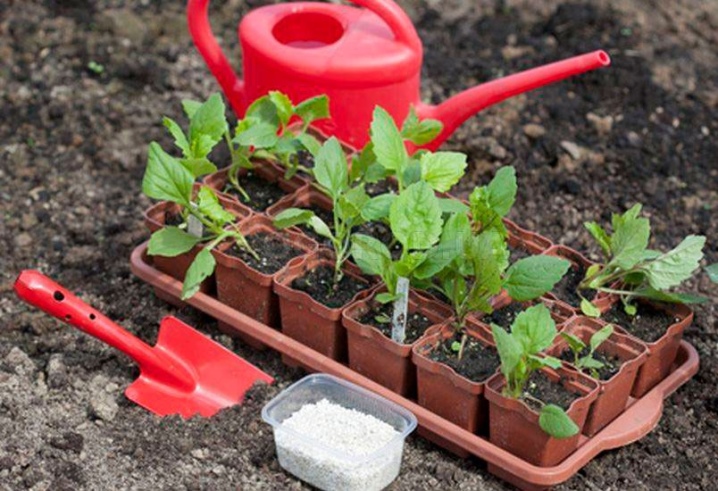
Planting stages
Hole preparation
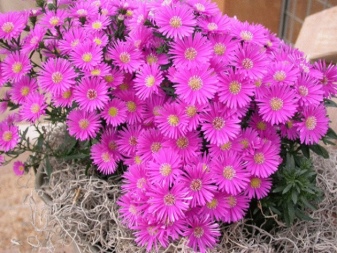
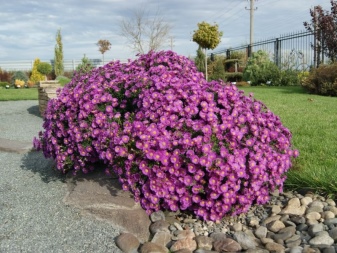
For large-flowered varieties with tall shoots, the distance between them should be 25–30 cm so that the elongated stems with flowers do not interfere with each other's development. For planting low perennial varieties, for example, New Zealand asters, the optimal interval of planting holes will be 15 cm. So they will look like a spreading meadow or a single strip. The recommended hole depth for medium and large varieties is 30-50 cm, for small-flowered varieties - 20-30 cm.
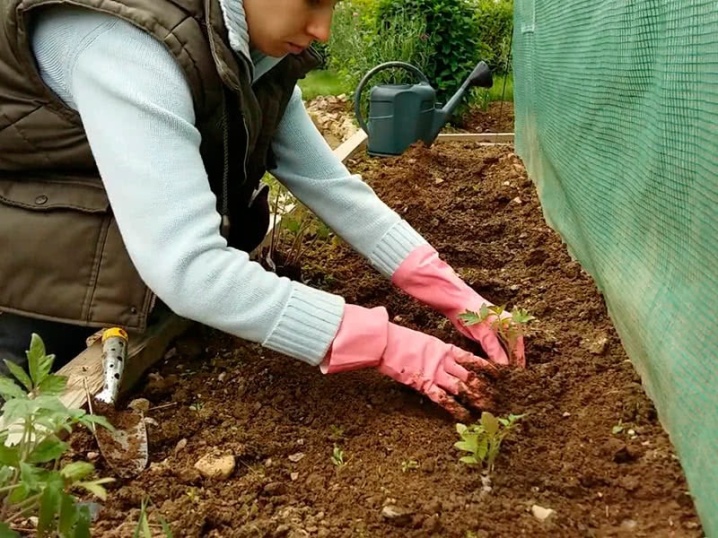
Landing
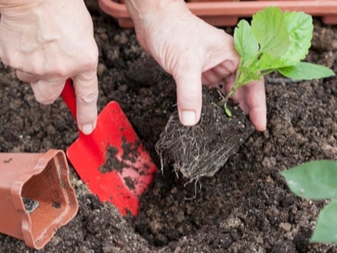
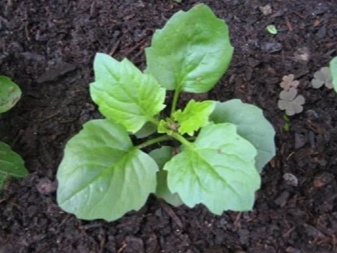
Put compost at the bottom of each hole, pour a layer of soil on top and water. For better survival of ground cover and spreading varieties of asters, it is recommended to initially put a drainage layer (broken brick, fine gravel or river sand). When the water is absorbed, lower the seedling, gently straightening its roots, and deepen it together with the lower part of the stem by 2 cm. Its length after planting should be 6–7 cm. Lightly tamp the earth around the planted flowers, water and sprinkle with sand on top.
How to take care of it properly?
The main care for asters comes down to timely watering and loosening the soil.
Watering
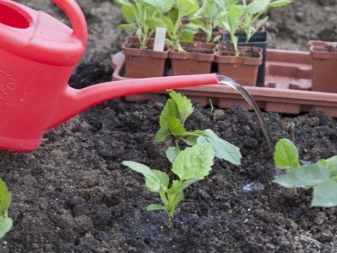
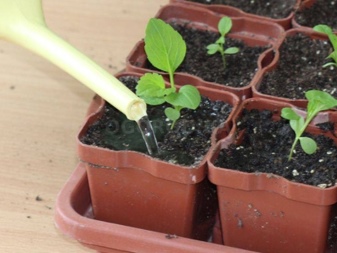
It is better to water the plants in the evening or early in the morning. During the day, when the sun's rays shine brightly, watering should not be carried out, since the water will quickly evaporate and the roots will lack moisture.
Water that is too cold will be poorly absorbed by asters, so it is recommended to collect water for irrigation in advance so that it can warm up under the sun.
The condition of flowers is equally badly affected by excess and lack of moisture. In dry and hot weather it should be watered infrequently, but abundantly (1-2 times a week, 2-3 buckets per 1 m2).If there is little moisture for the plants, this will affect the size of the flowers - they will be small and not lush.
Excessive moisture can lead to fusarium.
Loosening the soil
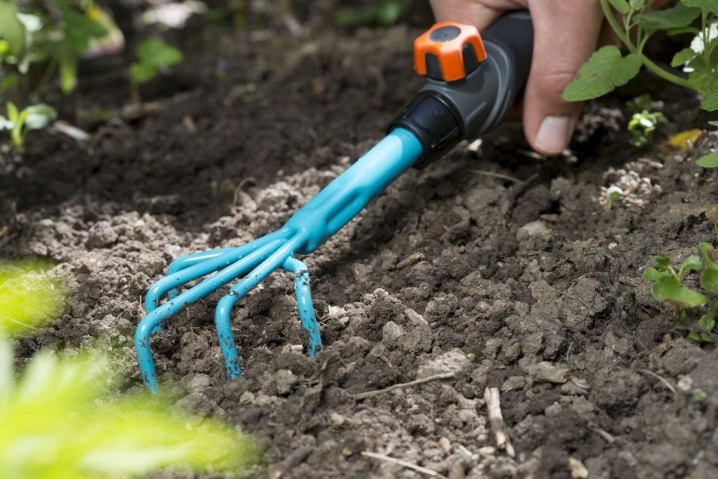
After abundant watering or rain, you need to loosen the soil and the aisles around the asters to a depth of 4–5 cm in order to prevent the formation of a soil crust. With a frequency of once every 2 weeks, to accelerate root growth, it is recommended to huddle plants to a height of 5–8 cm from the total level of the flower bed.
Top dressing
To grow beautiful double flowers, the plant needs to be fed with fertilizers.
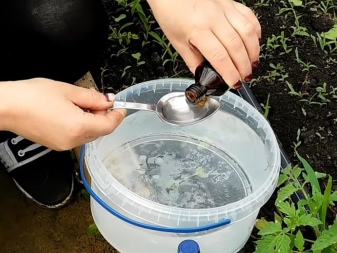
The first time feeding is carried out before the formation of buds. Better 12-15 days after planting in open ground. Can be used:
- universal potassium humate - 1 tablespoon in a 10-liter bucket of water;
- flower fertilizer "Intermag" - 3-4 liters of solution per 1 sq. m. flower beds;
- mullein solution diluted in proportions 1: 10;
- complex fertilizer "Flower" - 1 tablespoon per 10 liters of water.
During the budding period, a second feeding is introduced using superphosphate and potassium sulfate in the amount of 40-50 g per 1 sq. meter.
The third feeding is carried out when the first flowers appear, using the same fertilizers as in the second feeding.
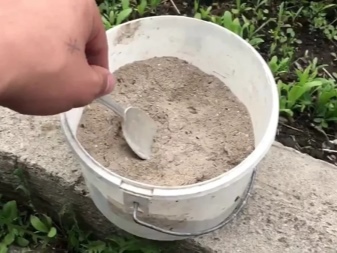
Garter and trim
Depending on the type of aster, additional care may be required. Perennial shrub varieties need pruning to form a well-groomed crown. It is better to spend it in the spring. Pruning the extra branches will not only give the bush a neat look, but also stimulate the growth of new healthy shoots, on which new flowers will appear by the end of summer.
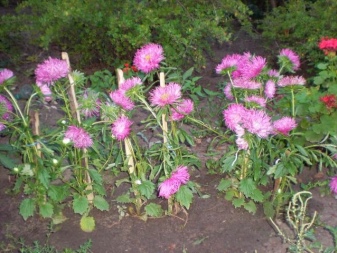
Tall asters, reaching a height of 1–2 m, are recommended to be tied to strong pegs or planted near the fence and tied directly to it.
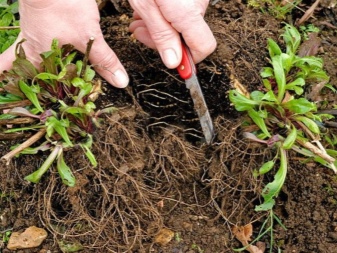
Post-flowering period
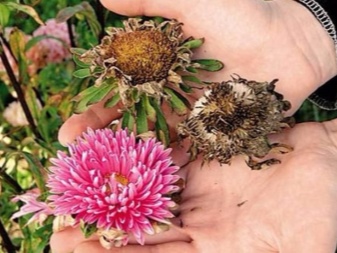
Depending on the type and variety, asters have a different flowering period. The early ones finish flowering in August, the late varieties bloom until the very cold. Withered and dried flowers should be removed from the stems and no further action should be taken until frost.
Annual plants that have faded should not be left in the ground until next spring, as this will encourage the spread of bacteria in the soil. When cold autumn days come, the bushes are pulled out by the roots, folded in a separate heap and burned when dry.
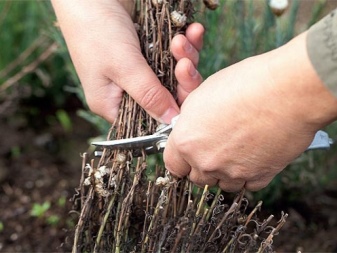
Perennial species tolerate wintering well in the open field. After the end of flowering, it is better to cut them off, leaving no more than 5-7 cm from the root. It is advisable to cover the top with dry foliage or a layer of compost.
Features of growing at home
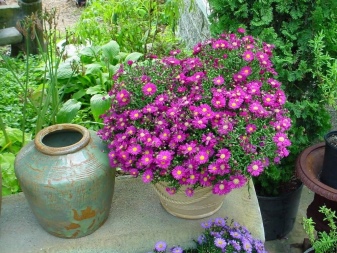
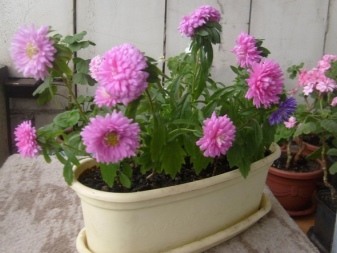
Asters are unpretentious plants, they feel comfortable not only on the street, but also in indoor conditions. The limited area of flower pots does not interfere with their growth and development, but it is better to transplant them over time into larger pots or containers. Sprawling undersized varieties, planted in a long container, will give aesthetics and decorative effect to the balcony in the summer.
The main condition for well-being and the formation of beautiful flowers indoors is sufficient illumination. The pots are placed on the windowsill, but in winter they must be supplemented with UV lamps for about 3 hours a day.
You can plant aster seeds for home decoration at any time, but it is important that the land is of good quality. The pot must have holes for air to enter. Drainage stones must be placed on the bottom with a layer of 3 cm. Seeds are sown on the surface of the flower soil and covered with a layer of earth of 2 cm on top, lightly tamped with fingers and watered. On average, it takes about 3 months from the date of planting the seeds to the appearance of the first buds.
Possible problems
Compliance with the rules of planting and care, of course, will contribute to the long and lush flowering of asters. But unfortunately, you can also encounter unpleasant moments associated with the occurrence of diseases or the attack of pests.
Asters are susceptible to such diseases.
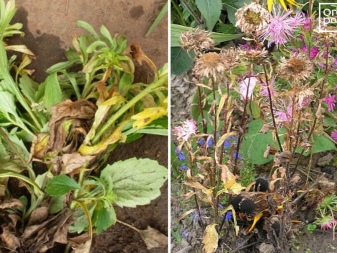
- Jaundice. A viral disease that spreads rapidly from one plant to another. It manifests itself in the pallor of the leaves and the appearance of a yellow coating on them. Later they lose their color pigment, dry out and fall off. The shoots begin to grow rapidly at the bush, but the growth of the main stem slows down. At the first sign of the disease, there is a chance to save the plant. It is necessary to remove the infected parts as soon as possible and treat the diseased and adjacent bushes with an insecticide solution. Severely affected asters must be dug up and burned to prevent the spread of the disease.
- Rust of asters. It occurs due to the ingress of varieties of fungi inherent in conifers. On the lower leaves, small outgrowths are formed in the form of swellings, which after a certain period of time are filled with spores. The spores burst, and the brown powder contained in them spills out and infects the soil. Leaves wither, dry up, curl and fall off. To stop the disease, you need to remove the affected leaves and spray the plants with a fungicide solution. The soil where the asters grow must also be watered with this solution. Spraying should be carried out once a week until the symptoms of the disease disappear completely. When planting coniferous trees on a site, you should not place a flower bed of asters near them.
- Fusarium. It occurs quite often, is caused by the fungus Fusarium and is difficult to treat. It develops very quickly and does not respond well to treatment. The disease begins with infection of the root system through the soil affected by the fungus. The roots begin to rot, which affects the appearance of the asters. The stems look frail, the lower leaves wither, and the middle and upper leaves become pale green in color. Gradually the plant becomes brownish brown and dries up. At an early stage of damage to the aster fungus, spray with a solution of the fungicide and treat the soil with it. At a late stage, it will no longer be possible to save the plants, and they will have to be destroyed (pulled out and burned).
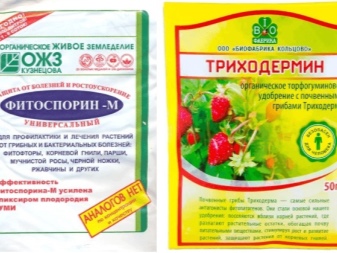
The following pests can pose a threat to asters.
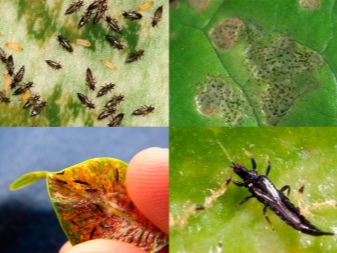
- Spider mite. Insects attach themselves to the lower part of the leaves and suck out their juice, as a result of which the foliage dries up and falls off. For the destruction of pests, it is recommended to spray the bushes with a weak soapy solution, ground sulfur or a solution of "Karbofos".
- Aphid. It is very common on young plants. Insects have a dark green body, 2 mm long, ovoid. They stick around the leaves tightly, which interferes with the development of the flower. To combat aphids, folk remedies will help: spraying with an infusion of garlic, onions or wormwood.
- The earwig is ordinary. The pest can be seen at dusk and recognized by an oblong brown body 10–15 mm long, a long mustache and a tail that looks like a rounded forceps. During the day, it will not be possible to find the earwig, as it is afraid of sunlight. Causes severe damage to an ornamental plant species: gnaws at leaves, stems, buds and flowers. The fight against this pest is reduced to watering asters with a weak solution of potassium permanganate, spraying with an insecticide, timely removal of weeds in a flower bed and loosening the soil.

Asters of any kind and variety will add beauty and splendor to the garden throughout the summer season. The main thing is to observe the basic rules of planting and adhere to simple rules of care.
Next, watch a video with tips on how to properly sow asters before winter.






















The comment was sent successfully.