How to grow anthurium from seeds at home?
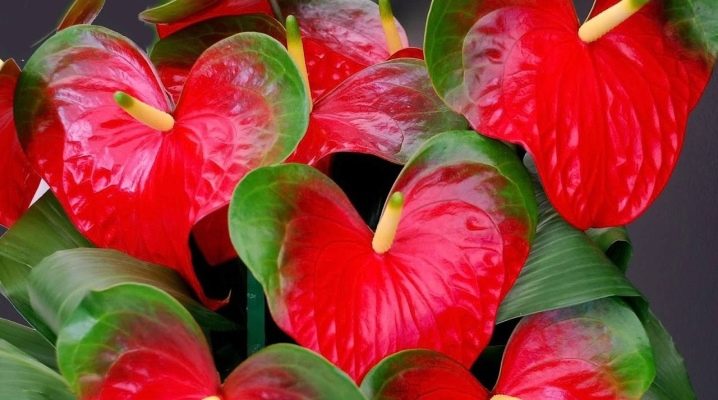
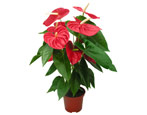
The tropical flower Anthurium is a spectacular representative of the flora of the Aroid family with abundant, almost continuous flowering. There is a legend that the beginning of life on Earth was given by two flowers - an anthurium and an orchid (he and she). These flowers are special, filled with a mysterious secret meaning. Anthurium is considered a symbol of family happiness and prosperity. But this is not only a symbolic attribute. It has very real useful properties: relieves fatigue, improves mood, improves the ecology of the environment in the home, assimilates and converts xylene and toluene into harmless substances, which can be released from some modern building materials.
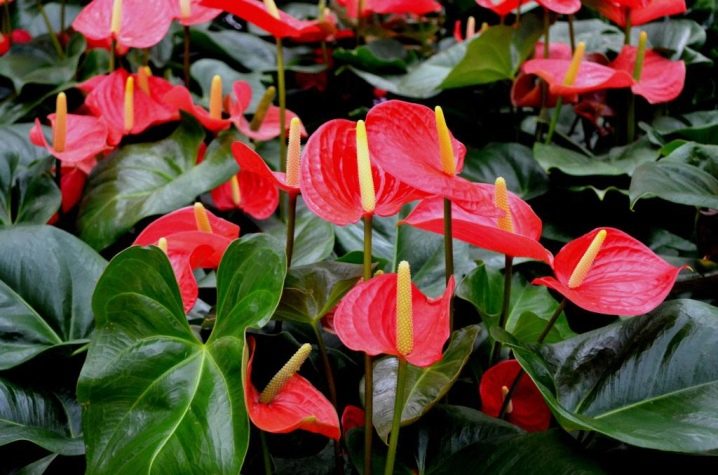
When is seed growing used?
Reproduction of anthurium is carried out mainly in a vegetative way (cuttings, leaves, children). This is a reliable method, not very difficult to implement, and gives good results with full preservation of the "parent" properties. There are situations when it is necessary to grow anthurium from seeds:
- in flower farms or among entrepreneurs whose activities are related to the sale of flower seedlings, in order to obtain a large number of plants at once;
- in order to update the existing collection when receiving seeds on order from suppliers;
- with a purposeful choice of a certain type of "parents" with the seeds received from them, selection experiments are carried out to develop new varieties.
The advantages and disadvantages of this method
The main advantage of anthurium seed propagation is the simultaneous production of a large number of new plants, which cannot be provided by any of the methods of vegetative propagation. The disadvantages include:
- the botanical characteristics of mothers are transferred to new plants only from varietal species, the seeds of hybrids cannot guarantee the expected result;
- the germination capacity of anthurium seeds does not persist for a long time, so the crops may simply not germinate, especially if the seeds were ordered by mail;
- the process of growing from seeds is quite laborious and significantly stretched in time - the flowering of seedlings will have to wait 2-3 years.
Getting seeds at home
To grow anthurium from seeds, you can use ready-made seed material from a specialized shopping center, sent by mail or taken from other growers. But amateur home breeders often try to get seeds from their plants for further breeding or to share with colleagues.
To obtain seed ovaries, pollination of flowers is mandatory.
In nature, this will be done by numerous insects that flock to the bright color and aroma of blooming anthurium. There are no insects at home, so the flower growers themselves will have to do the pollination of the inflorescences.
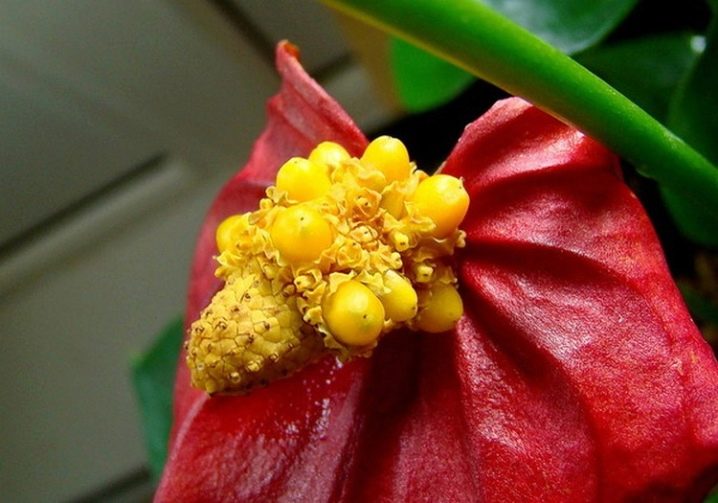
This operation should be started on a bright sunny day in order to ensure high intensity of illumination. One important subtlety should be taken into account - on anthurium inflorescences, stamens and pistils ripen at different times and are not ready for pollination at the same time. For successful pollination with a soft brush, careful light movements should be carried out on different "cobs" several times for about a week. If everything succeeds, the plant will begin to form berries, inside of which seeds are formed.
The ripening time ranges from 8-12 months, and the number of berries varies from 2-3 to several dozen on each inflorescence (depending on the variety). At the end of ripening, the berries hang on thin stalks, visually look juicy and full. Ripe berries should be collected, mash and rinsed to free them from the pulp.
Carefully! The juice of anthuriums (like all Aroids) is poisonous and can cause allergic manifestations on the skin (rash, itching, redness), so it is better to work with the plant with gloves.
For rinsing, use warm water and a strainer. The washed seeds should be treated with a pinkish solution of potassium permanganate and dried a little. This procedure will help eliminate the risk of seed rot in the soil after sowing.
Soil preparation
The substrate for planting seeds can be purchased ready-made with a given composition, but it is easy to prepare it yourself. A soil mixture of equal proportions of light leafy soil, peat and river sand is suitable. The sand can be replaced with perlite or finely chopped sphagnum moss. For disinfection, it is good to fry the soil in the microwave or spill it with boiling water about 2-3 days before the planned sowing.
The containers for planting are selected spacious, but not very deep. Immediately before planting, you need to spread the soil mixture in them, compact it a little with your hands and slightly moisten it (you can add pinkish potassium permanganate).
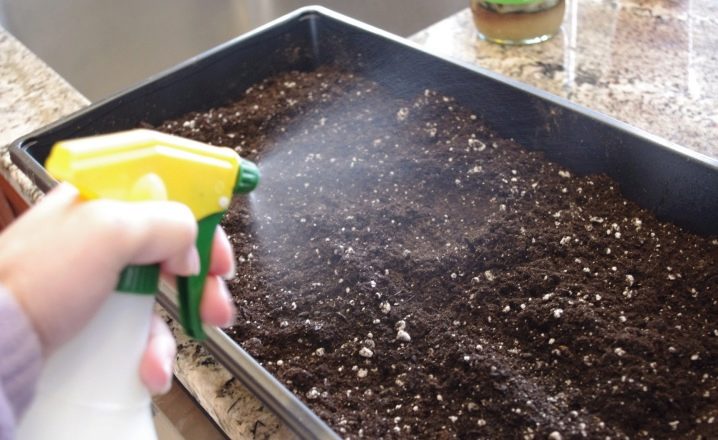
Remember about good drainage (fine gravel is suitable) - anthuriums really do not like a substrate with stagnant water.
Planting seeds
If everything is ready you can sow seeds (purchased or grown at home):
- scatter seeds over the soil surface as evenly as possible;
- gently, without deepening, slightly press them into the soil (you can use a wooden spoon);
- cover an impromptu "greenhouse" with glass or transparent plastic so that the substrate does not dry out;
- place the created "bed" in a well-lit warm place (ideally at +22 degrees).
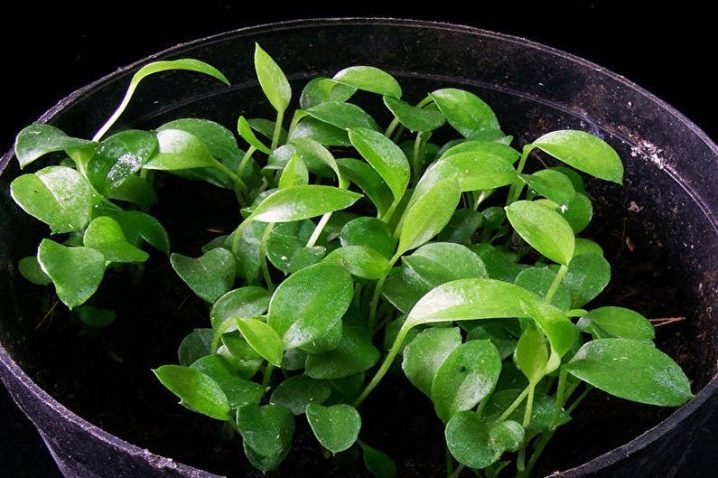
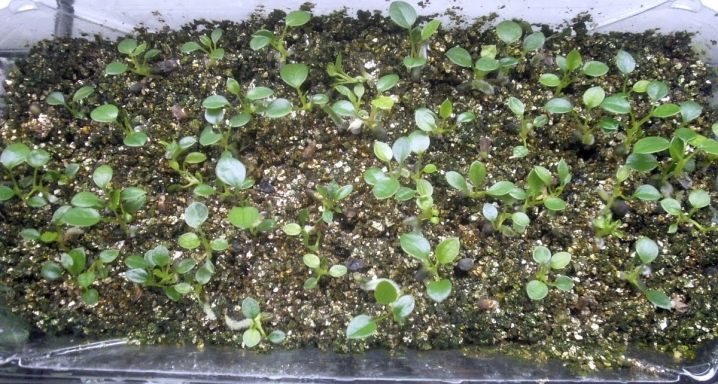
Under such conditions, anthurium seeds will selectively sprout in 5-7 days, and mass shoots will appear later (after about 2 weeks). If the room is warmer, the seeds will germinate faster, but the risk of decay will increase, and if it is very cold, the germination time will slow down to one month, and many specimens will not germinate at all. It is important during germination to closely monitor the condition of the soil, to prevent waterlogging, for this to carry out daily aeration of the "greenhouse". After the appearance of the first true sheets, the coating must be removed from the "greenhouse".
Crop care
Having waited for friendly shoots, one should not relax - the further success of growing small anthuriums will completely depend on the high-quality proper care of the seedlings. In every possible way, try to maintain optimal conditions of detention (temperature, illumination, humidity).
It is necessary to moisten these fragile sprouts with extreme care and only from a finely dispersed spray bottle.
Seedlings grow very slowly at first. But the moment comes when the first real leaves appear, then it is necessary to make a pick of the plants. The first dive is best done not in individual cups, but in spacious, shallow bowls. Plants should be planted at a distance of about 3 cm from each other. Experts note that in such somewhat cramped conditions, anthuriums develop much better than in separate cups.
The second pick is carried out after a month and a half already in separate containers, also small in size (no more than 250 ml). Now you need to change the composition of the soil - purchase a special version with the desired composition in retail chains or prepare it yourself according to the recommendations of specialists. Top dressing of re-dived seedlings should be carried out twice a month by introducing mineral fertilizer solutions into the soil. They usually start with a low concentration and gradually bring it up to the recommended concentration.From the practice of experienced flower growers, it follows that when sowing seeds in spring, young plants will have to be transplanted again in the fall, at the end of the warm season.
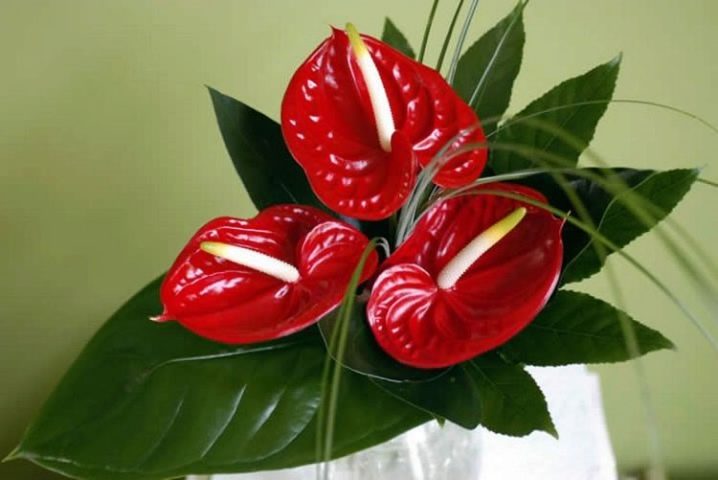
Anthurium is a rather expensive flower, but its high cost does not prevent it from constantly being among the most beloved by florists around the world. Many different shades of different varieties of anthurium, its versatility, expressive decorative properties of flowers and leaves, a peculiar shape of the stems are widely used by florists when decorating flower arrangements and gifts.




The comment was sent successfully.