Anthurium: reproduction and care at home
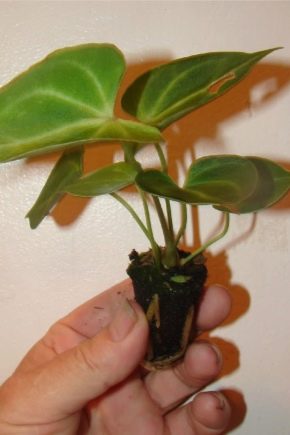
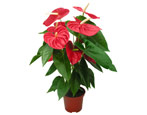
Anthurium is one of the most popular tropical plants that can grow and develop at home. The plant adorns many home greenhouses and winter gardens, so the problem of its correct reproduction remains quite relevant.
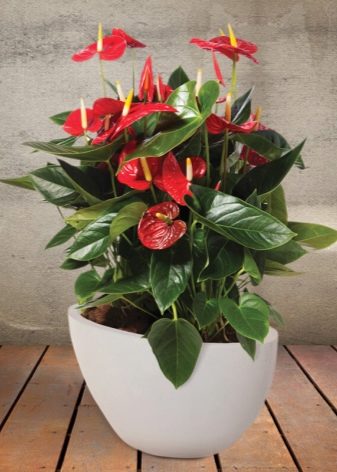
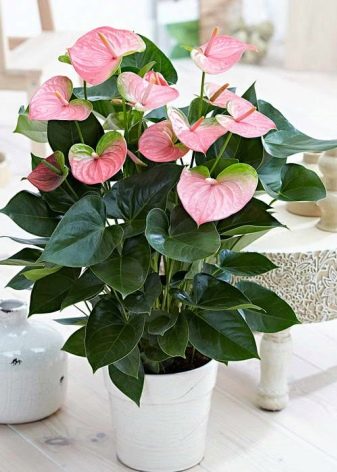
Features of the procedure
The genus Anthurium (Anthurium) is a member of the Aroid family and, according to various sources, has from 500 to 900 species. The natural habitat of the flower is the forests of South and Central America and the islands of the Caribbean Sea. In the wild, the length of its leaves reaches 1 meter, while in domestic representatives of the genus, they are much more modest in size.
Florists love indoor anthuriums for their bright and abundant flowering, which does not stop almost all year round. Among the people, the flower has a second, already unofficial name, and is familiar to many as "male happiness".
Reproduction of anthurium requires accuracy and lack of haste, as well as the availability of special tools and a certain amount of knowledge.
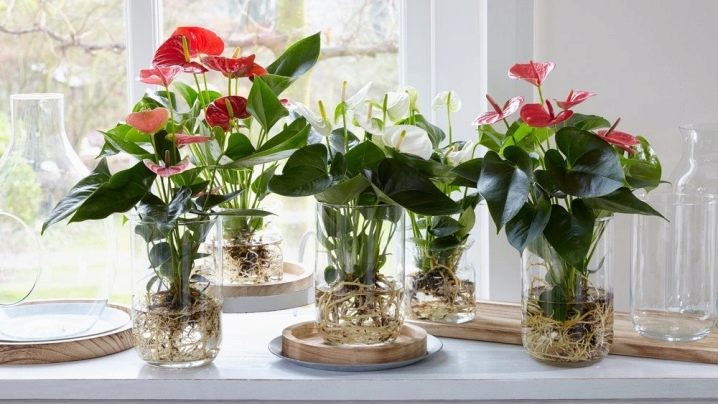
Before deciding on this procedure on your own, you should remember that not all methods can guarantee one hundred percent success. The most difficult breeding method is the seed method, so only experienced flower growers or breeders can resort to its help. In general, anthurium is a rather capricious plant; reproduction of many of its species at home is, in principle, impossible. This requires special specific conditions that can only be created in greenhouses and greenhouses.
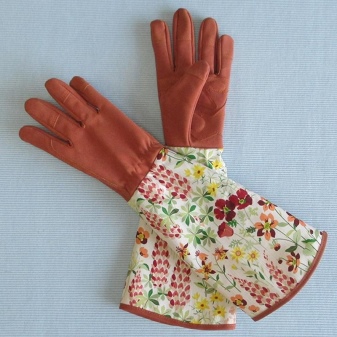
Before proceeding with the independent reproduction of a flower, you need to familiarize yourself with the characteristics of this species and find out if it is possible to do this in indoor conditions. In addition, before proceeding with the reproduction procedure, it should be remembered that the plant is poisonous, therefore, all manipulations related to planting, planting and other activities must be carried out with gloves. Do not allow the juice of the plant to get on the skin of the hands and mucous membranes of the eyes and nose. Otherwise, severe itching, allergic rashes and redness may appear.
Moreover, the more sensitive the skin, the more unpleasant manifestations will manifest itself, and if even a small amount of juice is accidentally swallowed, serious stomach upsets may begin.

Preparatory stage
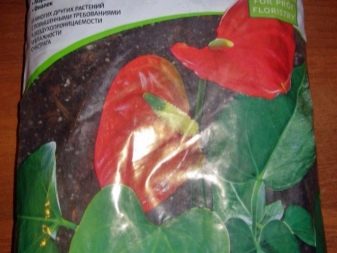
Before choosing a method and proceeding directly to the breeding procedure, you should carefully prepare. You should start by choosing the soil. Those substrates that are available on the shelves of flower shops are for the most part categorically unsuitable for anthurium. Finding a specialized soil designed for Aroids is quite problematic.
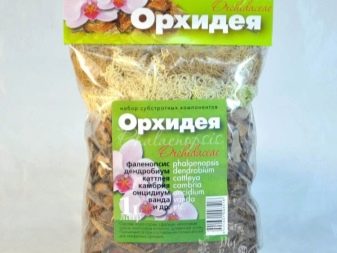
As a last resort, you can buy land for orchids and Saintpaulias, which has an optimal pH level for "male happiness" (from 4.5 to 6.5 units), but it will not be an ideal medium for a flower. Therefore, the substrate for the reproduction of anthurium will need to be prepared independently, since all the components necessary for this are available commercially.
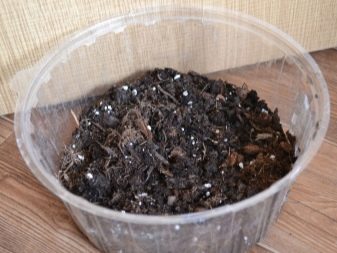
- To prepare the composition, take one part of the fertile turf, one part of perlite or vermiculite and mixed with three parts of leaf humus. Add crushed birch charcoal to the resulting mixture in an amount of about 5% of the total volume, then spread the substrate on a baking sheet and send it to the oven.
Disinfection is carried out at a temperature of +220 degrees for 20 minutes.
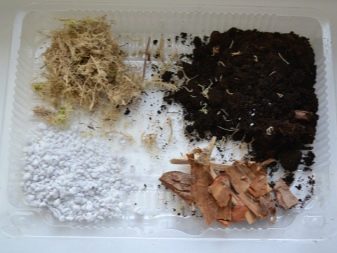
- If leaf humus was not available, then another composition can be prepared, consisting of turf, peat, coniferous substrate and baking powder, taken in a ratio of 2: 2: 2: 1, respectively. As a baking powder, they take crushed and boiled bark of coniferous trees, calcined river sand or birch coals. If none of the above is available, then you can add sphagnum moss or coconut fiber. The baking powder makes the soil light and breathable, which contributes to better survival of young plants.
- Gives good results the use of a mixture prepared from soil for rhododendrons, peat chips, pieces of pine bark, expanded clay and crushed sphagnum moss, taken in a ratio of 2: 2: 2: 1: 1. This substrate has an unusually light and loose structure, is well ventilated and retains moisture well.
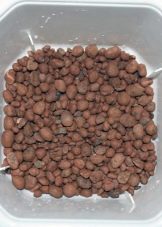
After the substrate is ready, you can start choosing a pot. Due to the peculiarities of the growth of the roots, containers should be chosen wide and not very deep: the superficial root system feels great in bowls and does not need deep pots. Wherein a drainage layer must be laid on the bottom of the container, and its thickness must be at least 1/4 of the volume of the pot.
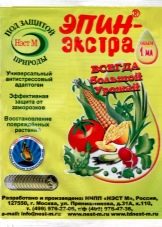
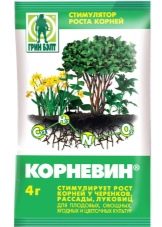
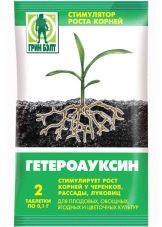
It is recommended to use expanded clay as drainage. And the final step of the preparatory stage will be the acquisition of "Epin", "Kornevin" or "Heteroauxin", which will definitely be needed in the process of nursing young shoots.
Seed propagation
In the natural environment, all epiphytes, which include anthurium, are able to reproduce by growing aerial roots, cuttings, side shoots and seeds. Indoor species can also reproduce in any of these ways, of which the most painstaking and ineffective is propagation by seeds.
This method does not enjoy much success among flower growers and is used very rarely, which is due not so much to a low percentage of seed germination, but to the likelihood of losing most of the varietal parental traits. This is especially true for hybrid varieties obtained by crossing different species. However, among breeders, growing from seeds is more practiced, although most of it is due to a purely scientific interest.
So, seed reproduction begins with the preparation of planting material.
Usually the seeds are purchased from flower shops, but you can also use your own collection material. It should be borne in mind that after six months the probability of their germination becomes extremely low. In this connection, the collected achenes must be sown within 3 months.
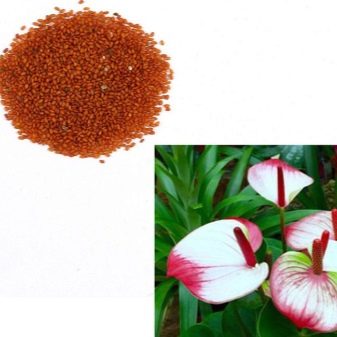
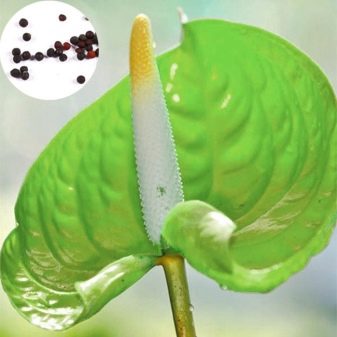
If it is not possible to purchase seeds from the store, you can try to grow them yourself. This procedure will require two flowers. As soon as one of them blooms, a brush with soft bristles is carried over the cob, thus collecting pollen. Then it is very carefully shaken off onto a piece of paper and put into the refrigerator. After the second plant blooms, using a cotton pad, the harvested pollen is distributed with light movements along the cob in different directions.
It is recommended to carry out the procedure in the daytime with sufficient bright lighting and an air temperature of at least +24 degrees. Then, over the next 4–5 days, "control" pollination is carried out in the same way, after which they leave the flower alone and begin to observe.
If, after 4 weeks, the ear begins to increase in size, then the cross-pollination process has been successful and fruit can be expected to appear.Their full maturation time is usually 9–12 months. The signal that they need to be collected will be a darkened color and the impression that the fruits are about to fall out of the inflorescence. After harvesting, the upper shell is removed from the fruit, the seeds are removed and dried in the open air for 3 days. Sow them as quickly as possible, preferably within 2-3 weeks.
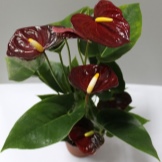
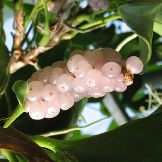
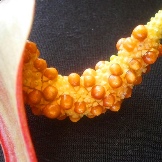
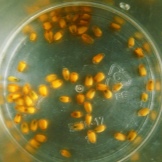
The seed sowing process is as follows:
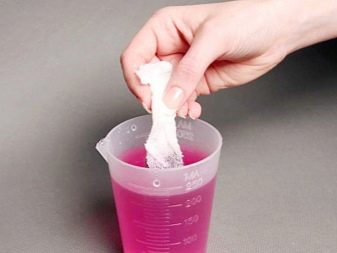
- the seeds are soaked for 15 minutes in a solution of potassium permanganate and spread on a napkin to remove excess moisture;
- further, they are evenly distributed over the surface of the wet substrate and sprinkled on top with the same earth;
- the thickness of the soil layer above the seeds should be 3 mm;
- then the containers are covered with glass or foil, provided with bottom heating, a temperature of +25 degrees and a bright diffused light.
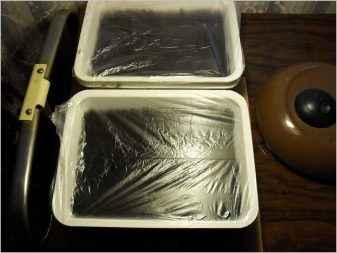
Every day the greenhouse is opened for 5-7 minutes and ventilated.
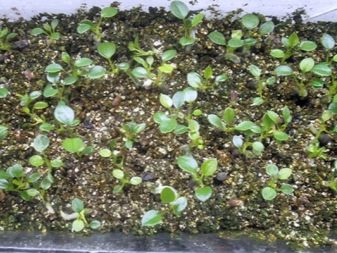
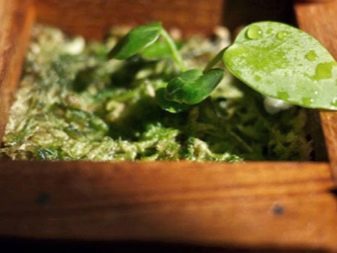
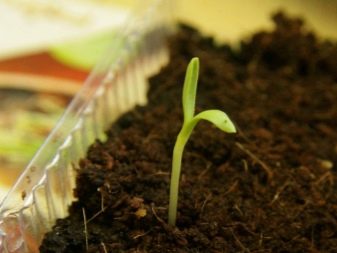
Watering is carried out as the substrate dries up, using a spray bottle. If everything is done correctly, then the first single shoots can be expected after a week. Mass germination usually begins after 15 days, and after a month the first leaves appear. It is during this period that the glass or film is removed and the young shoots are planted.
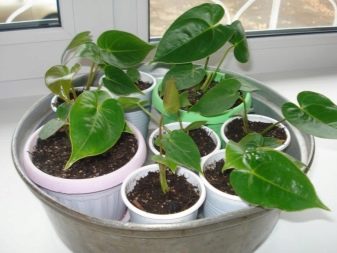
Shoots with 3 leaves are planted in separate glasses with a diameter of 7-10 cm, using the same substrate as for seedlings. From this moment, the plants are transferred to general care, not forgetting to water and feed on time. The first flowers on anthurium grown from seeds appear after 3 years.
How to propagate by cuttings?
The method of propagation of anthurium by cuttings is very popular. Its essence lies in the rooting of a small part of the shoot, cut from the green part of the plant. Cutting can be carried out in three ways: leaf, apical and air-rooted. In the first case, a leaf acts as a cutting, in the second, the tip of an adult shoot, and in the third, a cutting with aerial roots. It is worth considering these methods in more detail.
Sheet
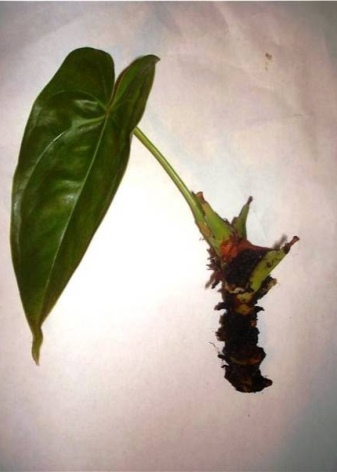
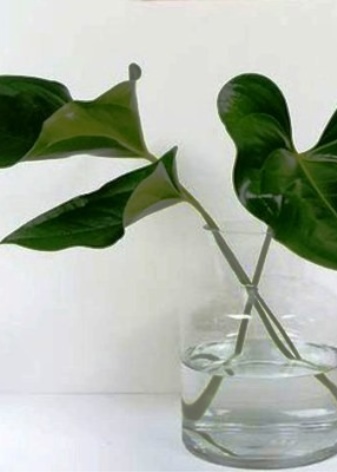
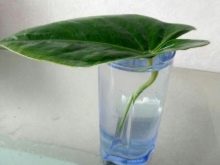
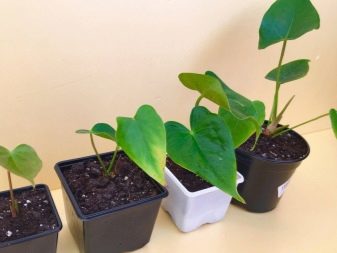
Almost all types of anthurium can be propagated by the sheet method, while spending a minimum of time and effort. For propagation of a flower by leaf cuttings, a strong leaf is cut from an adult healthy plant, which has clearly pronounced veins. In this case, the length of the petiole should be from 3 to 5 cm. The leaf is tied into a vertical tube and placed with a petiole in a pre-moistened mixture of sand and peat, taken in equal parts. Above the surface of the ground, usually 1/3 of the sheet is left, which is then covered with a jar.
A man-made greenhouse is placed in a warm and well-lit place, while trying to prevent direct ultraviolet rays from entering, which through the glass of the jar can cause a burn of the cutting. It is necessary to ventilate and irrigate the plant and soil daily, and continue this until a young sprout appears from the inside of the leaf tube. This will mean that rooting was successful and the plant can be transferred to a general care regimen. To do this, the jar is removed, and the shoot is transplanted into a permanent container with pre-prepared soil.
As an alternative to the substrate, root growth can be carried out in water. To do this, the leaf is placed in water at room temperature with a root growth stimulant diluted in it, while no more than 4–5 cm of the leaf should be immersed in the liquid.
Anthurium grown in this way begins to bloom after 1 year.

Airborne
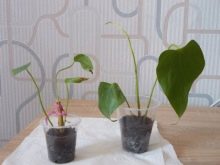
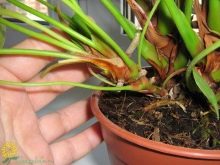
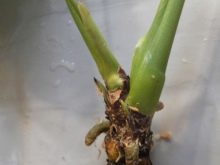
Cuttings with aerial roots are one of the most effective propagation methods. It consists of the following:
- a strong shoot with several internodes and two leaves is cut from an adult healthy plant, after which the leaves are cut off, leaving only the petioles; this is done so that the forces of the young shoot go not to feed the green mass, but exclusively to build up the root system;
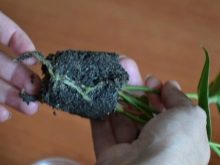
- then the cutting is planted in a sandy-peat substrate so that only air roots are in the ground, and the growth point remains above the surface;
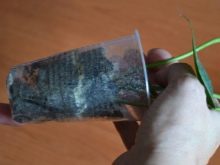
- further, the plant is irrigated with a spray bottle and covered with a bag;
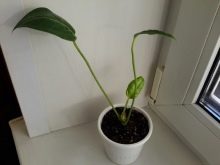
- the greenhouse is transferred to a bright, warm place, not forgetting to spray and air the escape every day; it is advisable to sprinkle with slightly warmed water so that the plant steamed in the greenhouse does not experience stress from temperature extremes.
The sprout takes root very quickly. A new leaf should appear in a maximum of a week. After its appearance, the package is removed, the plant is transplanted to a permanent place and transferred to a general care regimen.

Apical
Apical cuttings propagation is also a popular method. and consists of the following:
- using a sharp knife, cut off the top of the shoot and leave it for 15 minutes to dry the cut; the stalk should be exactly 12 cm long and have 2 healthy leaves;
- the shoot is placed in perlite and removed to a warm and bright place with a temperature of at least +24 degrees;
- spraying is carried out daily.
The first roots usually appear after 3 weeks. After their regrowth up to 3 cm, the plant is transplanted to a permanent place.
Important! Whichever method of reproduction is carried out, the cut sites on the mother must be disinfected.
To do this, use brilliant green, potassium permanganate, ground cinnamon or crushed activated carbon.
For more information on the reproduction of anthurium by apical cuttings, see the next video.
By dividing the bush
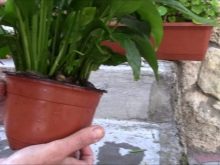
This method is used only if the mother plant has reached the age of 3-4 years. The division of the bush and the planting of shoots are performed in the middle of spring, and step by step this process looks like this:
- half an hour before the start of the event, the mother bush is spilled abundantly with water;
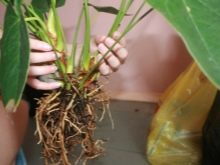
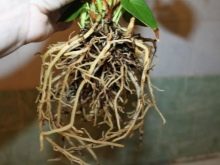
- the plant is removed from the substrate, shaken slightly, excess soil is removed and the roots are carefully unraveled;
- if during untangling some of the root processes were damaged, then the wounds are immediately sprinkled with activated charcoal or cinnamon;
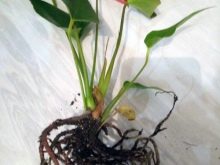
- it is necessary to divide the plant in such a way that on each of their parts there is a growth point and at least one leaf;
- decayed and severely damaged root processes must be removed, leaving only healthy and viable ones;
- before rooting the shoots, they are left for 50-60 minutes in the open air for easy drying of the roots;
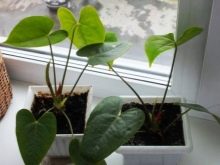
- shoots should be planted in such a way that the roots are buried exactly to the depth at which they were located in the old pot, being part of the same plant;
- too tall shoots are tied to a support, which should be stuck into the substrate in advance - before the flower is planted;
- for 2-3 months new plants are sprayed weekly with "Epin", "Kornevin" or "Heteroauxin".

Breeding with side offspring
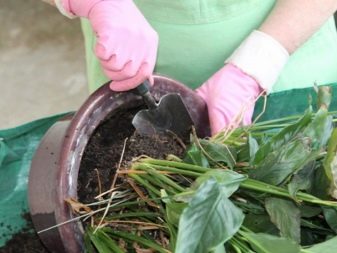
Reproduction of anthurium in this way is carried out exclusively during transplantation. To plant a plant without harming it, the procedure should be carried out in April or May. It is during this period that vegetative growth is activated, the immune system of plants is working in full force. The seating process looks like this:
- the flower is watered abundantly and left for half an hour or an hour;
- then the pot is overturned and the bush is taken out along with a lump of earth;
- then the roots are gently shaken off the substrate and checked for rot and damage;
- diseased processes with a dark color must be removed in order; the places of the cuts are sprinkled with activated carbon and allowed to dry a little;
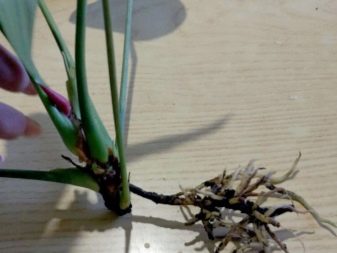
- the lateral shoot, as a rule, already has several leaves and a growth point, and its connection with the mother bush occurs through a root bridge; in the process of separation, this jumper is cut with a sharp, desensitized knife, and the wounds are sprinkled with coal;
- then the lateral shoot is planted in the substrate, leaving the growth point above the ground;
- watering the plants is performed after 3 days.
And in no case earlier, otherwise the roots of the shoot will rot.
Further care
Due to its tropical origin, anthurium needs to create special conditions close to natural.The flower needs a high humidity of the substrate and a temperature not lower than +24 degrees. However, in autumn and winter, being at rest, the flower easily tolerates a decrease to + 18– + 20 degrees, provided there are no drafts. Caring for a plant involves several steps.
- Watering anthurium should not be often, but abundantly: during the active growing season - 1 time in 3 days, in winter - 1 time in 7 days. It is advisable to use water that is soft and warmed up to +25 degrees. There should be no moisture in the pan of the pot after watering, otherwise the roots of the plant will get sick with fungal infections or mold.
- Anthurium is fed in autumn and spring, using complex mineral and organic additives for this.
- Young bushes are transplanted annually, and older ones - once every 3 years.
For more information about anthurium, see the next video.




The comment was sent successfully.